Chasing Windows 11 compatibility, I recently added a TPM 1.2 module to my desktop PC. Unfortunately even after installing the module, my PC still failed the Windows 11 system requirement check:

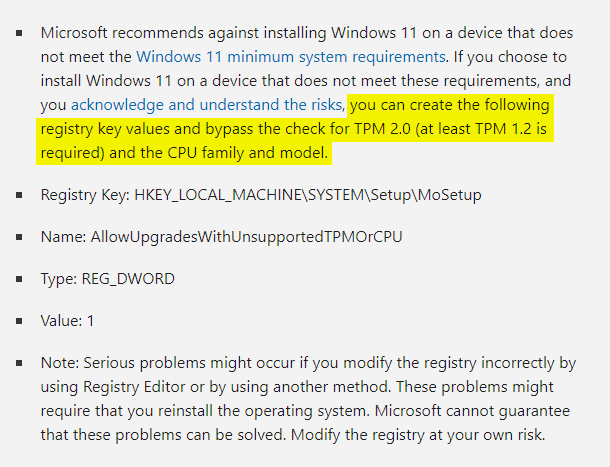
But this isn’t the end of the story. Microsoft recently published upgrade instructions that bypass the check for TPM 2.0 and CPU family/model:
My unsupported PC is back in play!
There are some risks – notably your PC “won’t be entitled to receive updates” (more on that below). If you acknowledge and understand the risks, here’s how to upgrade your unsupported PC.
Installing Windows 11 on an unsupported PC
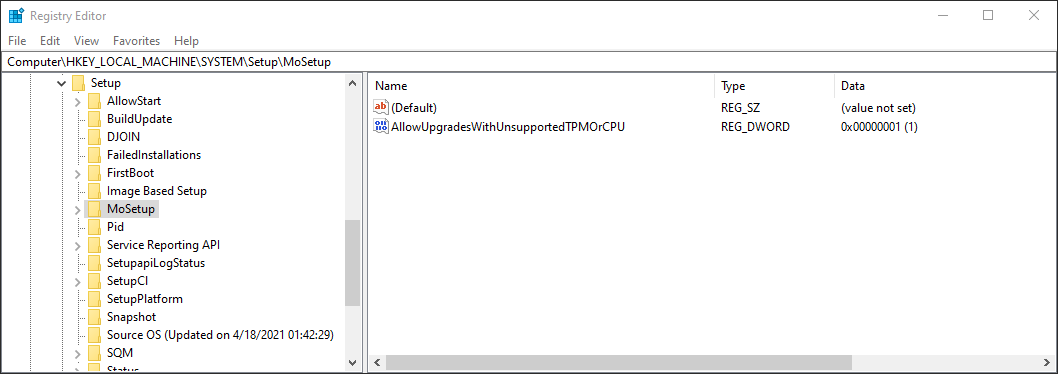
- Open Registry Editor and add the following key:
Registry Key: HKEY_LOCAL_MACHINE\SYSTEM\Setup\MoSetup
Name: AllowUpgradesWithUnsupportedTPMOrCPU
Type: REG_DWORD
Value: 1
-
Download the Windows 11 Media Creation Tool. Navigate to the Windows 11 download page, find Create Windows 11 Installation Media and click Download Now
-
Launch the tool and follow the instructions to create bootable Windows 11 installation media:

-
With the media ready, run Setup.exe to start the Windows 11 install process. Your PC will reboot a few times whilst Windows 11 installs - it’s very familiar if you’ve upgraded Windows before.
-
Once the install completes, you’re running Windows 11. Enjoy!

Windows 11 Updates
As mentioned above, unsupported PCs “won’t be entitled to receive updates”. However, at least for now, updates seem to be working fine:
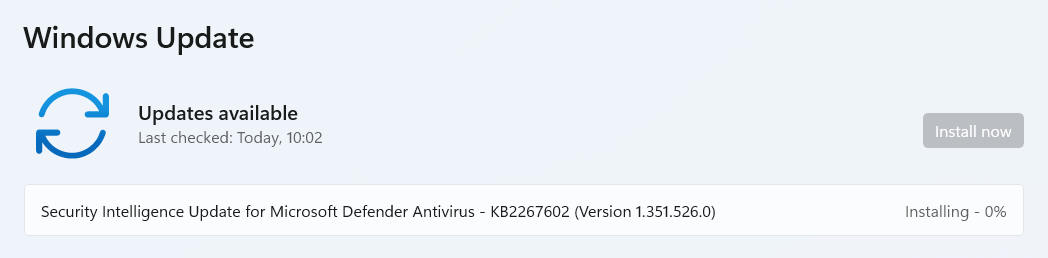
Of course this may stop in future, but it’s encouraging that security and other updates for unsupported PCs are working.
Comments