Article updated 2015-08-01 to reflect Windows 10 retail launch
Introduction
I spotted this amazingly cheap Windows 8.1 tablet on a recent Tesco grocery trip. At £99, I’ve no idea how they turn a profit, but with the recent launch of Windows 10 Technical Preview Windows 10, I thought it’d make a nice experiment.
What you need
- USB keyboard
- USB memory stick (at least 8GB)
- USB splitter cable or hub (you’ll need to plug in the memory stick and keyboard simultaneously)
- Tesco Connect 7” Tablet with Windows 8.1 (only £99)
Step 1. Download the Windows 10 ISO
Head on over to the Windows 10 Download Page or MSDN to download the ISO. Make sure you download the 32-bit/x86 flavour - the Tesco tablet doesn’t support 64-bit/x64.
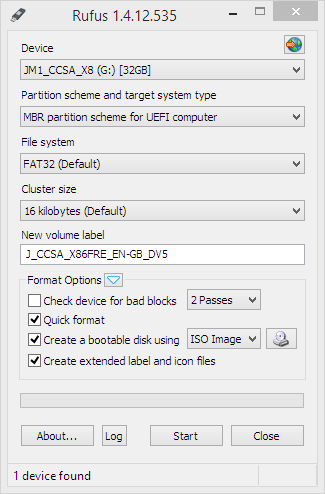
Step 2. Prepare a Windows 10 UEFI bootable using Rufus
To install Windows 10, you’ll need to prepare a bootable USB stick. There’s already a nice guide over here. Make sure to create the UEFI bootable - it’s the only method that’ll work on the Tesco device.
Step 3. Copy network and touchscreen drivers onto the USB stick
Windows 10 doesn’t ship with the network, sound and touchscreen drivers you’ll need.
Before you do anything:
- Boot the tablet into Windows 8.1
- Mount the USB stick
- Copy
C:\Windows\System32\DriverStoreacross. It contains all the drivers you’ll need
Step 4. Boot to EFI Shell
Before you start, make sure both the USB memory stick and USB keyboard are connected.
From Windows 8.1 Desktop, swipe from the right to open the Charms Bar, then hit “Settings”:

From the Settings panel, hit “Change PC settings”:

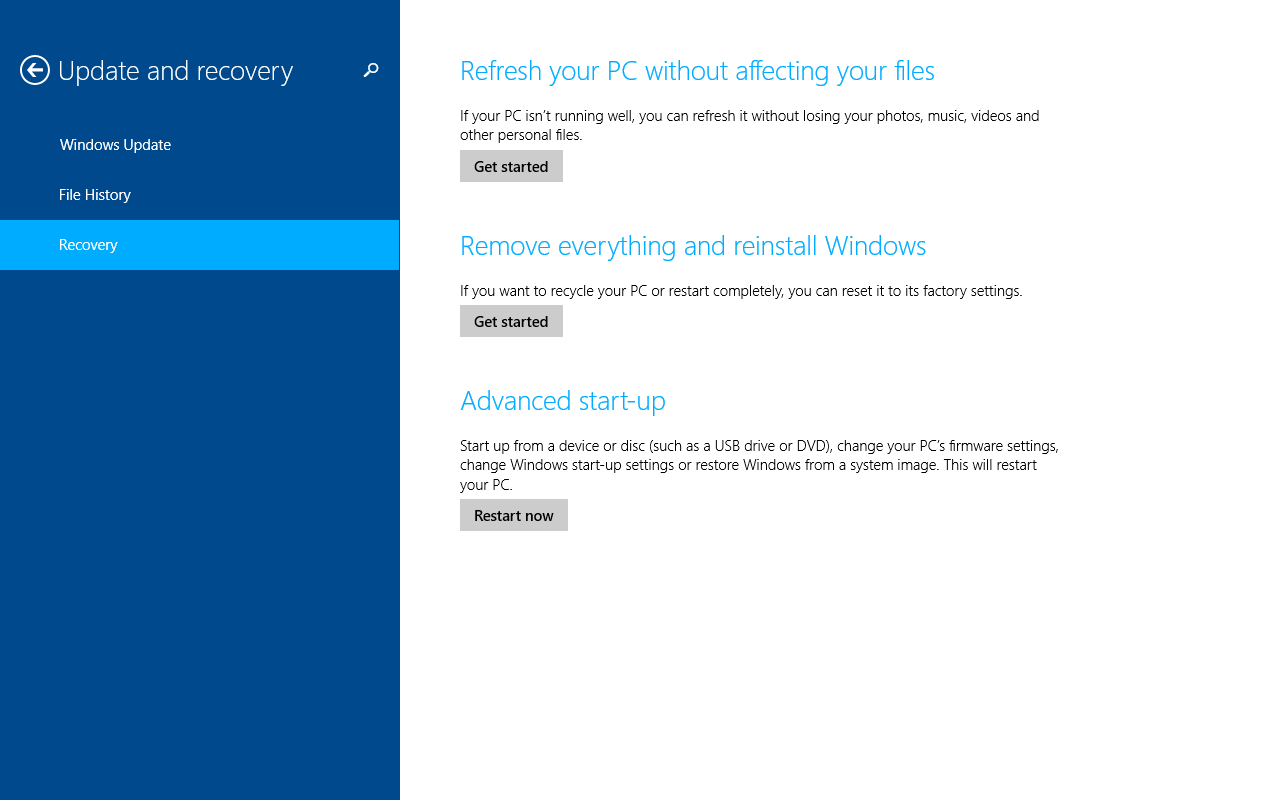
Inside PC settings, click “Update and recovery”:

Under “Advanced start-up” hit “Restart now”:
Step 5. Start Windows 10 install
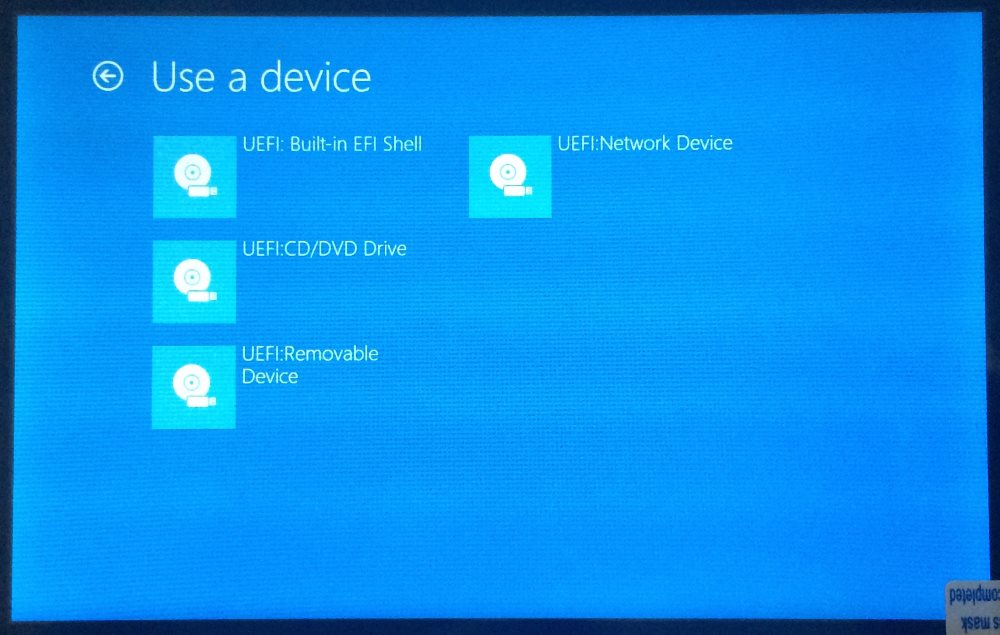
Once inside the EFI Shell, select “Use a device”:

Choose “UEFI: Removable Device”. After a short delay, the Windows 10 installation will begin.
Step 6. Follow Windows 10 installation steps
From here on in, the touchscreen won’t work. You’ll need to use your attached keyboard (and optionally, a mouse) for all input.
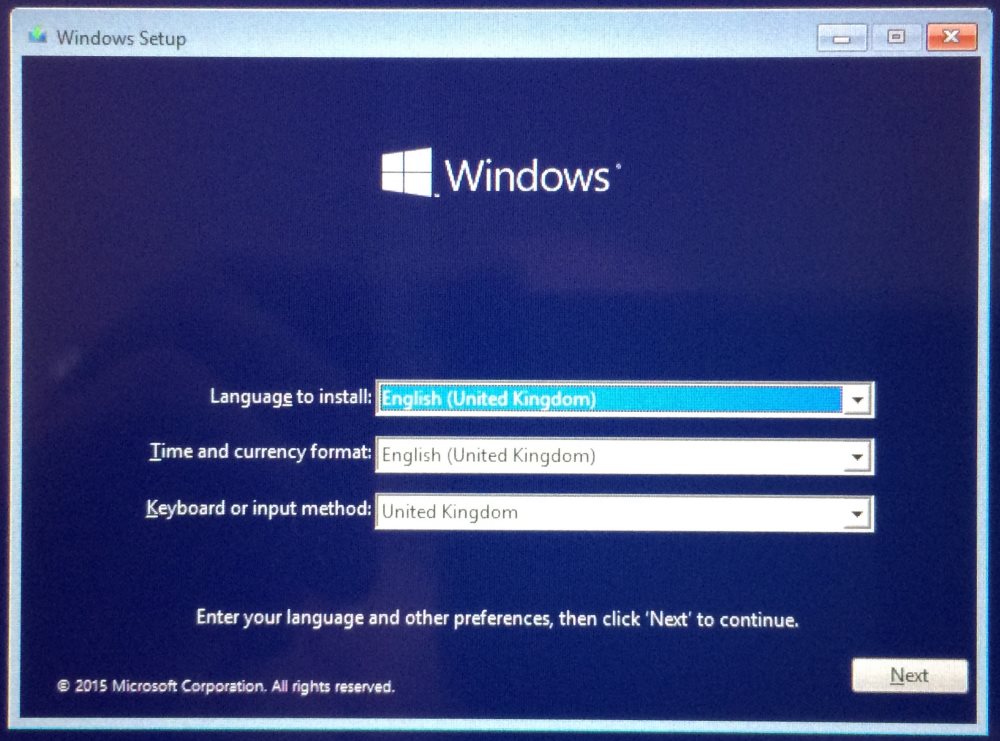
On the first screen, set your Language and Keyboard Preferences. The values don’t matter.
You’re nearly at the point of no return! If you follow the next step, you won’t be able to restore your original Windows 8.1 installation without performing an OS restore from installation media.
To continue, you’ll need to delete all existing partitions. Select each partition in turn and hit Delete.
Once you’re done deleting partitions, you’ll have 29.1GB of unallocated space:
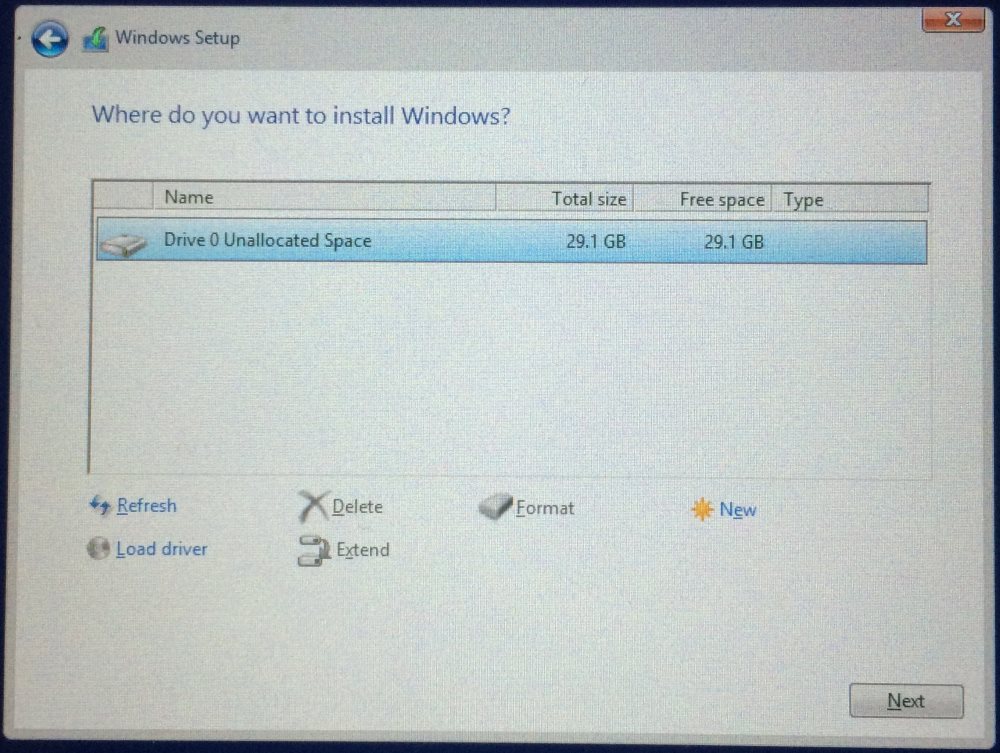
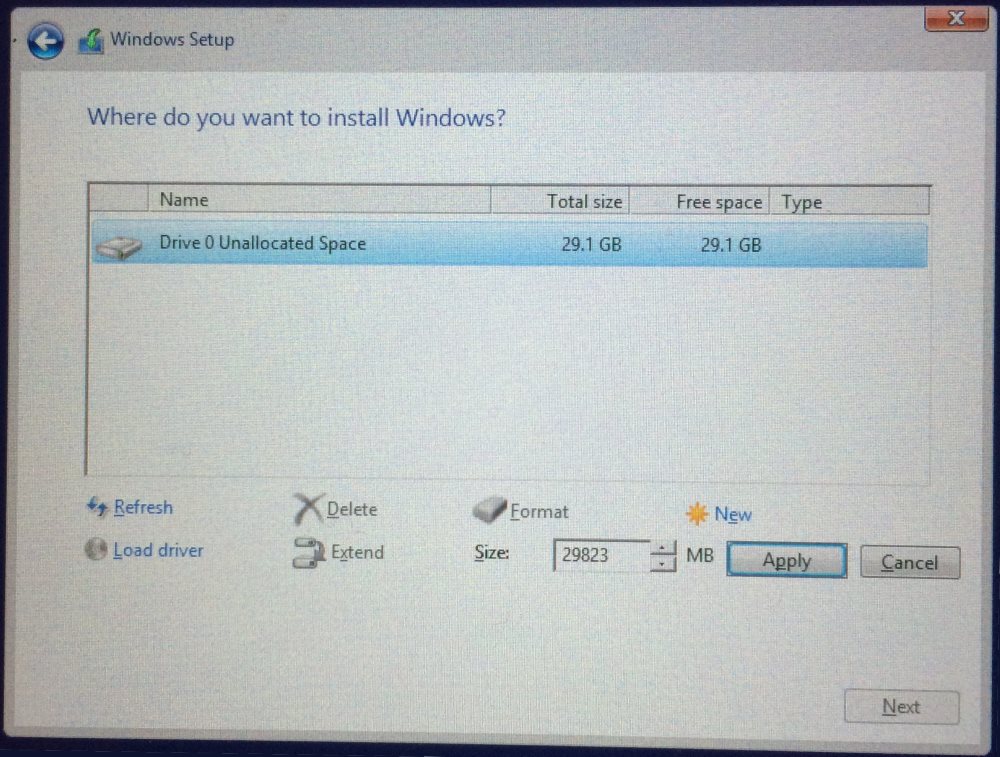
Highlight the unallocated space and hit “New”. Assign all available space to the partition (29,823MB) and hit “Apply”:
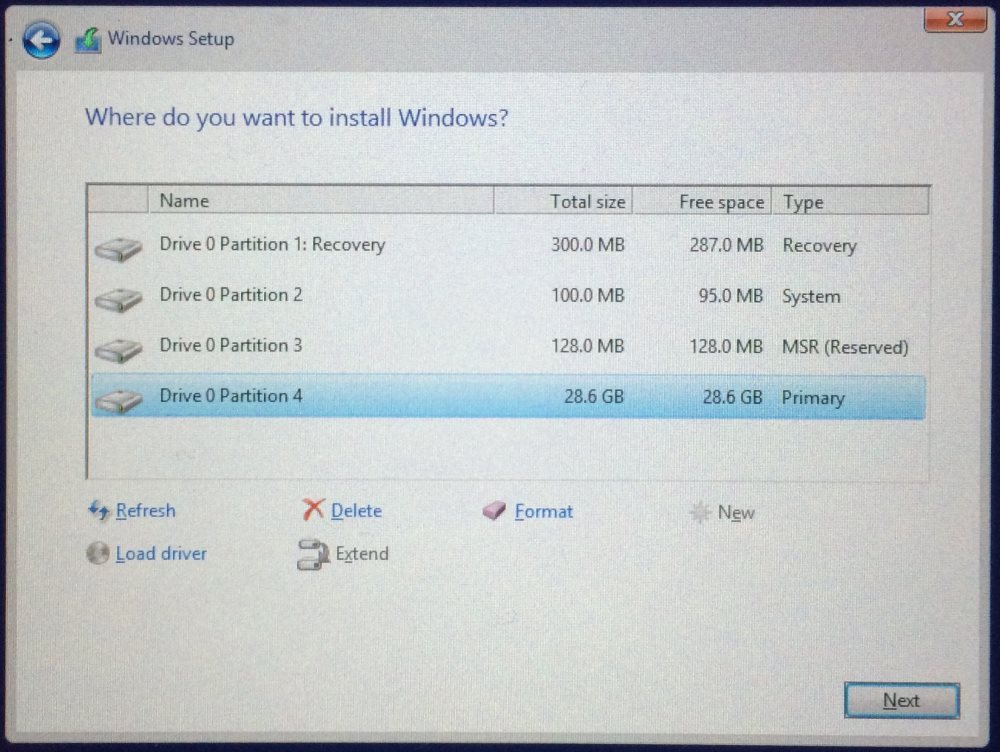
The Windows 10 installer will actually create four new partitions. Highlight the largest one (Partition 4) and hit “Next”. The Windows 10 installation will begin.
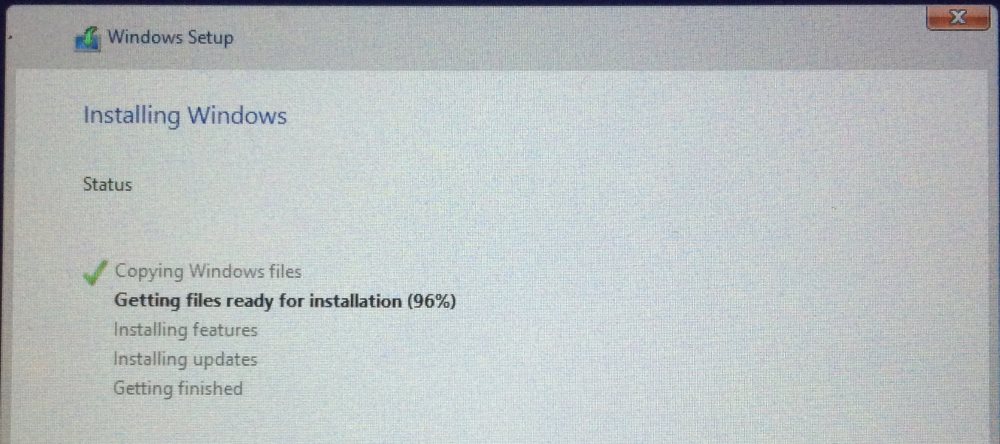
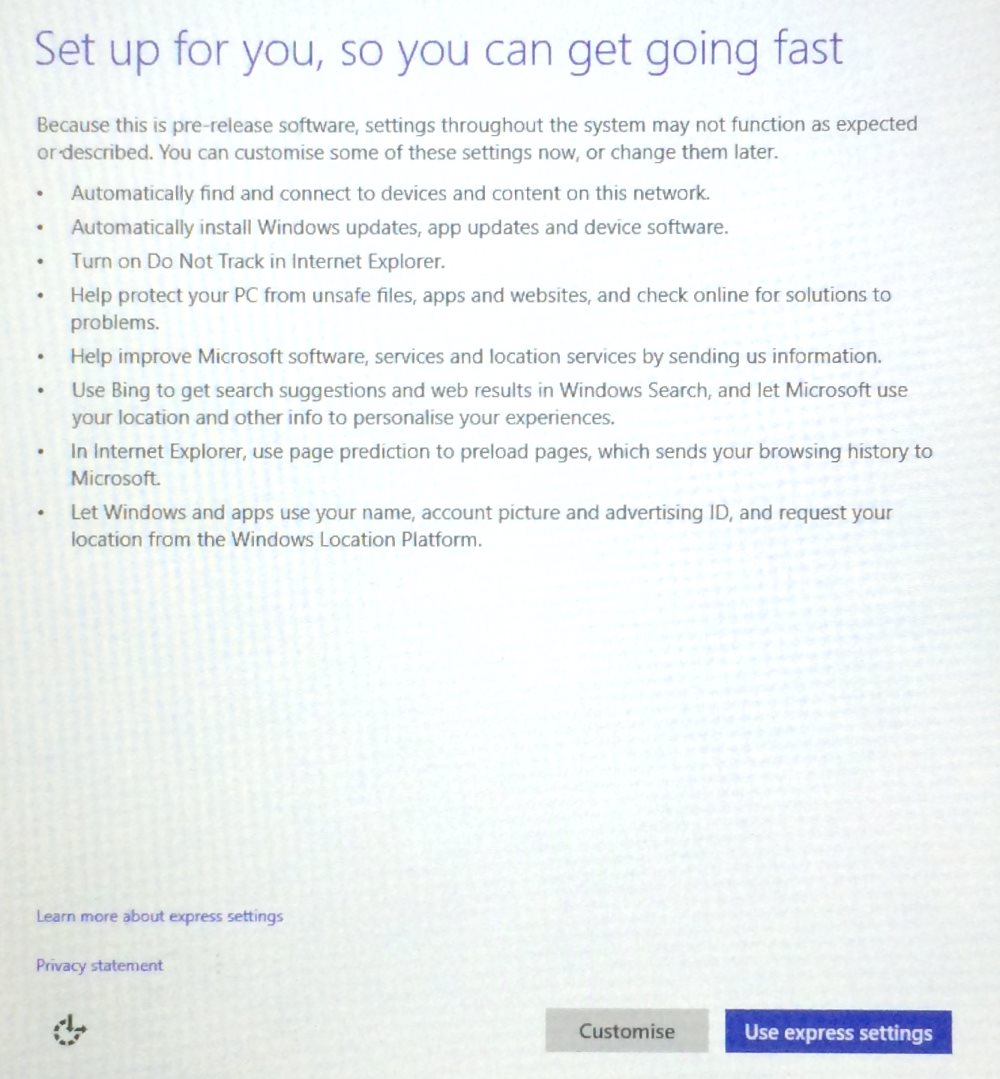
After 15 minutes or-so, you’ll see the screen below. You can choose custom options if you like, but I chose to “Use express settings”.
Not long after, the installer will deliver you to the Windows 10 Start screen. Nice!

Step 7. Install drivers
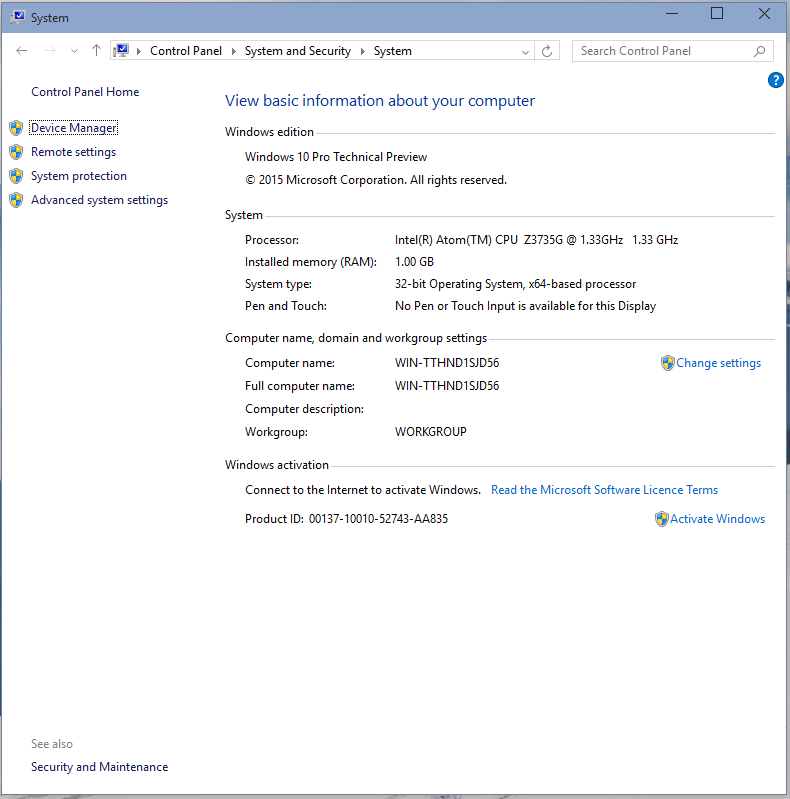
You’ll notice pretty quickly that sound, networking and the touchscreen don’t work. To fix this, head inside the Control Panel. Find “System and Security” and click the “Device Manager” icon:
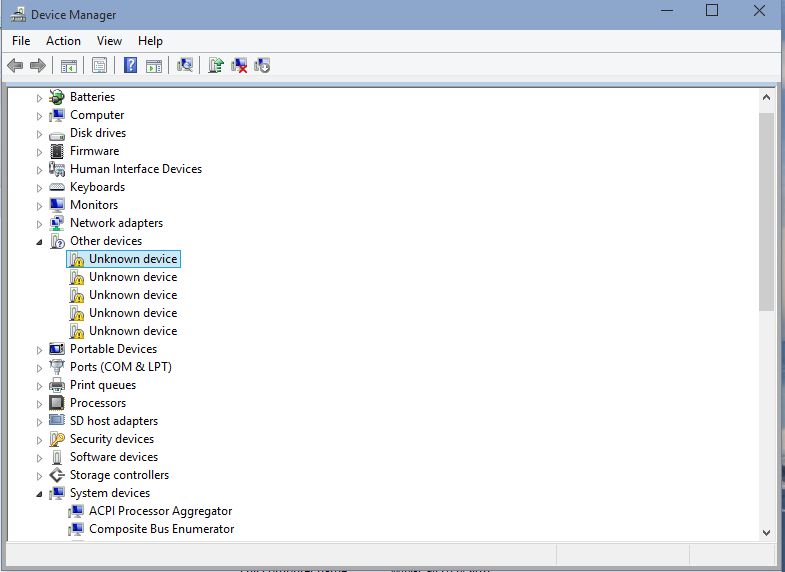
Where Windows doesn’t have the right drivers, you’ll find a bunch of erroring devices, indicated by exclamation points:
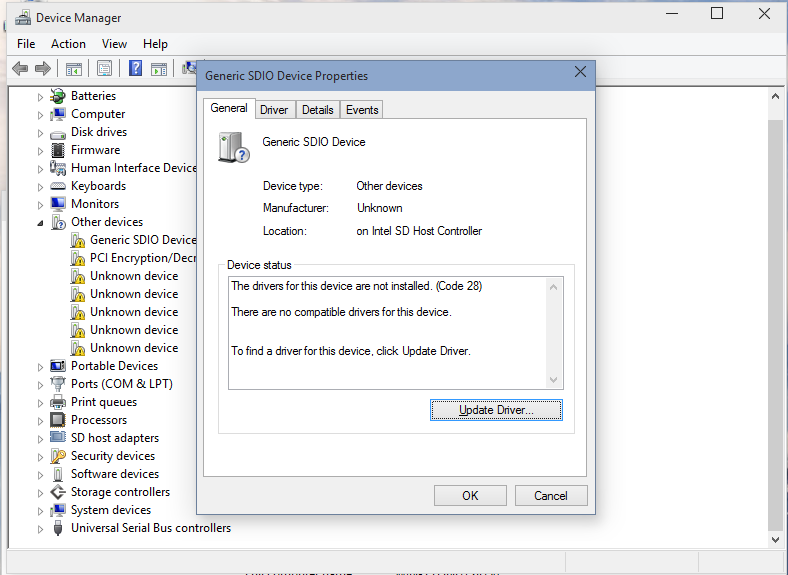
For each of these erroring devices, follow these same steps:
- Right-click on the device, select “Properties” and then “Update Driver”:
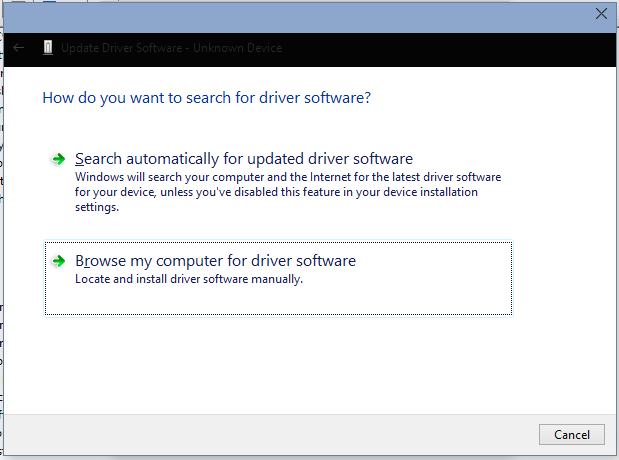
- When asked “How do you want to search for driver software?”, select “Browse my computer for driver software”:
- Choose “Search for driver software in this location” and specificy the backup driver location you created in Step 3 (hint: it’ll be on your USB memory stick). Check “Include subfolders” and click “Next”.
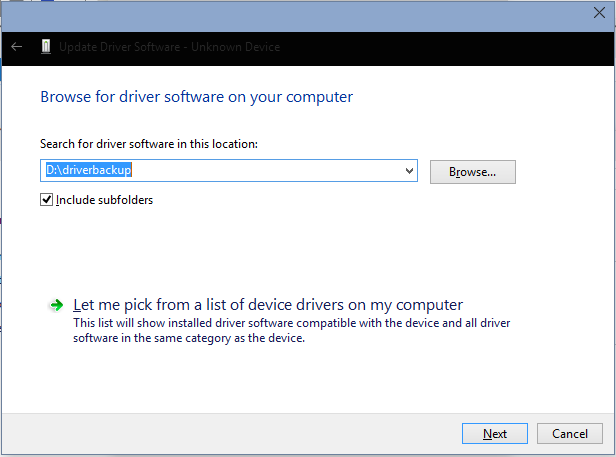
- Windows will whirr away for a while and install your missing driver.
Repeat the above process for all the erroring devices. Don’t forget “System devices” - there are a bunch in there too.
That’s it! You now have a fully working Windows 10 tablet! Enjoy!