Hugin and Panotools are two hugely useful tools for image stitching and panorama processing in general.
Unfortunately getting them installed and configured on Windows is a bit fiddly. Here’s how.
Step 1. Install ActiveState Perl
Available either as .exe (guided install) or zipfile, you can always find the latest version of ActiveState Perl here.
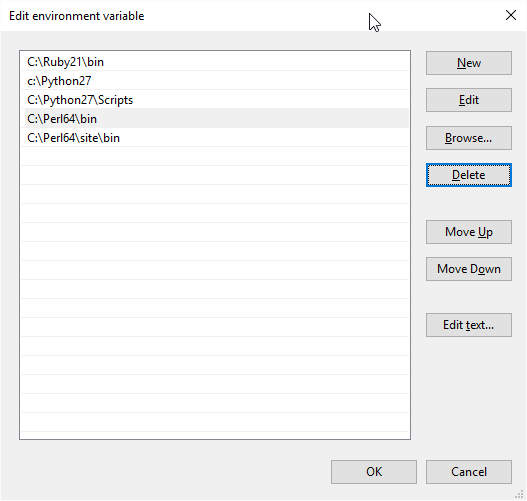
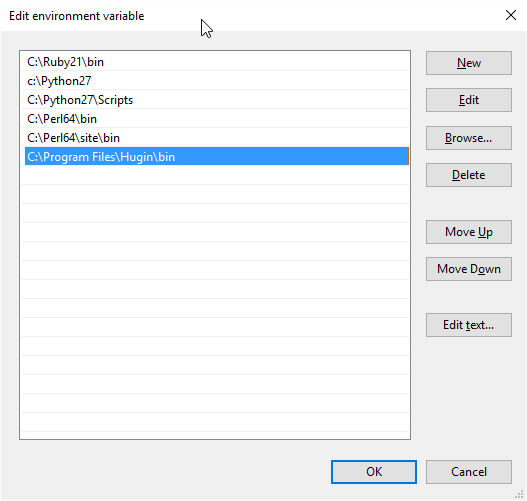
Whichever format you choose, ensure both the perl\bin and perl\site\bin directories are in your PATH post-install:
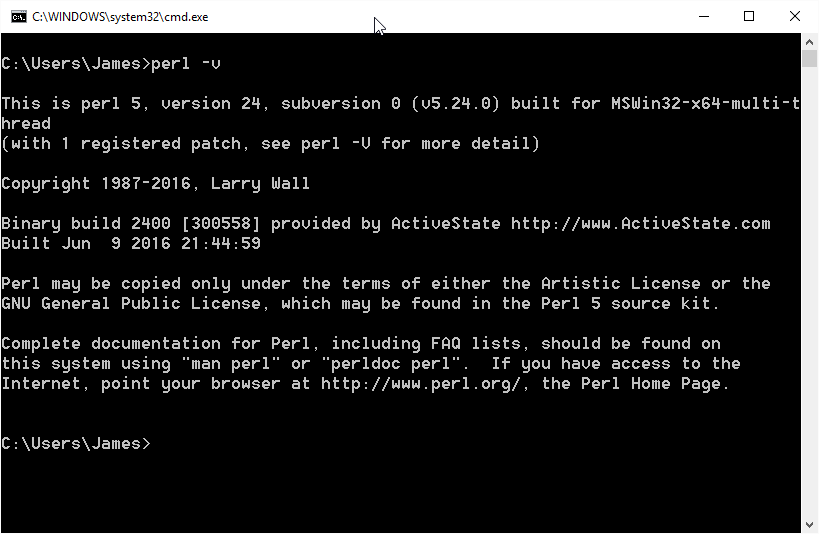
Step 2. Test Perl is installed correctly
Open a command prompt type perl -v. You should see something similar to the following:
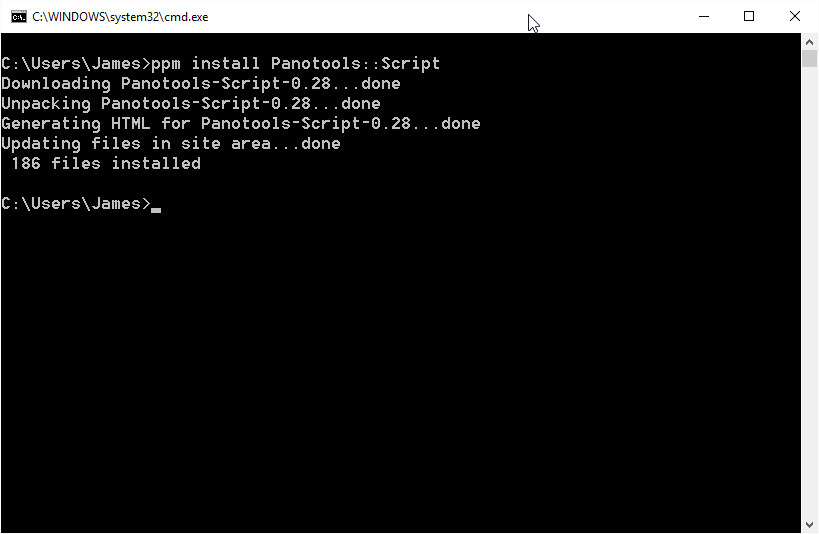
Step 3. Install Panotools Script
Back in the command prompt, type ppm install Panotools::Script. Perl Package Manager should download and Install Panotools Script:
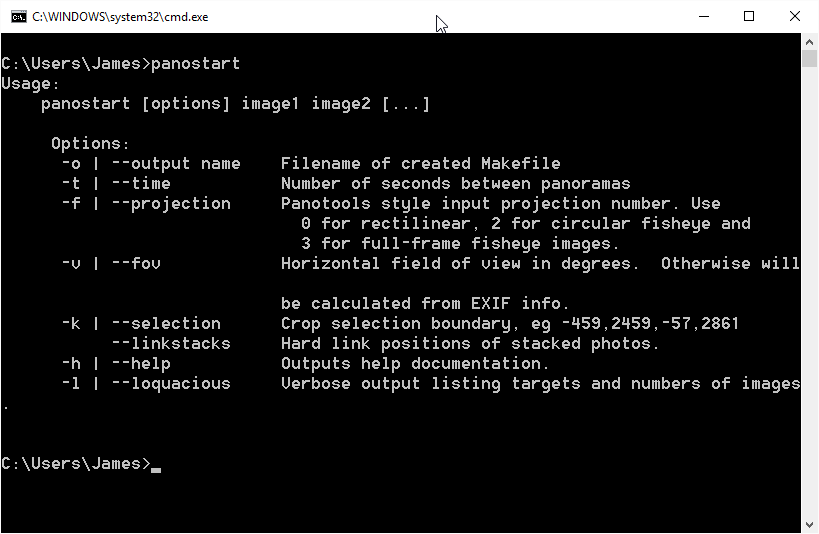
Step 4. Test Panotools Script is installed correctly
Still in the command prompt, type panostart. The following help text should be displayed:
Step 5. Install and configure Hugin
Hugin is available as an .msi. You can download the latest version here. Download the version appropriate for your platform and double-click to install.
Once installation completes, add the Hugin bin directory to your PATH:
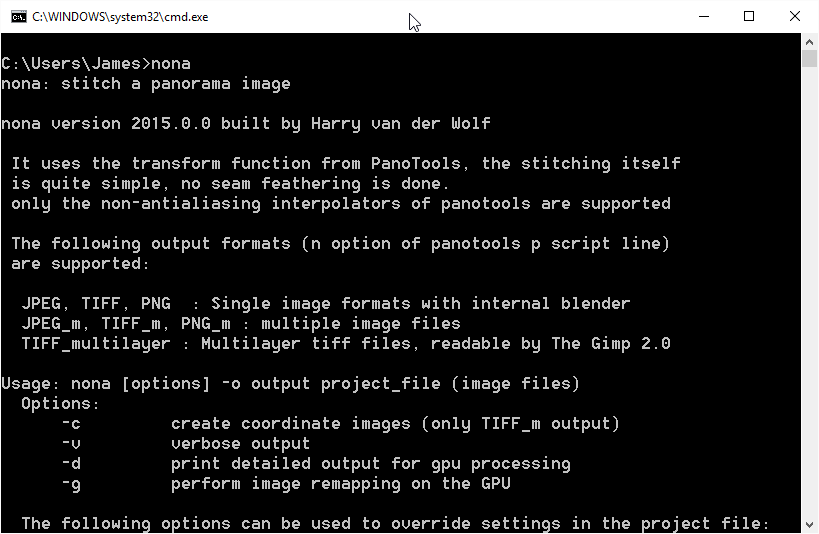
Step 6. Test Hugin command line is working correctly
Open a command prompt and type nona. You should see the following help text:
That’s it!
Other Posts in this Series
- Publishing VR Panoramas to Facebook - 12 Oct 2016
- Installing Hugin and Panotools on Windows - 17 Oct 2016
- Convert Equirectangular Projection to Cube Faces - 18 Oct 2016
- Publishing VR Panoramas to Photosynth - 28 Oct 2016
- What are .pano files? - 29 Oct 2016
- Convert Equirectangular Projection to .Pano File - 30 Oct 2016
- All You Need to Know about 360 VR Photos - 02 Nov 2016
- Publishing VR Panoramas to YouTube - 08 Sep 2019