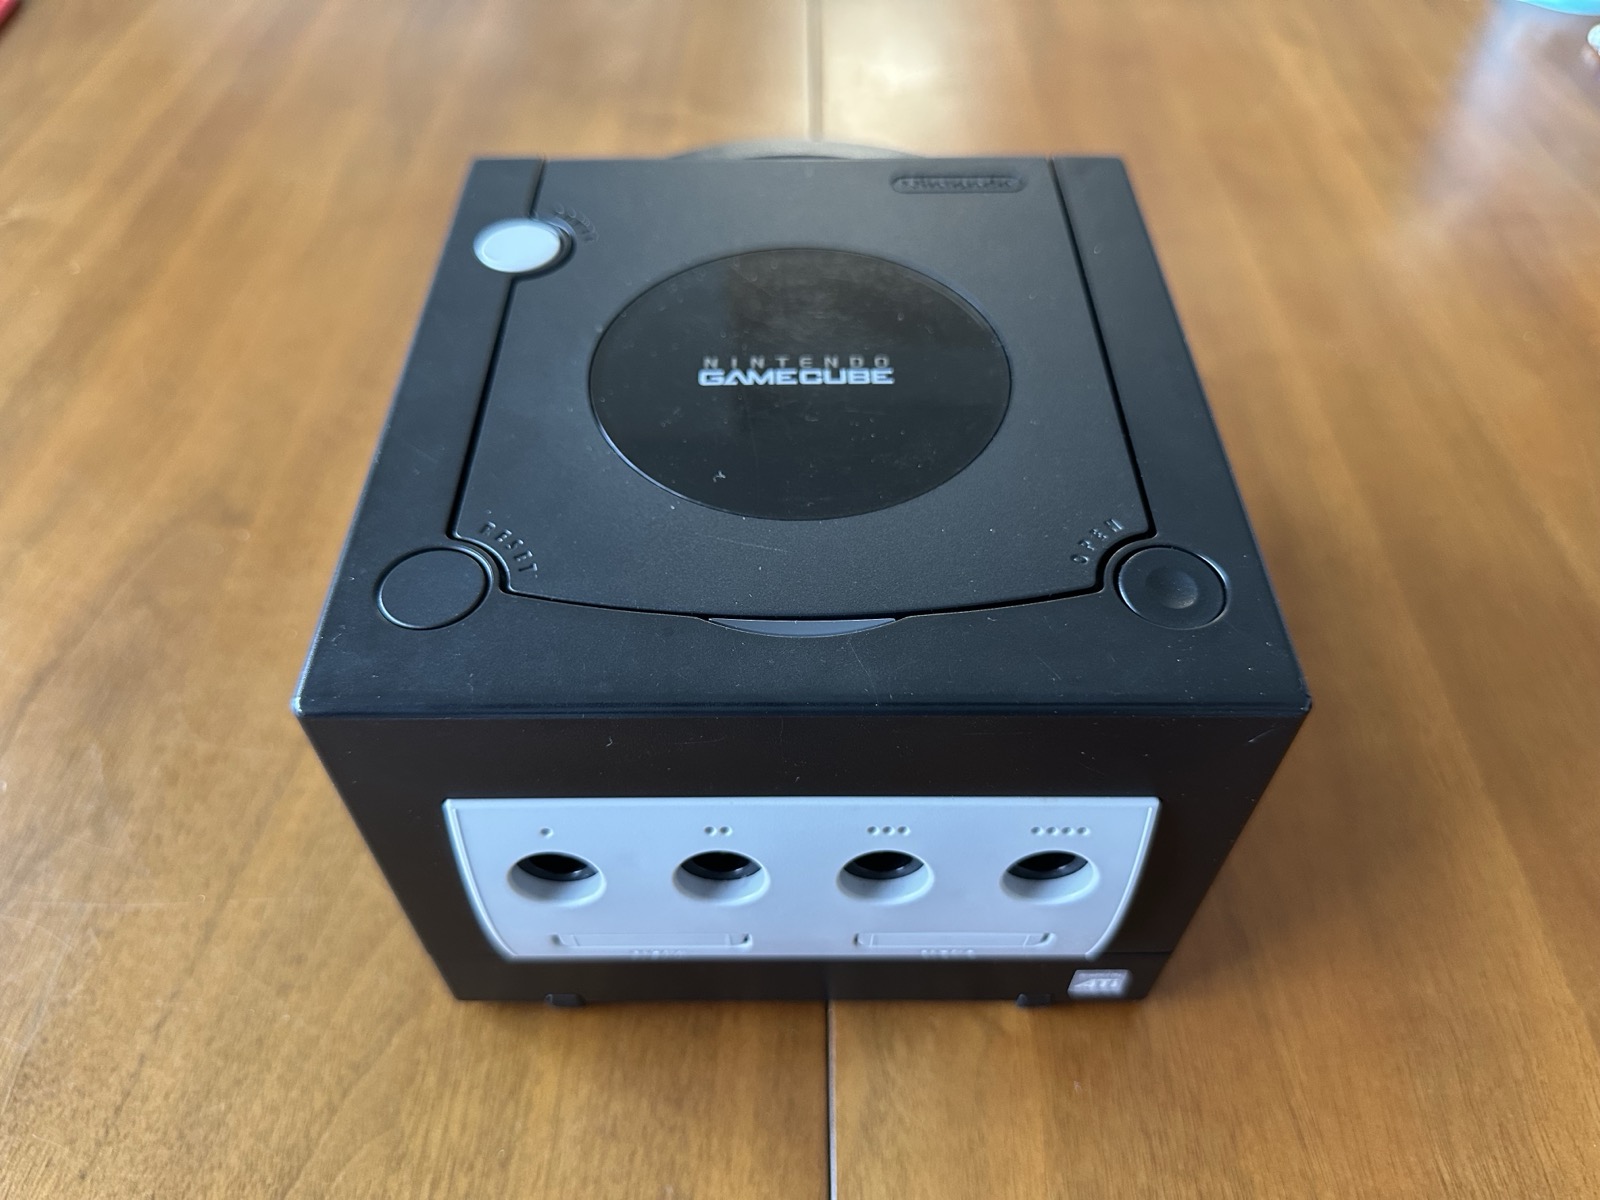
My GameCube is a Japanese import — a black DOL-001(JPN) unit, “日本国内専用” (Japan-domestic-only) stamped right on the label, serial DN11809198. Rather than keep relying on a 20-odd-year-old optical drive, I picked up a GC Loader — the GC Loader PnP HW2, by Daniel Kraak — to replace it outright.
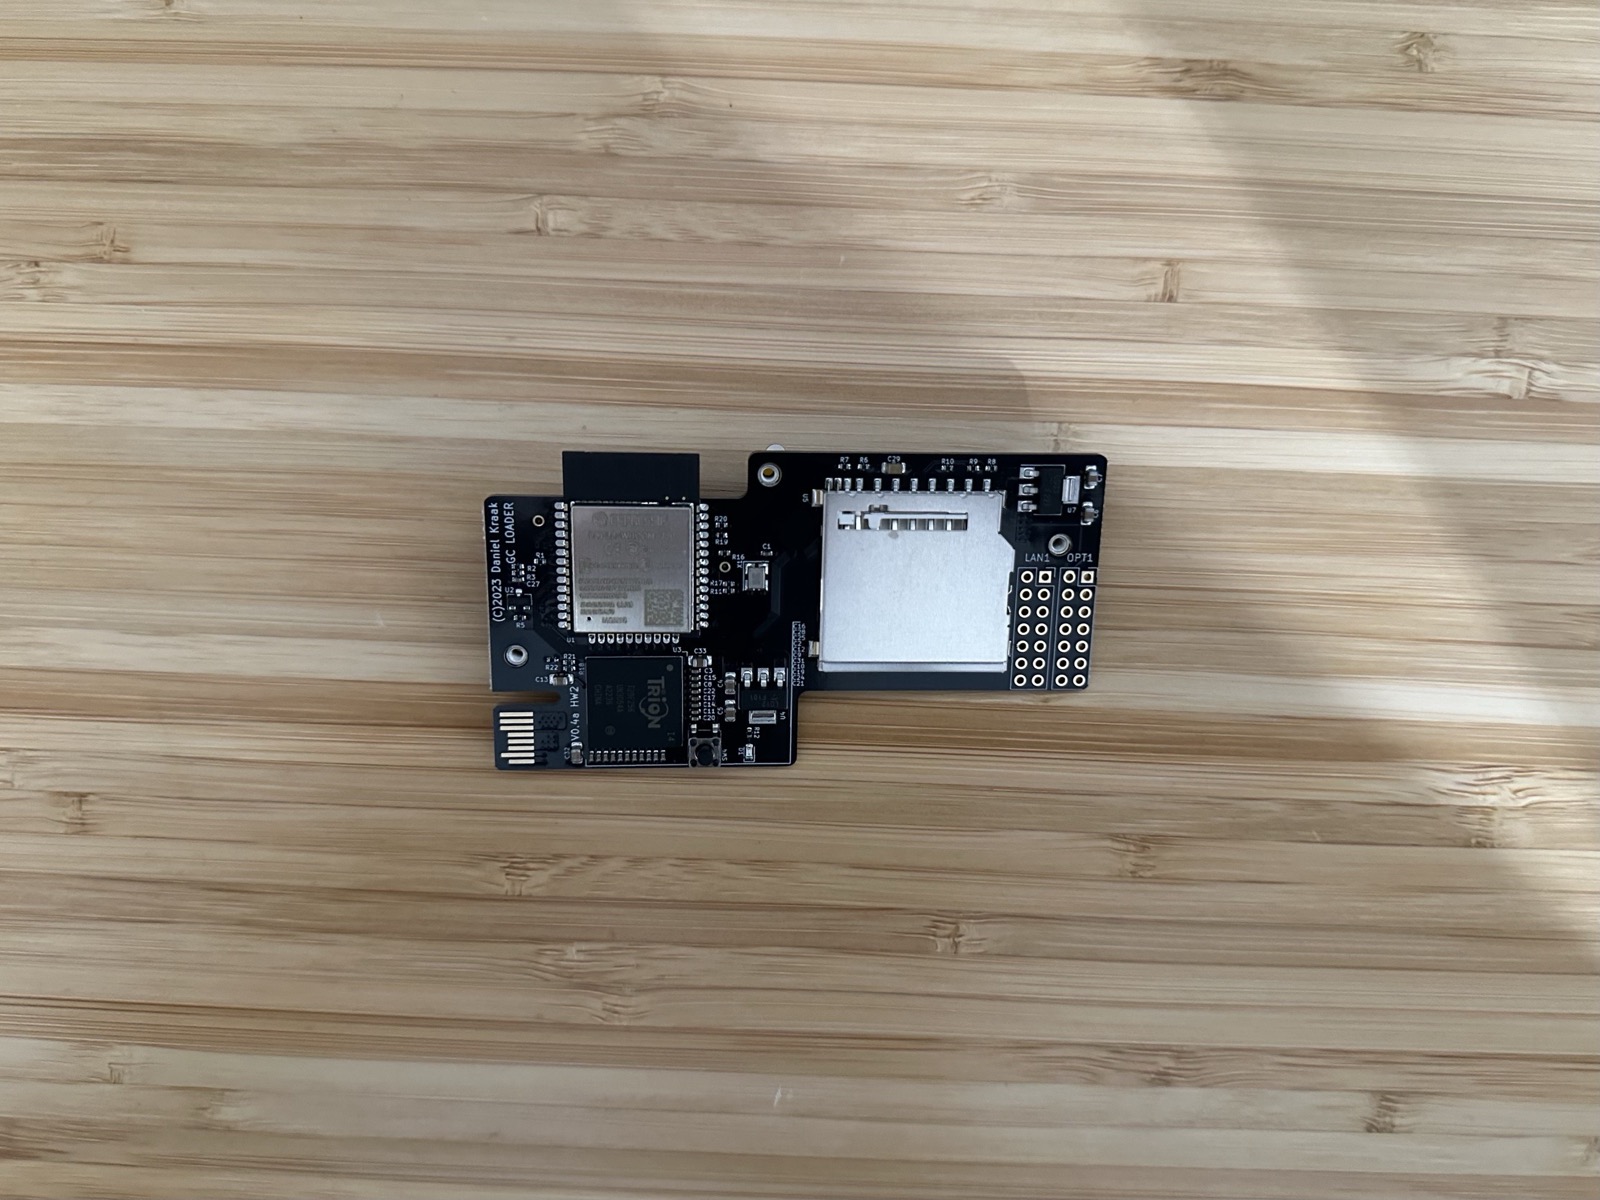
What’s actually on the board
The GC Loader PnP is built around an ESP32-WROOM-32E module and a Trion T20F256 FPGA, with a micro SD slot and a couple of header rows (LAN1, OPT1) for accessories. Unlike a slot-loading ODE that reuses the original drive’s shell, this one replaces the entire physical drive assembly — motor, laser sled, and all.
Getting the drive out
GameCube case screws aren’t standard Phillips, so step one was a security-bit driver. From there:
- Bottom shell and controller-port panel off, to get at the internals.
- The entire optical drive assembly comes out — this is a full physical drive, not just a lid or sled, with its own small power/eject control board (
DOL-PWR-01) and ribbon connectors. - Unplug the drive’s power board and ribbon cables, then lift the whole mechanism free.
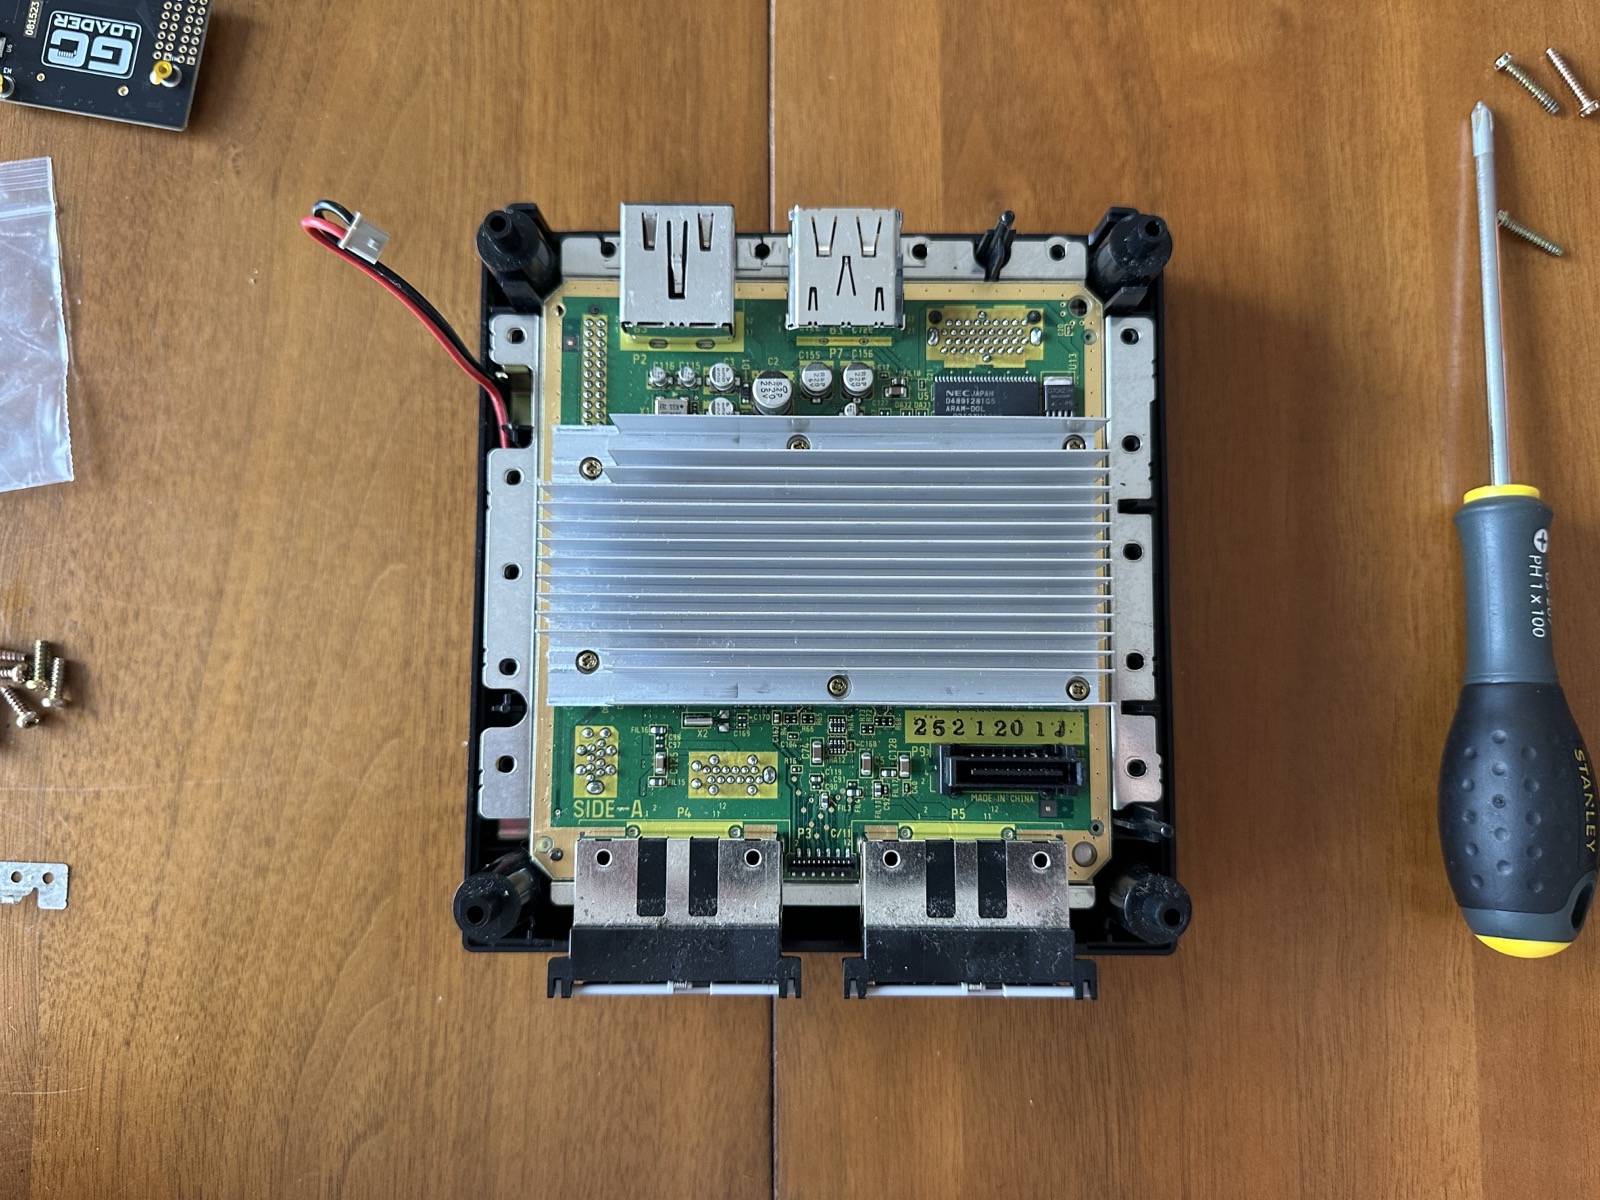
That leaves the motherboard fully exposed, heatsink and ARAM-DOL chip visible, with an empty drive bay where the mechanism used to sit.
Mounting the loader
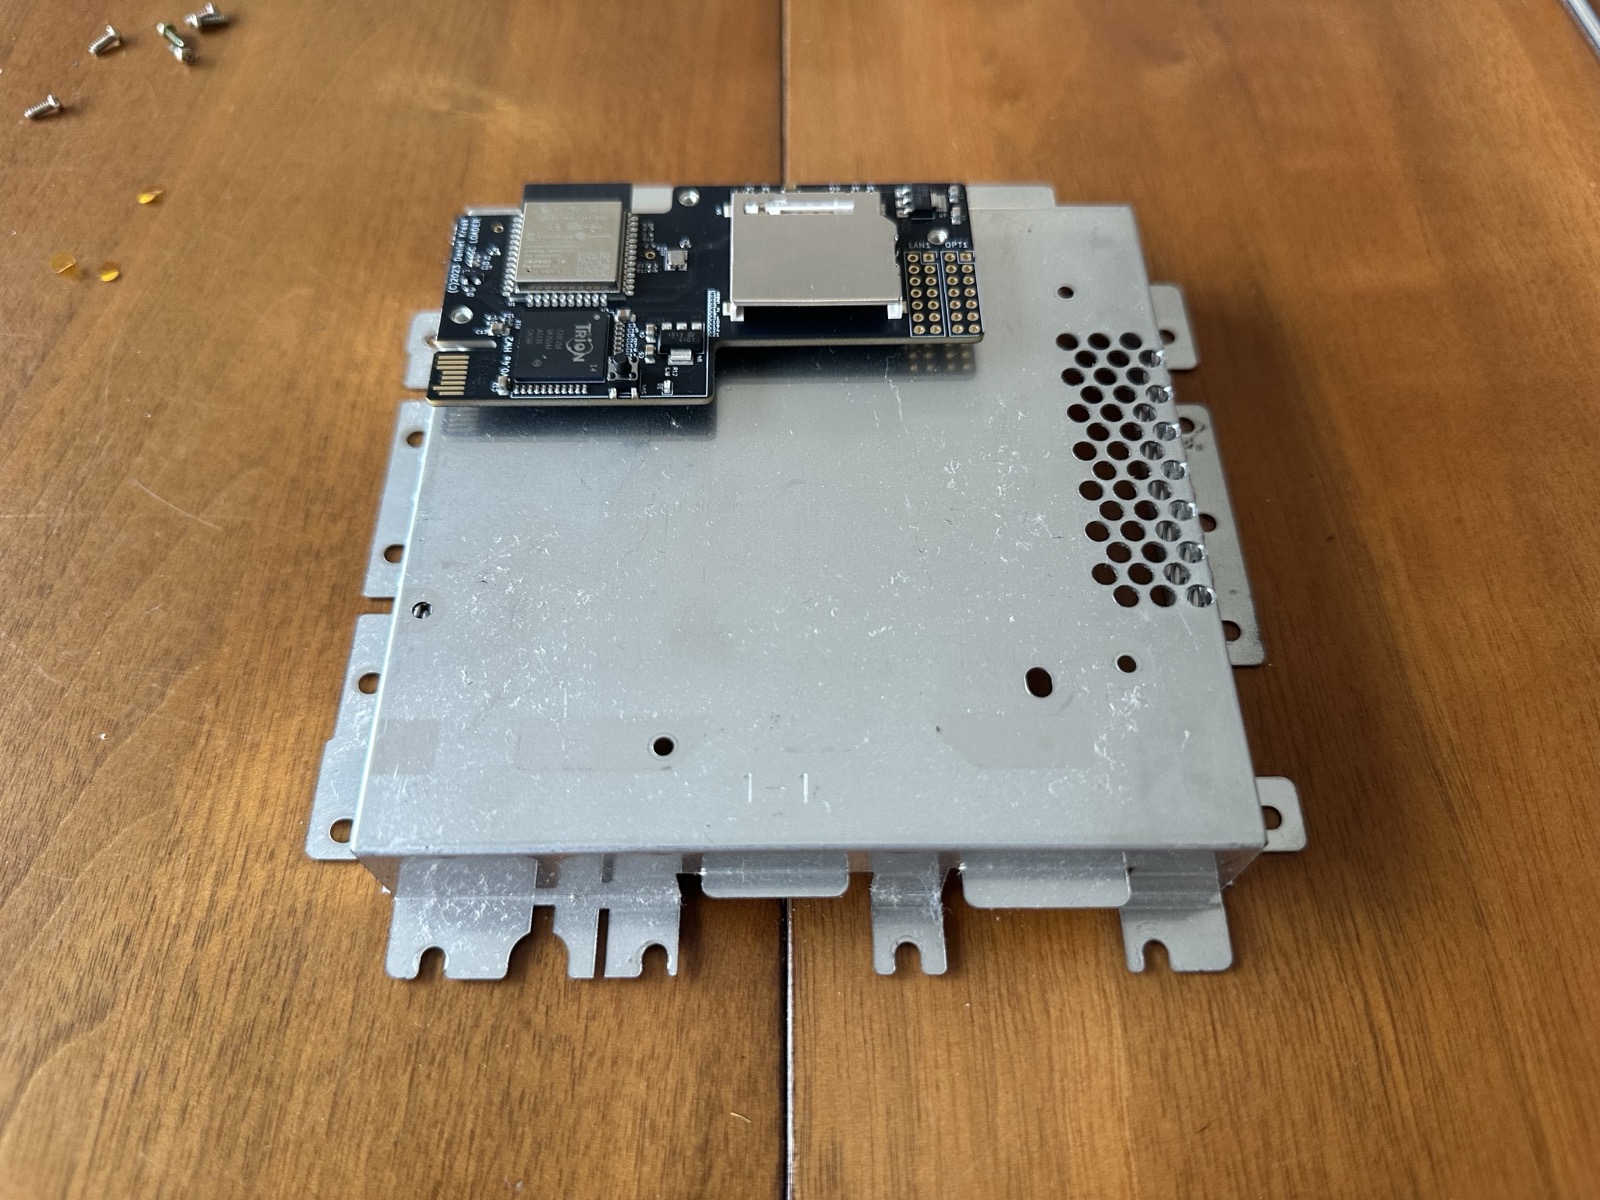
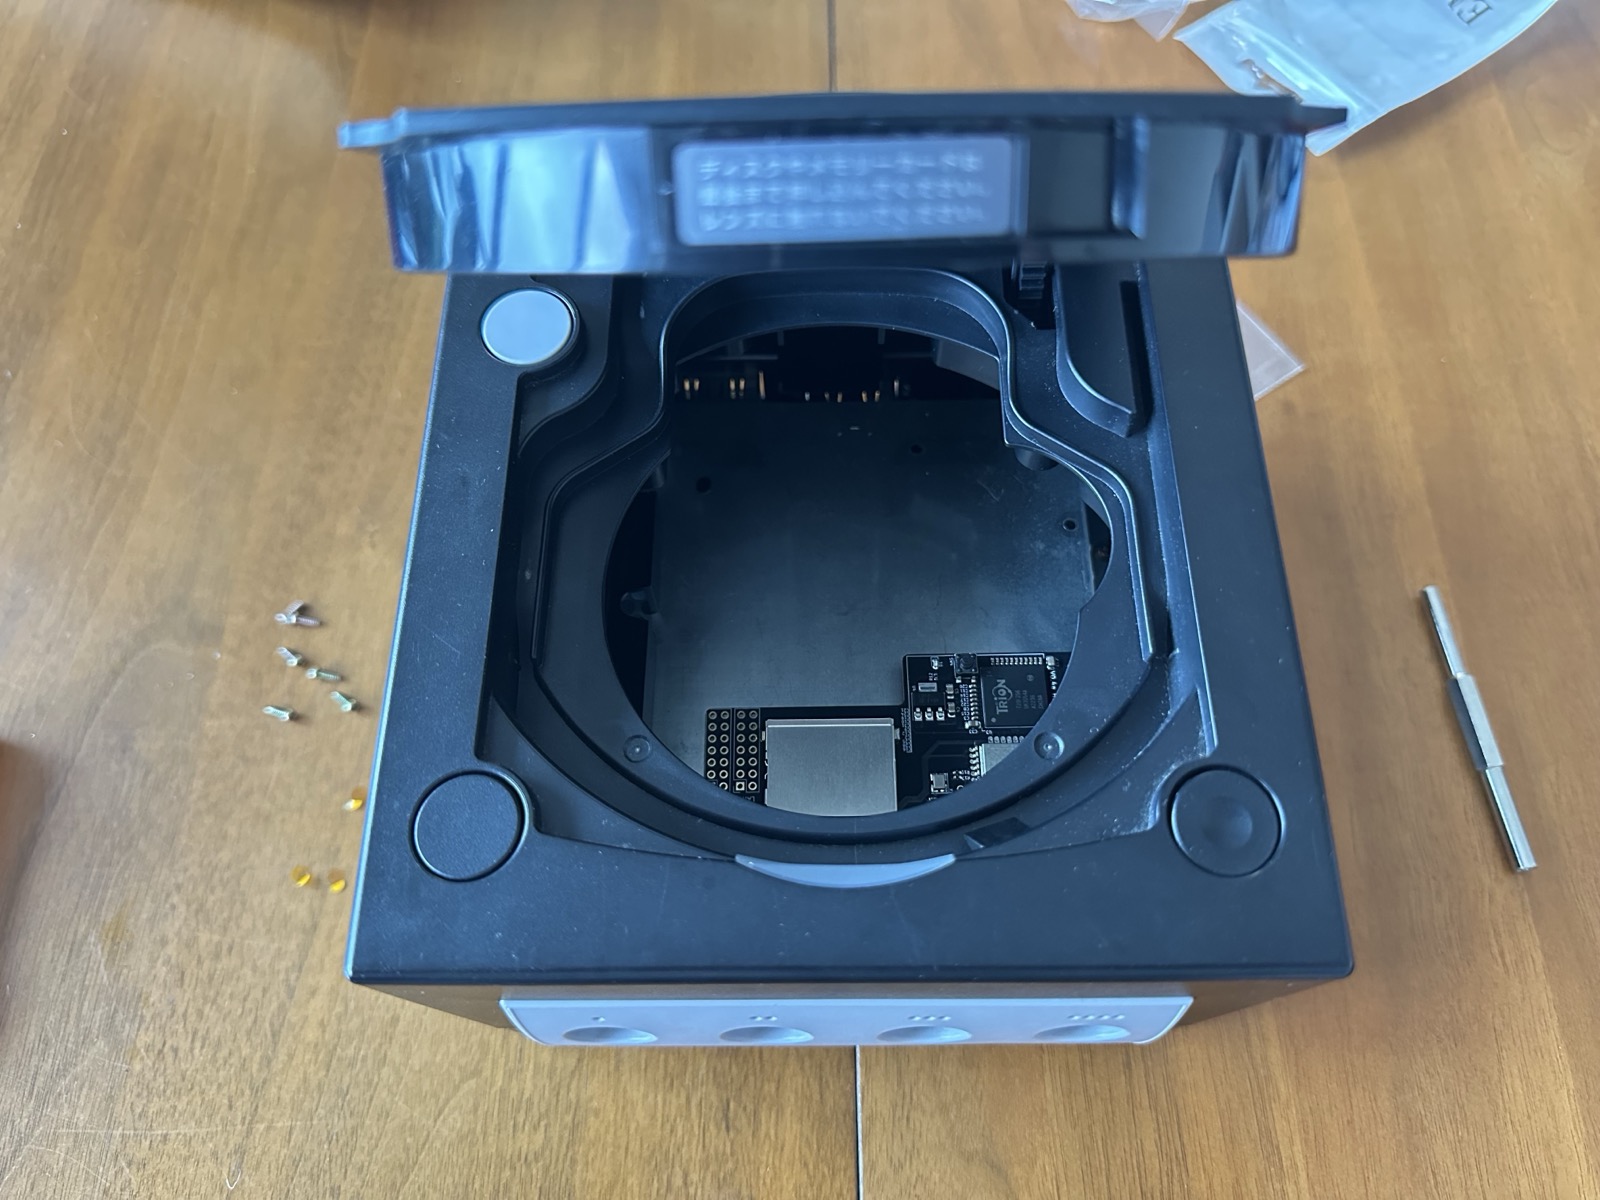
The GC Loader bolts straight onto the drive bay’s metal shield bracket — the same bracket that held the original drive — via the drive’s original ribbon/data connector footprint. No motherboard modification, no rewiring: it’s designed to be a drop-in replacement for that specific mechanical spot.
Buttoning it back up
With the case reassembled, the SD card slot ends up sitting exactly where a disc would normally go — visible and accessible through the disc-lid opening.
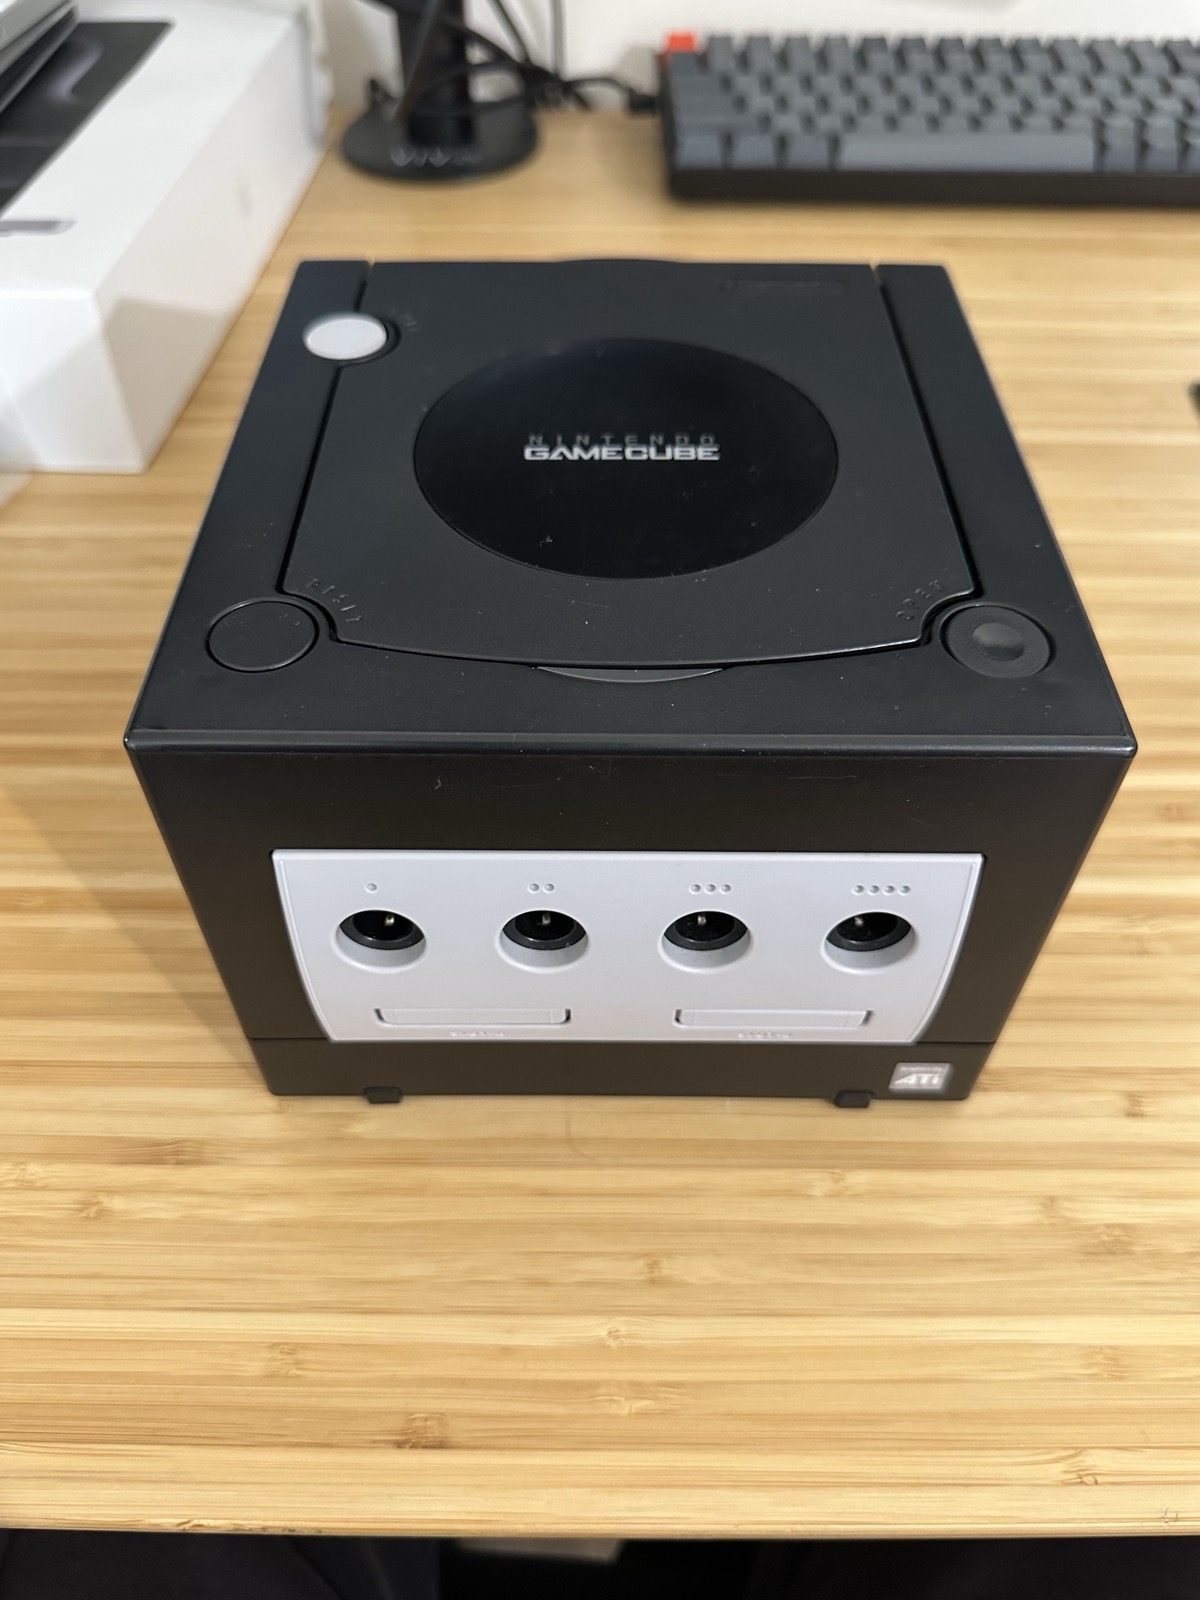
From the outside, the console looks completely stock — no visible sign anything changed.
Next up
The GC Loader can boot ISOs directly off the SD card on its own, but I’ll be adding Swiss as a proper front-end next — it’s not required, but it adds a real menu system and extras like forcing 480p on supported games. That’s a separate step from here, once the SD card is loaded up.