Can you install Windows XP on a retro system with no CD drive?
Easy2Boot is super useful tool that can prepare a USB flash drive to install almost any version of Windows. Here’s how to use it!
What you need
- 16GB (or larger) USB stick
- Easy2Boot
- Windows XP SP3 ISO
Step 1 - Download and extract Easy2Boot
First download and extract Easy2Boot+DPMS. This is a special version of Easy2Boot with the mass storage drivers required for Windows XP install:

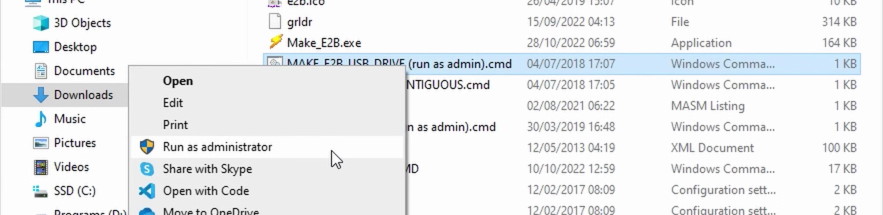
With the files extracted, run MAKE_E2B_USB_DRIVE.cmd as Administrator:
Step 2 - Prepare USB drive
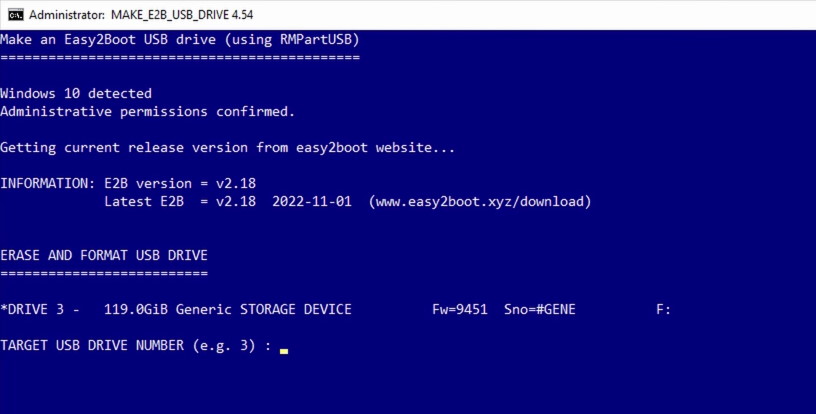
In the command window, select your target USB drive (in this case it’s 3 - 119.0GiB Generic STORAGE DEVICE). Then hit Y to format the drive and 0 to set the default partition options. You’ll get one last warning. Hit OK to start the partition and format process:
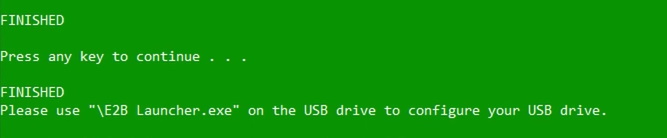
Once the format is done, repeatedly hit Enter to accept the default options (we don’t need to do anything special here). When the process is complete the command window will turn green. Just hit Enter to close:
With the USB stick prepared, you should have two partitions:

E2Baka “Easy2Boot” partition. Any ISOs or images you copy in here will be bootable via the Easy2Boot menu systemE2B_PTN2aka “Easy2Boot Data” partition. A simple FAT partition, any files you copy here will be mounted on the host operating system when you boot via Easy2Boot
Step 3 - Copy Windows XP ISO
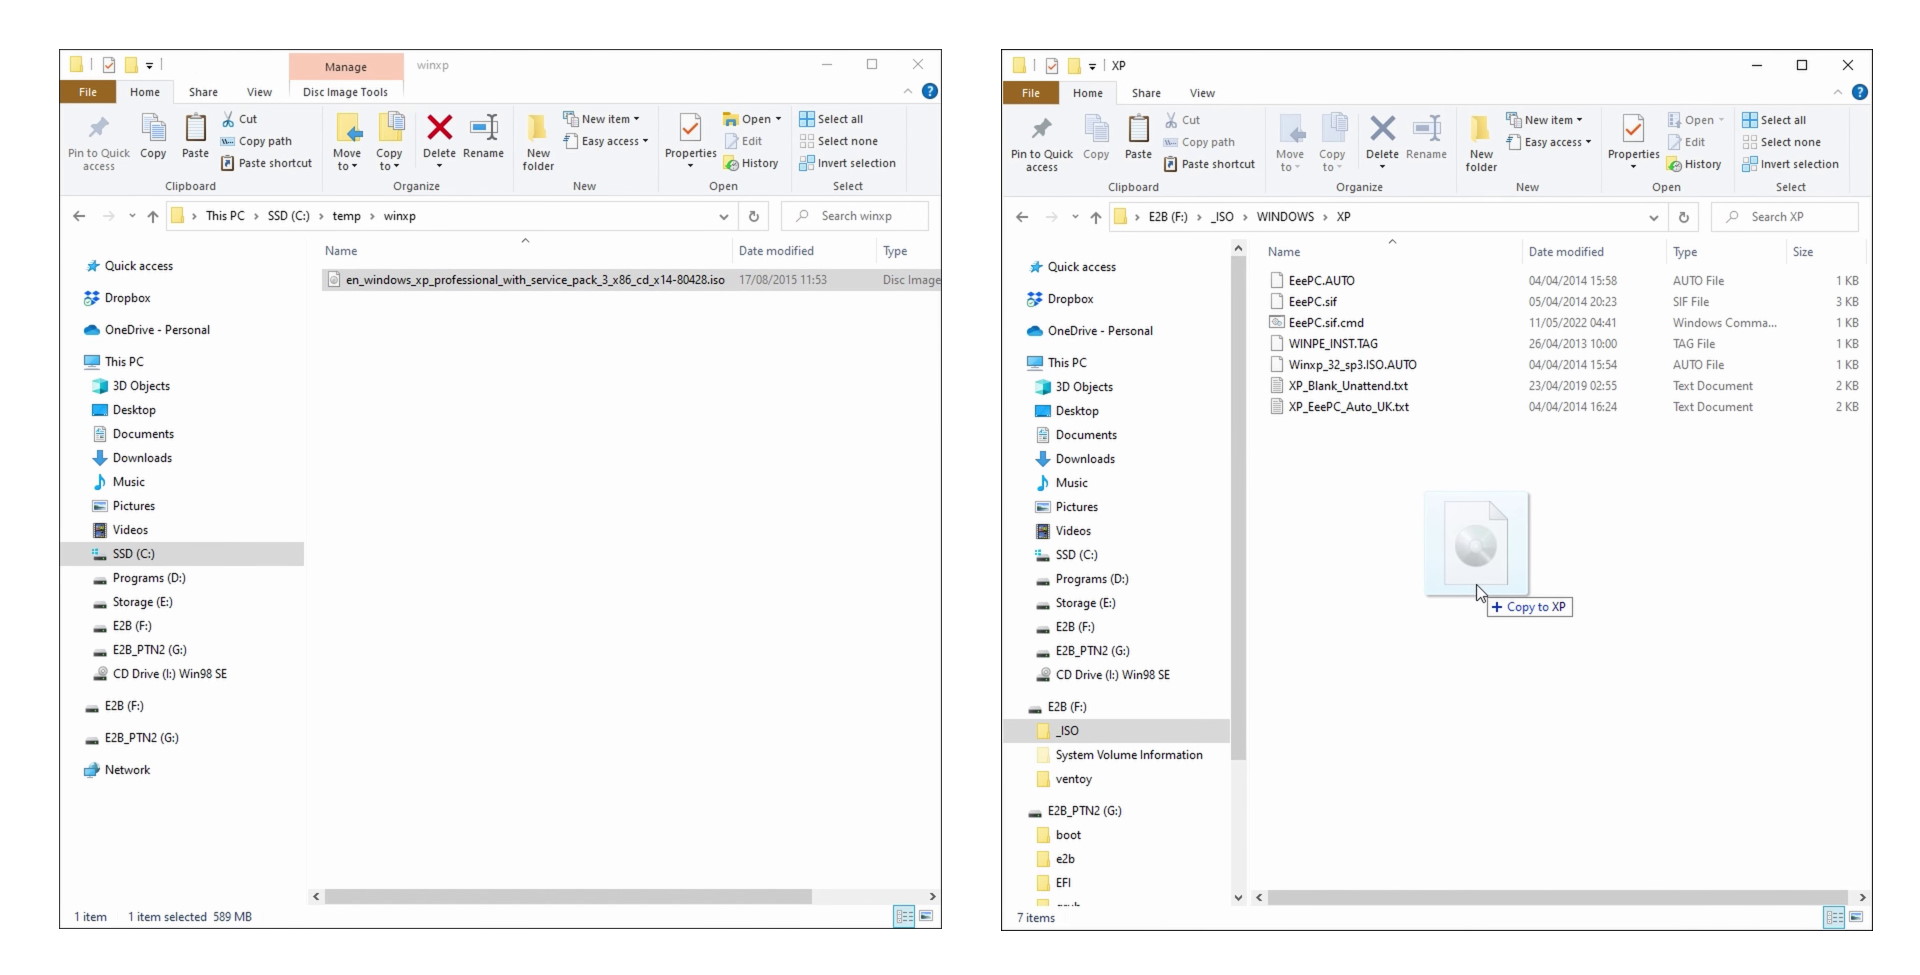
Copy your Windows XP ISO over to the \_ISO\WINDOWS\XP folder on your Easy2Boot (E2B) partition:
Step 4 - Boot from USB stick, install Windows XP
Insert the Easy2Boot USB stick and power on your retro PC. The system will recognize the USB drive and load the Easy2Boot menu system.
The Windows XP install has two phases:
- Text mode install (for disk preparation, copying installation files etc)
- Graphics mode setup (for OS install, configuration etc)
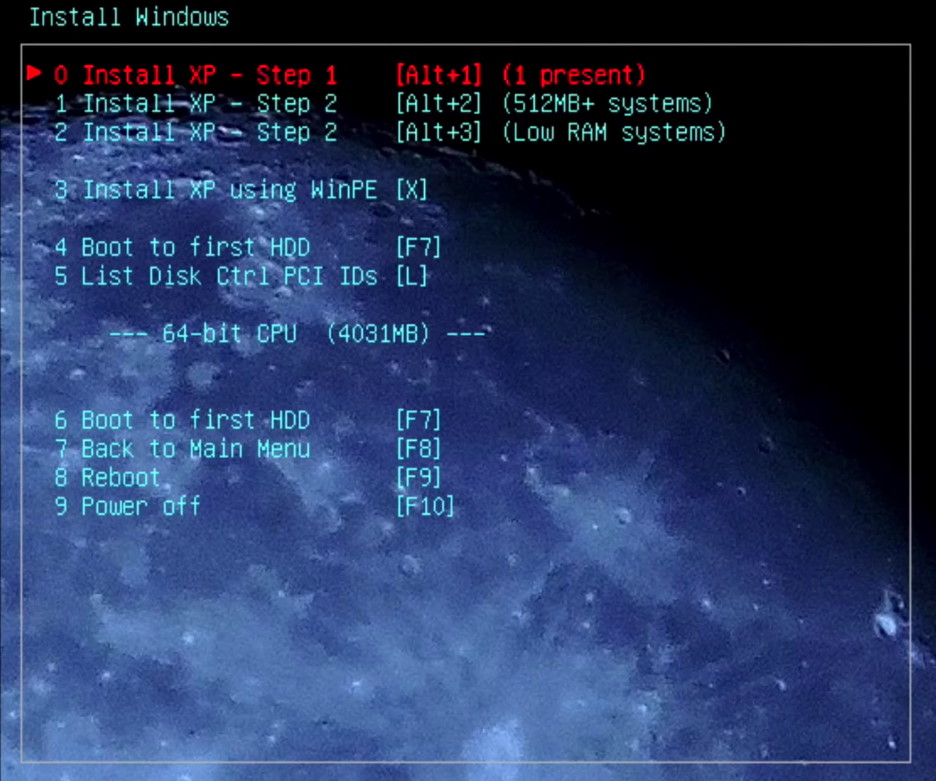
Select WINDOWS INSTALL Menu, then Install XP - Step 1 to start the first phase:
Step 5 - Prepare disks, copy install files
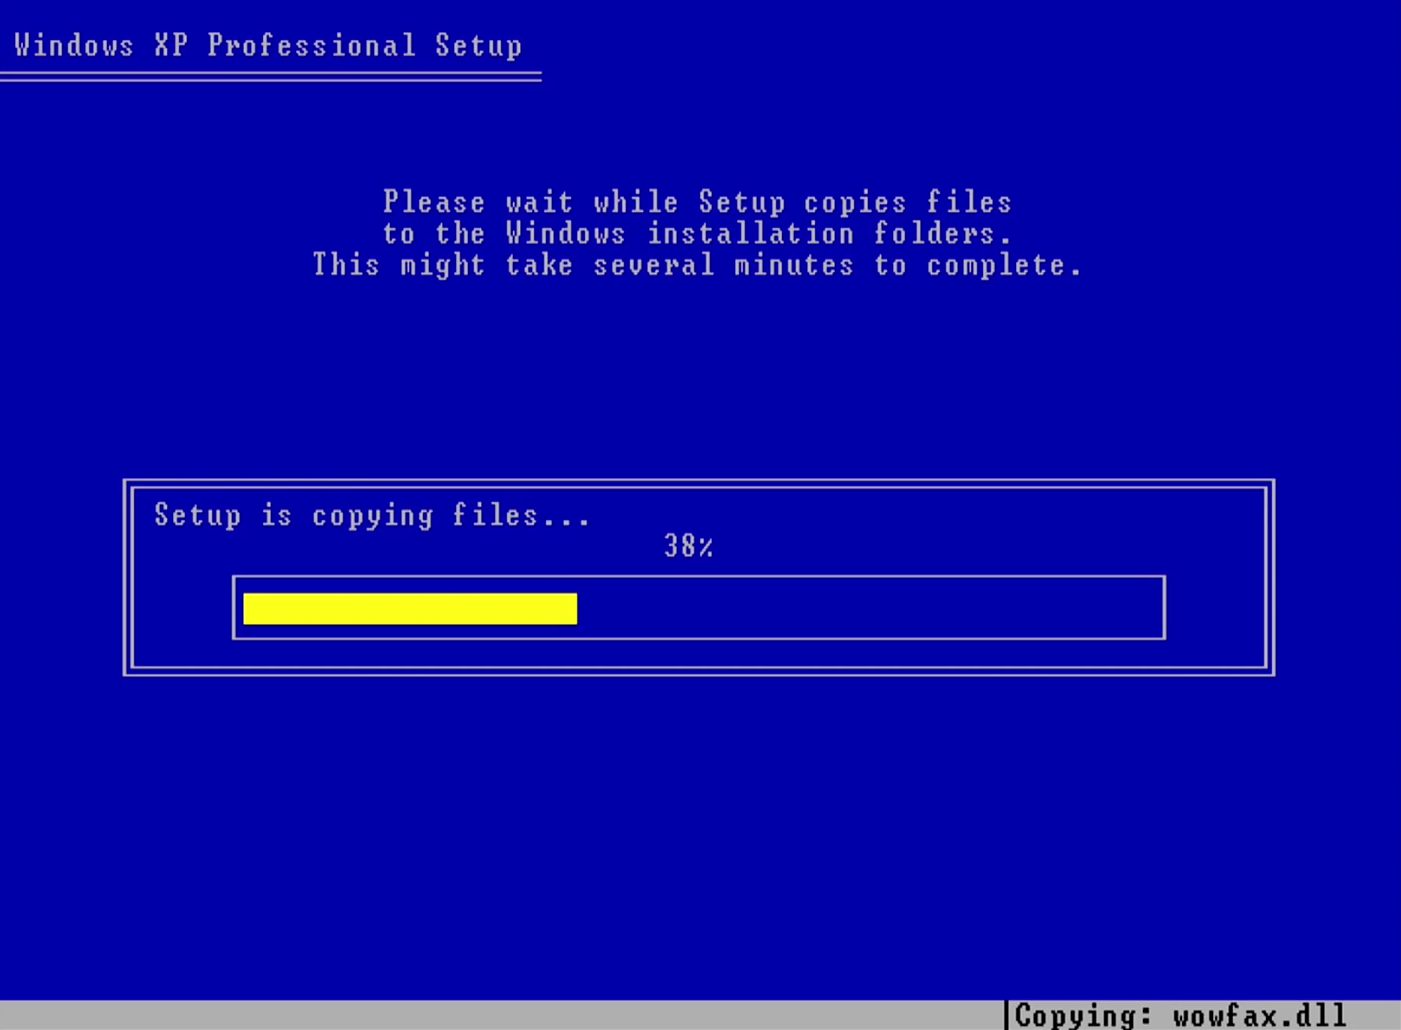
Windows will boot into the text mode installation menu.
Follow the on-screen prompts to partition/format your hard disk and copy Windows installation files.
Step 6 - Configure Windows XP
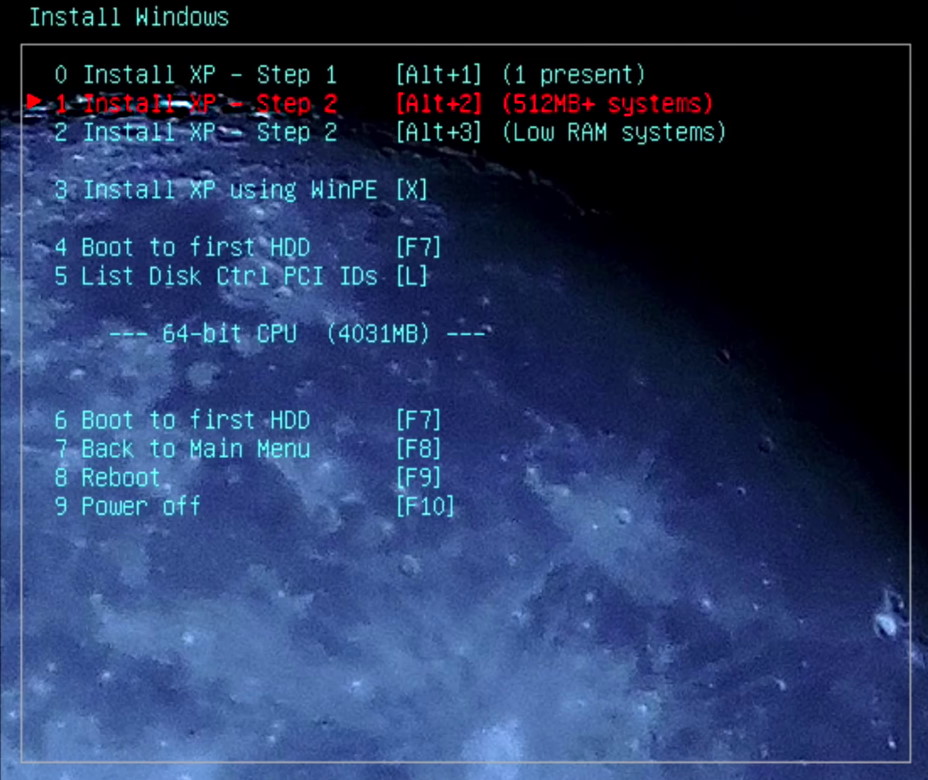
After some time, your PC will reboot to the Easy2Boot menu. This time, select Install XP - Step 2 to start the graphics mode setup:
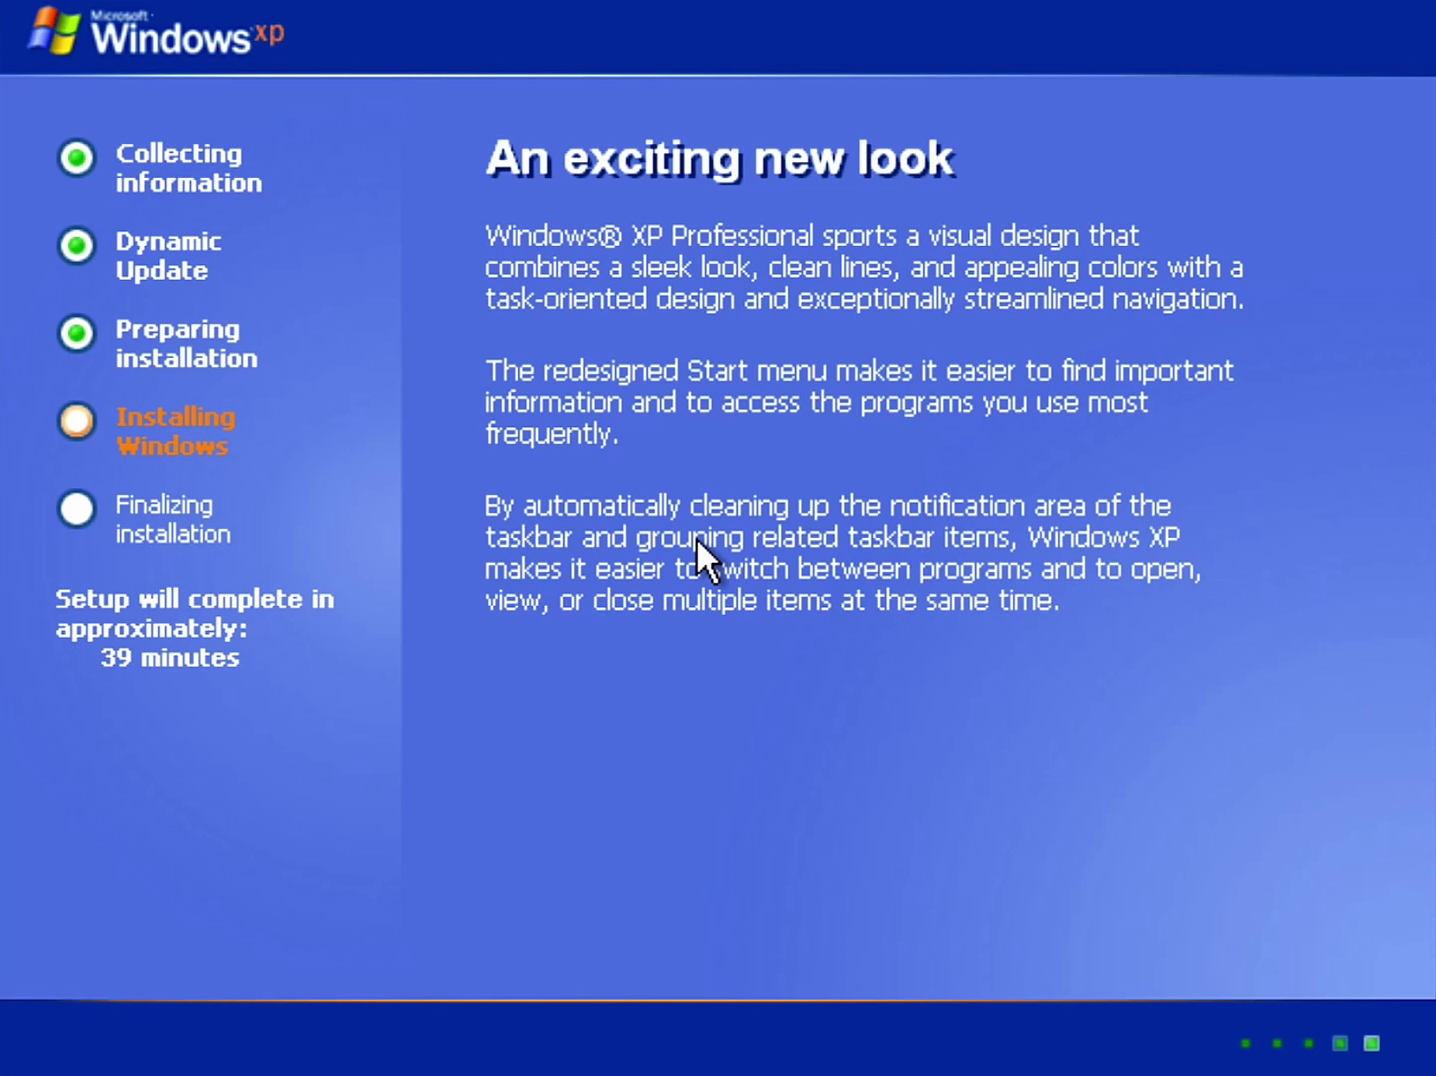
Follow the on-screen prompts to configure Windows. The default options are suitable for most installations.
Setup 7 - Boot Windows XP
After one last reboot, Windows XP will load for the first time. Enjoy!

More Windows articles
- I Tried to Turn a Dell Dimension E520 into a Windows 98 Retro PC - 30 Mar 2026
- I Tried to Turn a Dell OptiPlex 760 into a Windows 98 Retro PC - 29 Mar 2026
- The Ugly Dell That Became My Dream Retro Gaming PC - 28 Dec 2025
- The History of (and Nostalgia for) 3DMark - 21 Apr 2023
- How To Install Windows XP from USB Flash Drive with Easy2Boot - 08 Jan 2023
- How To Install Windows XP from USB Flash Drive with WinSetupFromUSB - 17 Sep 2022
- HP Compaq t5710 – How To Install Windows 98 from USB Flash Drive with Easy2Boot - 11 Jul 2021