The HP Compaq t5710 makes a great DOS and Windows 98 retro gaming machine. But how can you install Windows 98 on a system with no CD drive? Can you install from USB? Here’s how to do it.
What you need
- 32GB (or larger) USB stick
- HP Compaq t5710 thin client
- Easy2Boot
- Windows 98 SE install media – ISO and boot floppy
- Windows 98 driver package
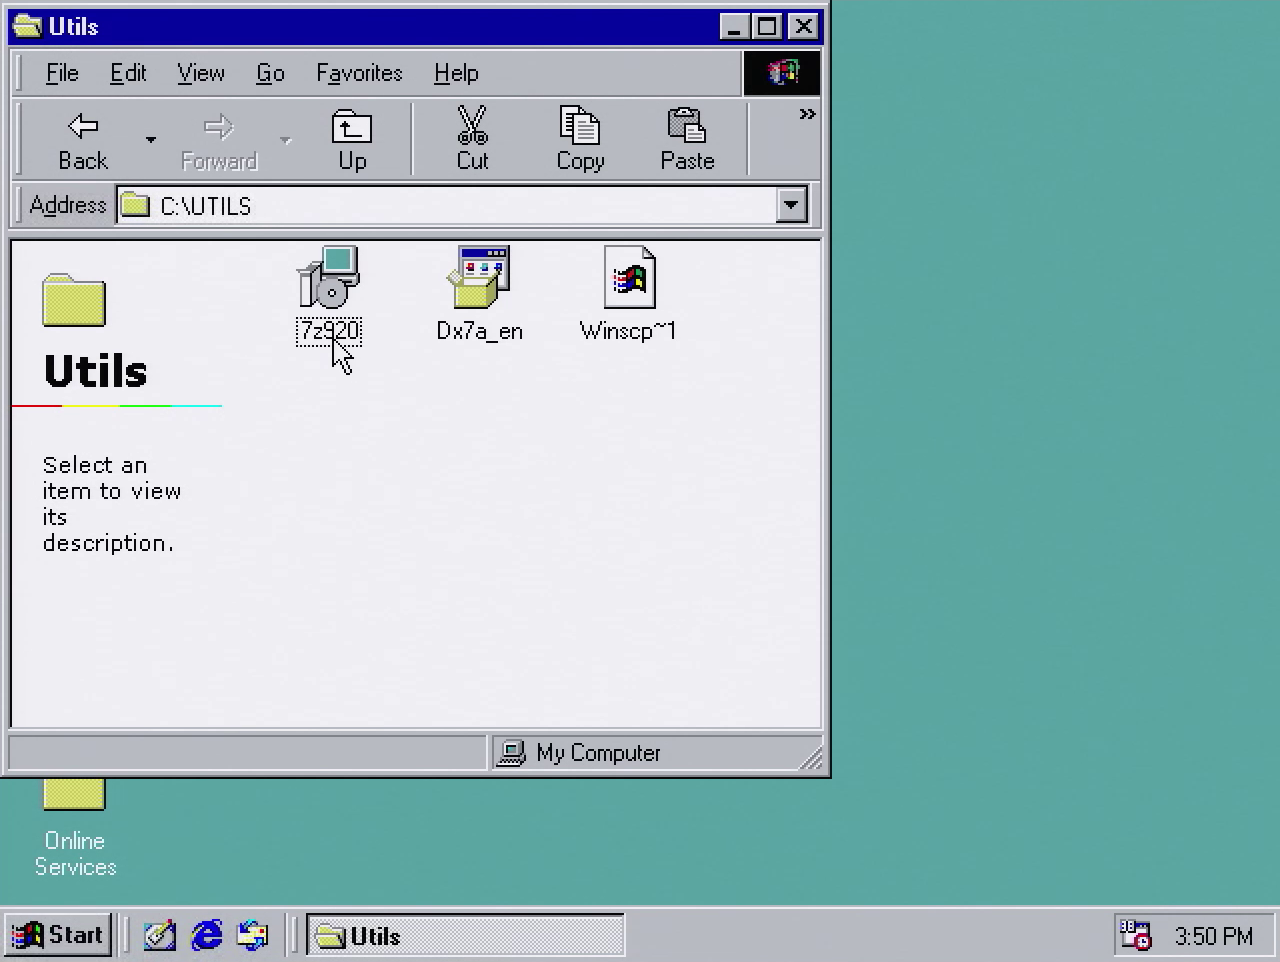
- Recommended utilities – 7-zip 9.20, DirectX 7.0a, WinSCP 4.39
These instructions will also work for other driveless PCs (e.g. HP t5000 Series thin clients) with some minor adjustments.
Step 1 - Download and install Easy2Boot
First download and install Easy2Boot. This is a super useful tool that can prepare a USB flash drive to boot almost any floppy or CD image - even when you don’t actually have a physical floppy or CD drive on your system. Perfect for our thin client build.
Easy2Boot likes to work with contigious (not fragmented) files - this is why we want a 32GB or larger USB drive. With smaller drives, our images might get fragmented and we might run into weird install or boot issues.
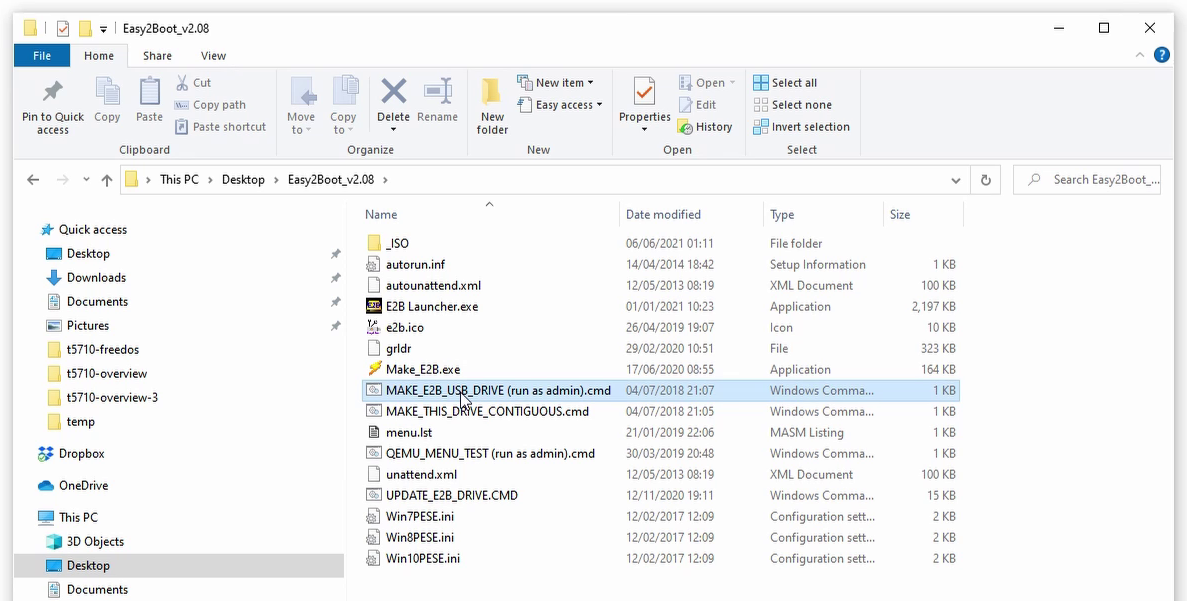
When the install completes, the Make_E2B utility will launch. Just ignore and close this. Instead, open the install folder and find MAKE_E2B_USB_DRIVE.cmd. Run this batch script as Administrator:
Step 2 - Prepare USB install media
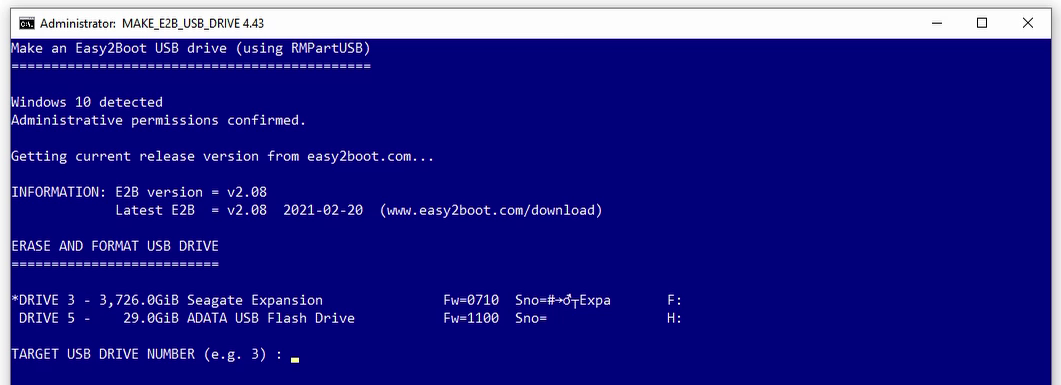
In the command window, select your target USB drive (in my case this is 5 - ADATA USB Flash Drive). Then hit Y to format the drive and 0 to set the default partition options. You’ll get one last warning. Hit OK to start the partition and format process.
Once the format is done, repeatedly hit Enter to accept the default options (we don’t need to do anything special here). When the process is complete the command window will turn green. Just hit Enter to close:

With the USB stick prepared, you should have two partitions:

E2Baka “Easy2Boot” partition. Any ISOs or images you copy in here will be bootable via the Easy2Boot menu systemE2B_PTN2aka “Easy2Boot data partition”. Any files you copy here will be mounted on the host operating system when we launch via Easy2Boot
Step 3 - Copy Windows install files
We’ll plan to install Windows 98 from hard drive. This will make the install much faster and it’s also super useful to have the install files on our hard drive so we don’t have to keep mounting the Windows 98 CD in future.
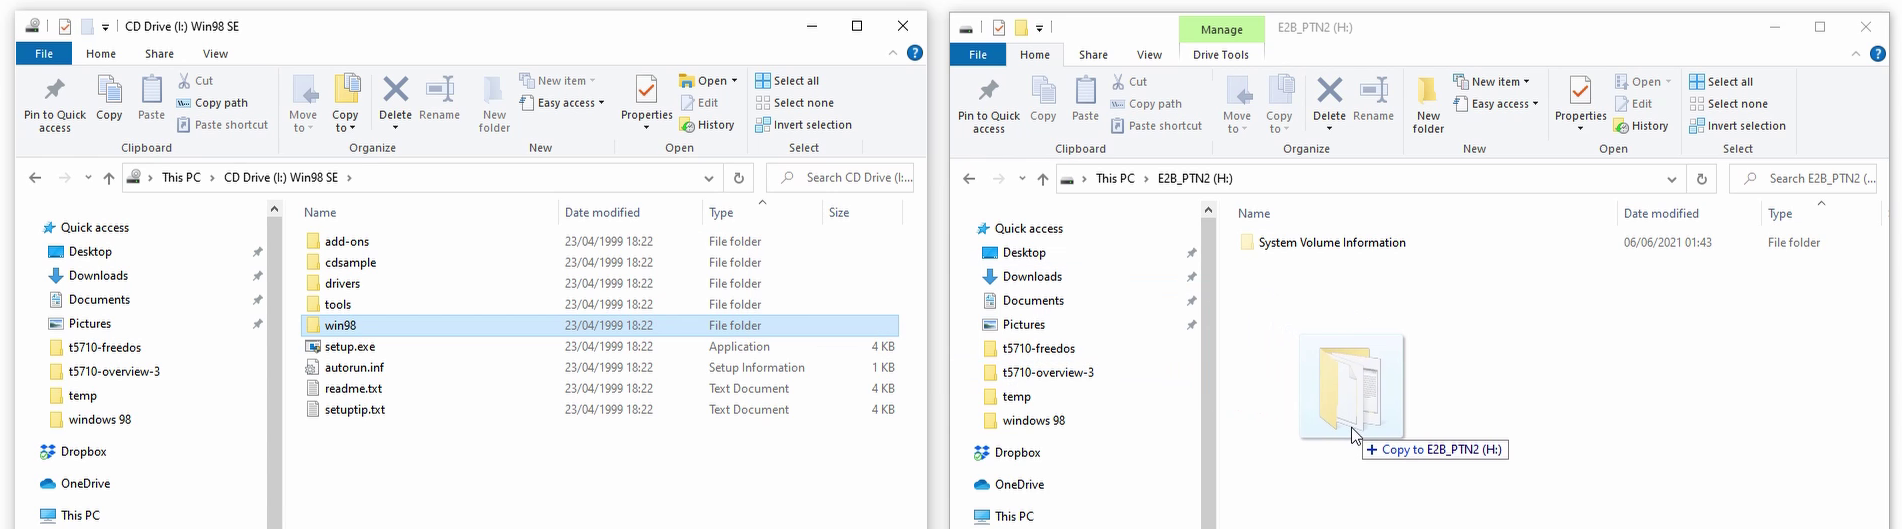
First, download the Windows 98 SE ISO. Double-click to mount it as a new drive.
Copy the win98 folder over to the Easy2Boot data partition (E2B_PTN2):
Next we need boot media. Download the Windows 98 boot floppy and copy it to the \_ISO\WIN folder on your Easy2Boot (E2B) partition:
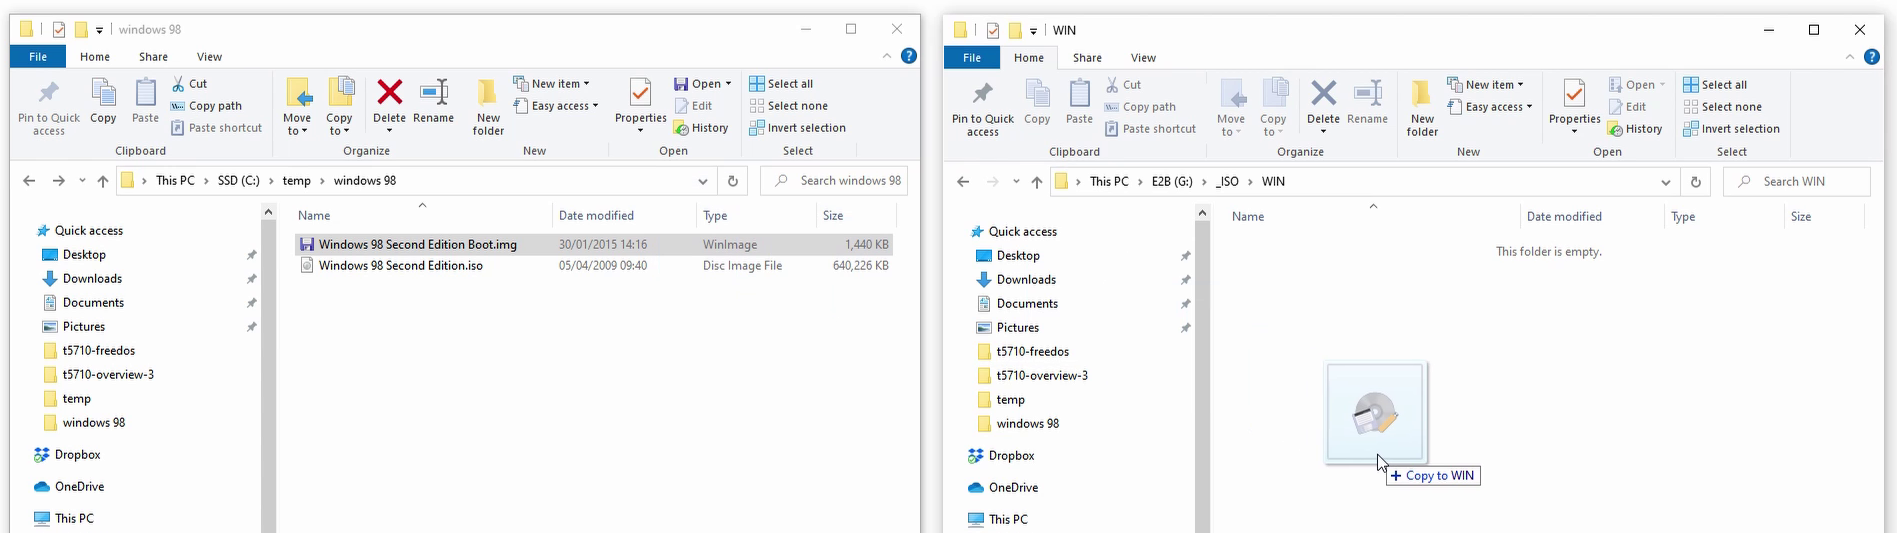
Once the copy is done, we need to change the file extension. Rename the file, and change the extension to imgfdhd01. This tells Easy2Boot that this is a floppy image, and to mount the thin client internal drive as drive C - which is what we need for Windows 98 install:

Step 4 - Copy drivers and utilities
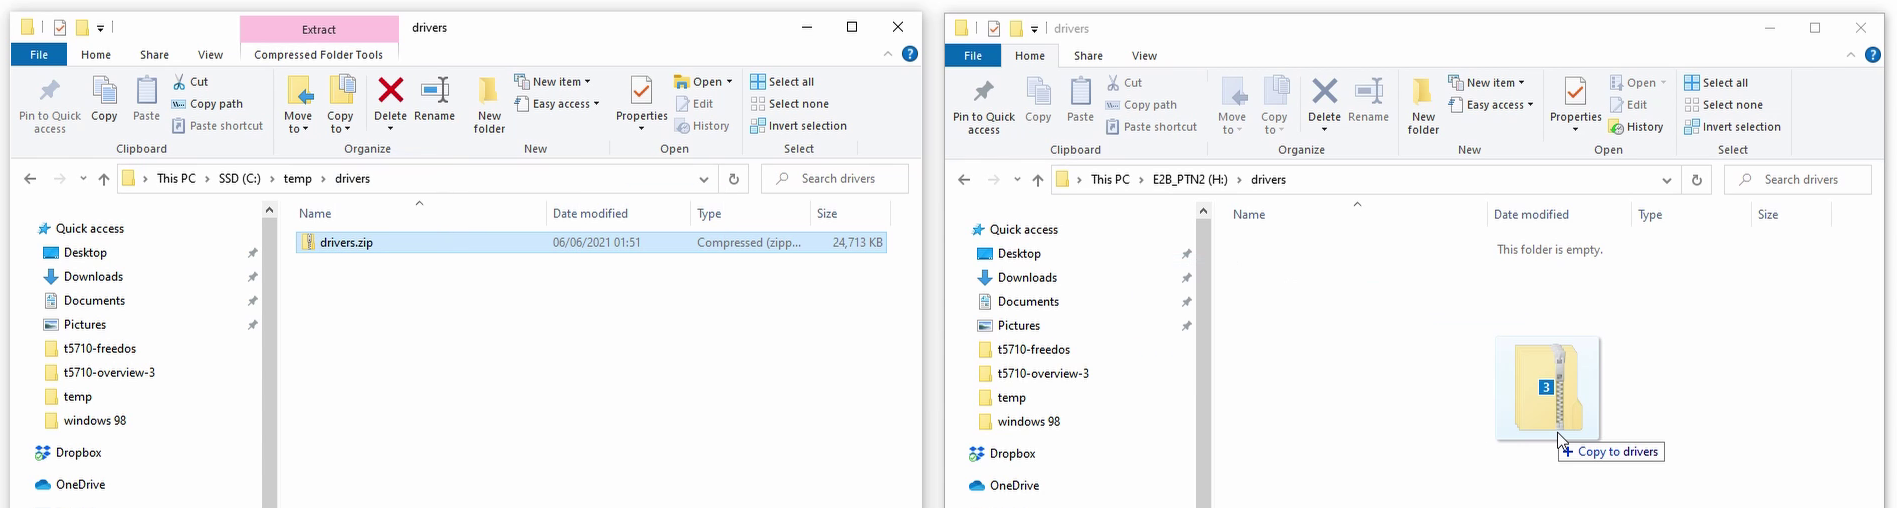
Lastly, download and copy the Windows 98 driver package to the Easy2Boot data partition (E2B_PTN2). This contains the chipset, graphics and audio drivers for our thin client hardware:
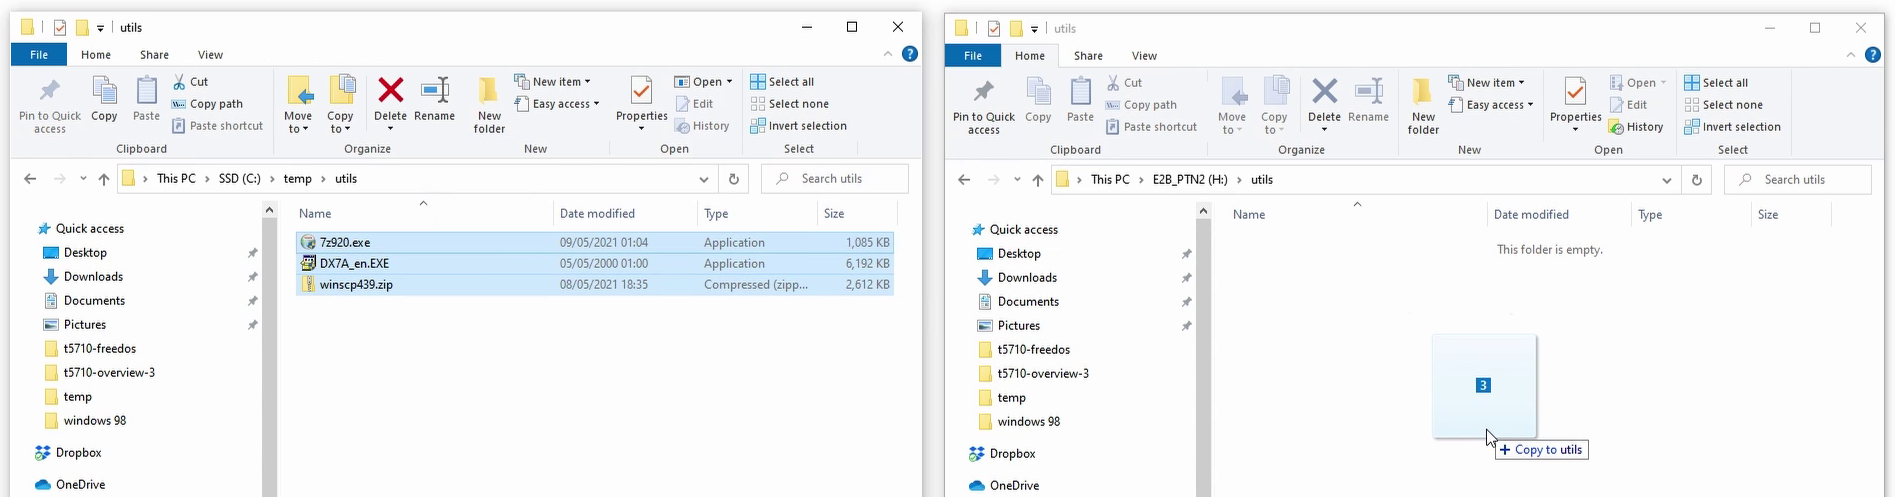
You’ll also need a zip utility to extract the drivers. I recommend 7-zip 9.20. DirectX 7.0a and WinSCP 4.39 (an FTP client) are also useful. Copy them all to the Easy2Boot data partition:
That’s our USB setup done. Remove the USB stick and switch over to the thin client.
Step 5 - Partition thin client internal hard disk
Next we need to prepare the thin client internal hard drive for Windows 98 install. Insert the Easy2Boot USB stick and power on the thin client. The system will recognize the USB drive and load the Easy2Boot menu system.
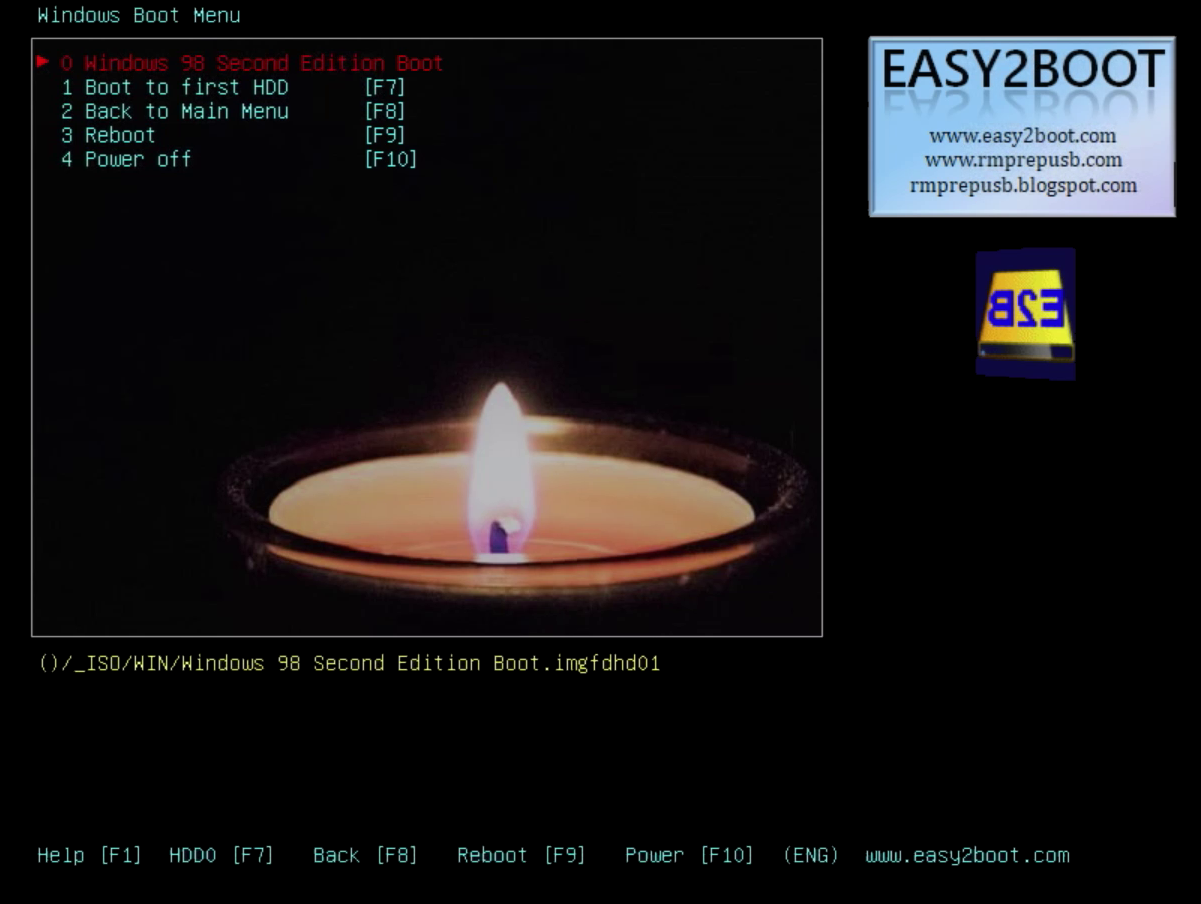
From the menu, select Windows Boot - this will load the Windows boot menu - and then select Windows 98 Second Edition Boot. This will boot from our Windows 98 floppy image:
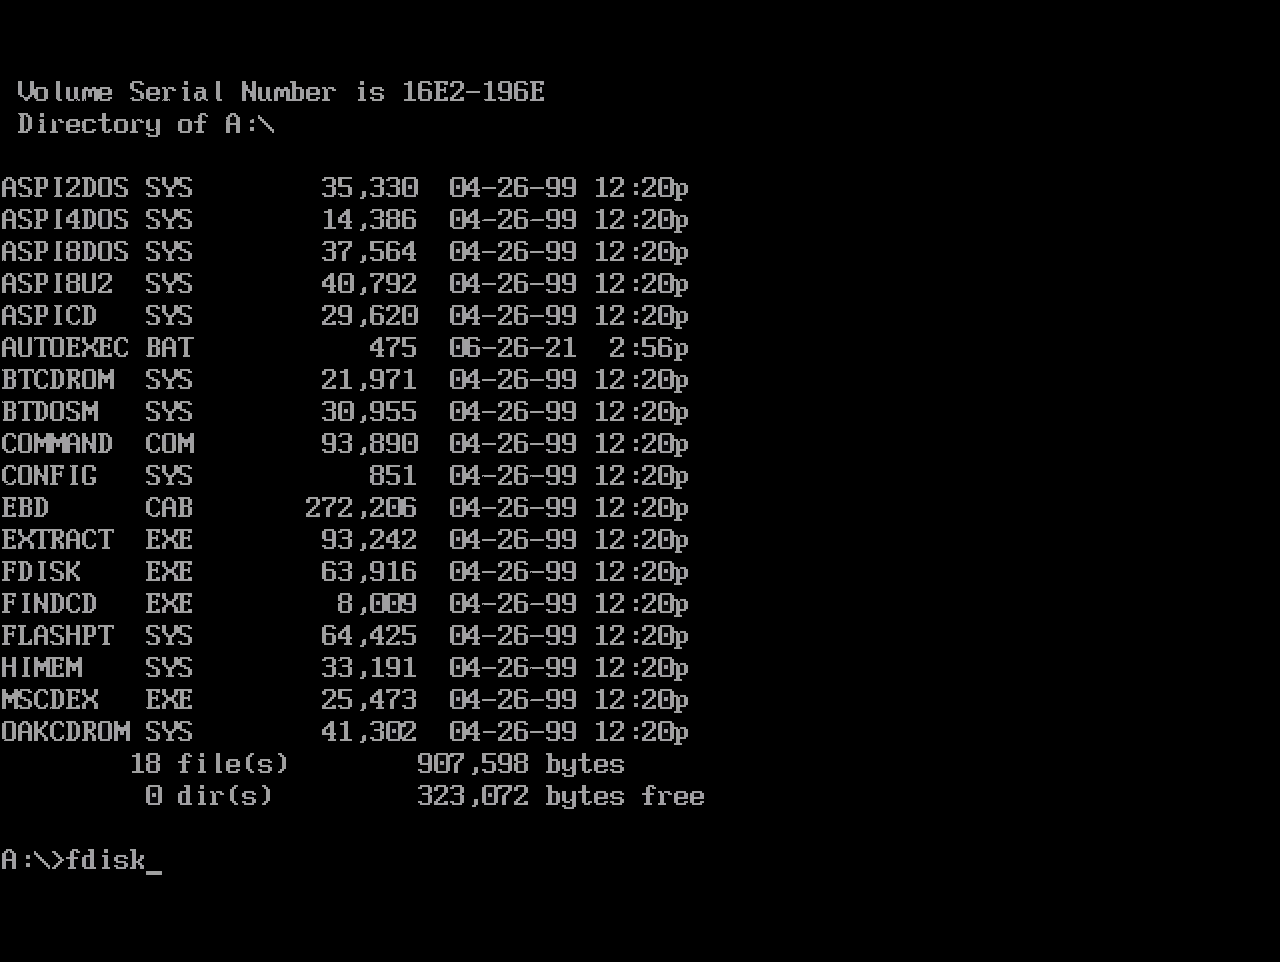
On succesful boot, you should be at the DOS with the Windows 98 floppy image mounted as A:. Type fdisk to launch the Microsoft Fixed Disk Partition Tool:
This is not a guide on how to use FDISK (there are plenty of others out there). Also the steps required here will vary depending on your hardware and disk setup. For my build, I did the following:
Yto enable FAT32 support3to delete partitions and then1to delete the Primary DOS partition1to create a new partition, and then1again to create a Primary DOS partitionYto use the maximum available parition size2to activate our new partition</code>- Hit
Esca few times to exit
Once you’ve made partition changes, restart the system and boot from the Windows 98 floppy again:

Step 6 - Format thin client internal hard disk
Back at the DOS prompt. Before we install Windows 98, we need to format the internal hard disk. Type format c: and then Y to start the format process:

Step 7 - Copy Windows install files, drivers and utilities to hard disk
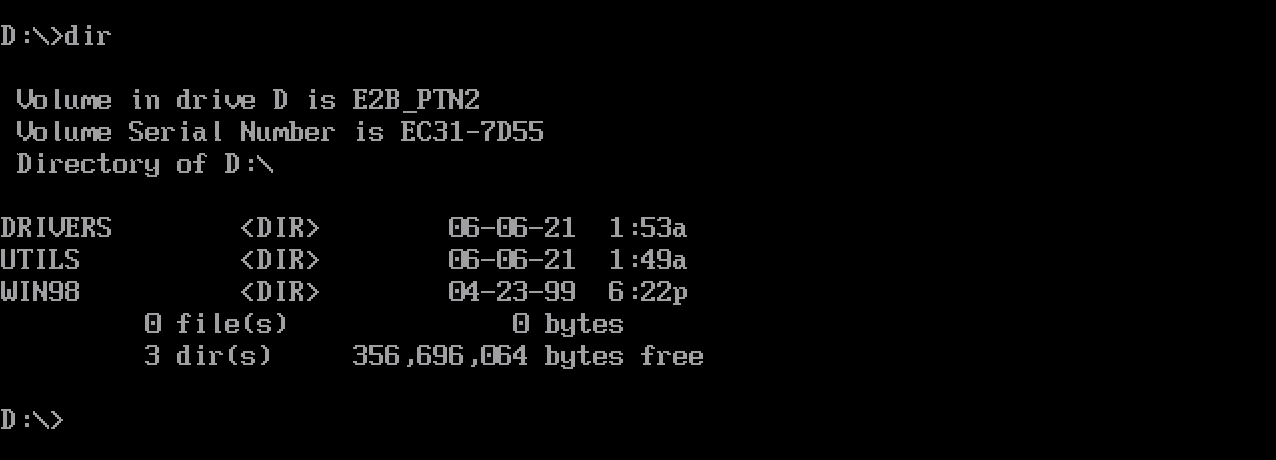
With the format complete, it’s time to copy the Windows 98 install files (from Step 3 above) and drivers/utilities (from Step 4) to the thin client internal hard disk. You’ll find them mounted and available on drive D::
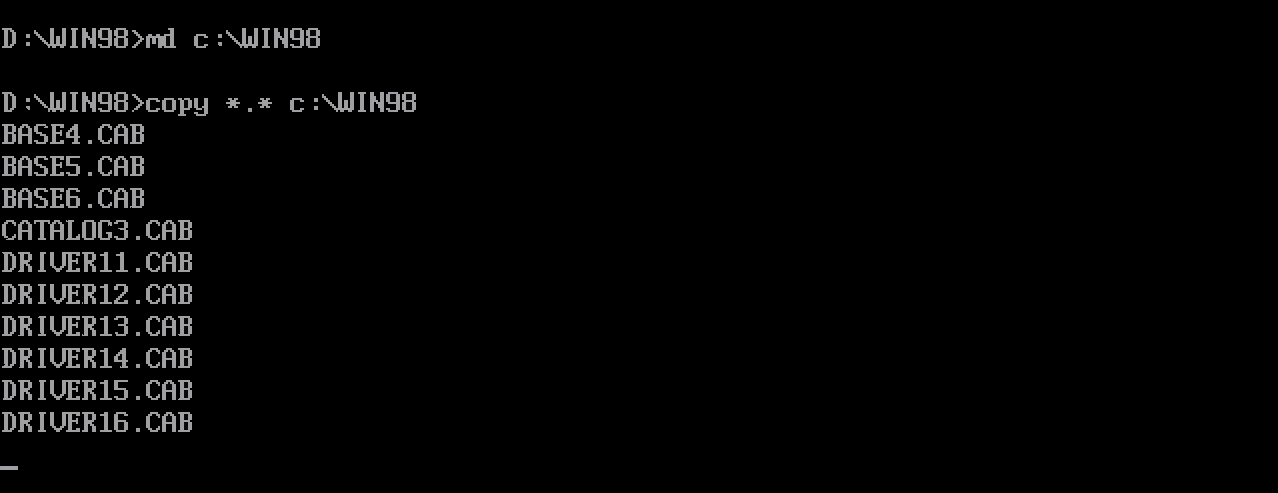
Use the DOS copy command to bring them across to drive C:
md C:\WIN98
copy D:\WIN98\*.* C:\WIN98

md C:\DRIVERS
copy D:\DRIVERS\*.* C:\DRIVERS

md C:\UTILS
copy D:\UTILS\*.* C:\UTILS
With everything safely on our internal hard disk, we’re ready to start the Windows 98 install process.
Step 8 - Install Windows 98
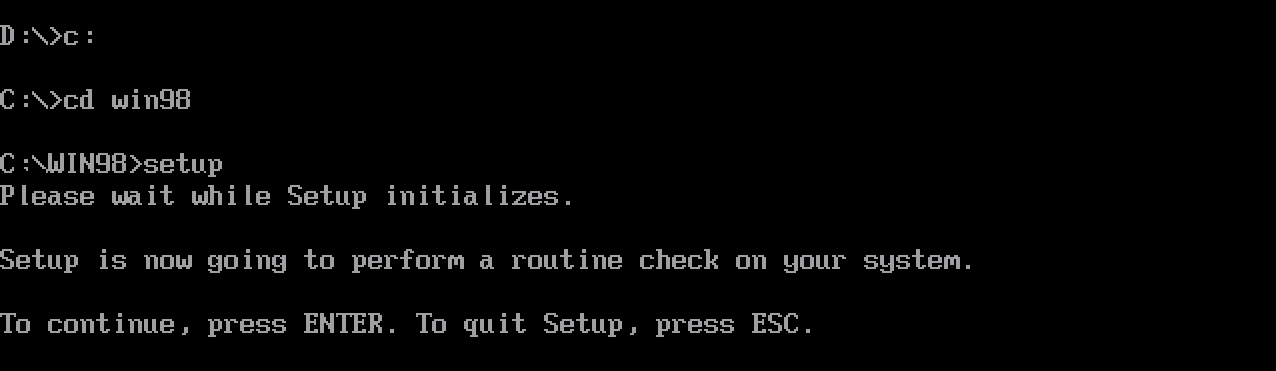
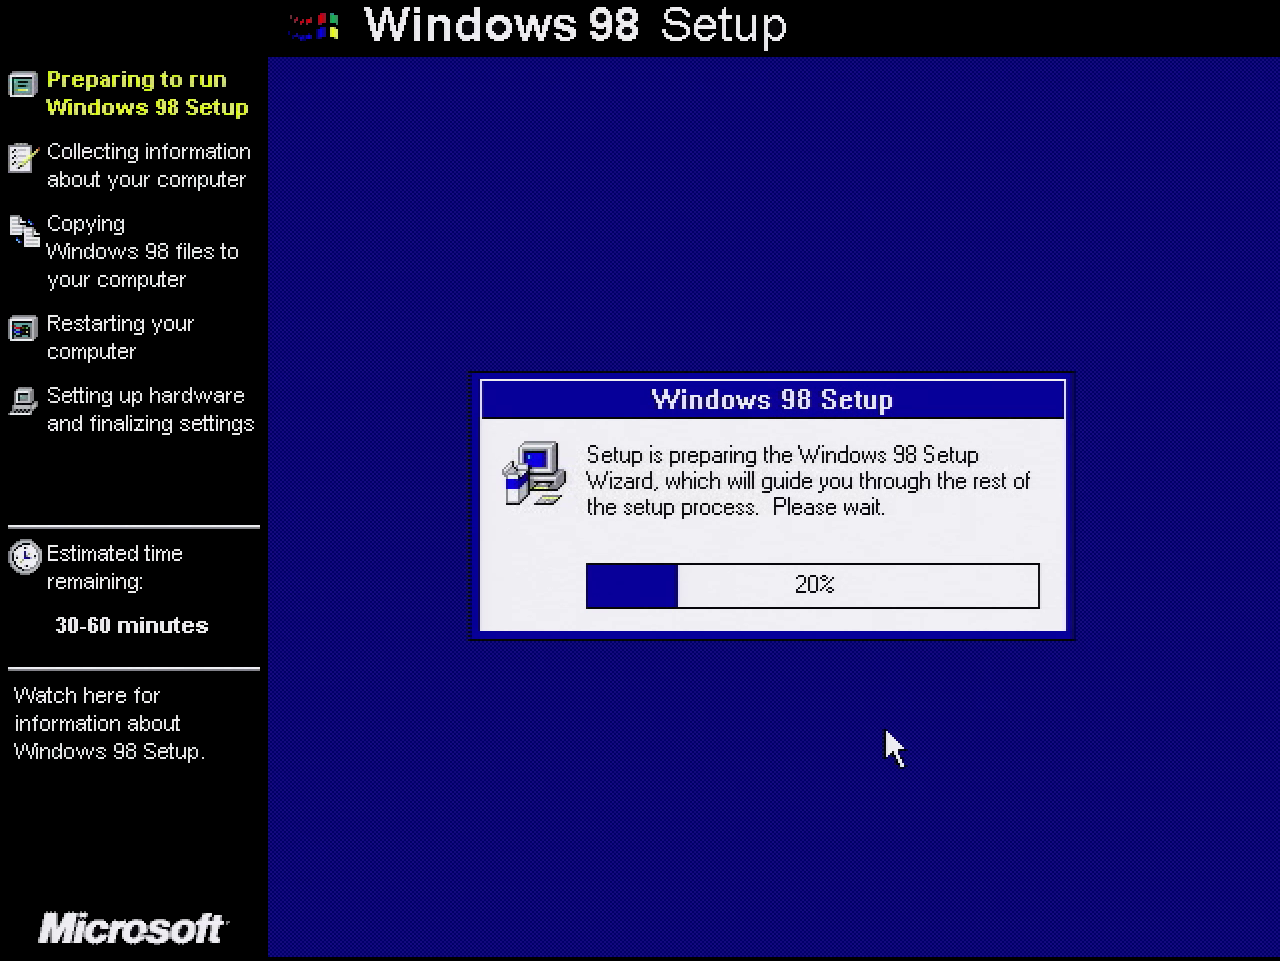
Run C:\WIN98\SETUP.EXE to launch Windows 98 setup. Follow all the defaults to install Windows 98:
Step 9 - Install 7-Zip
When Windows 98 loads, first install 7-Zip. We need this to extract the drivers. Double click to install:
Step 10 - Install drivers
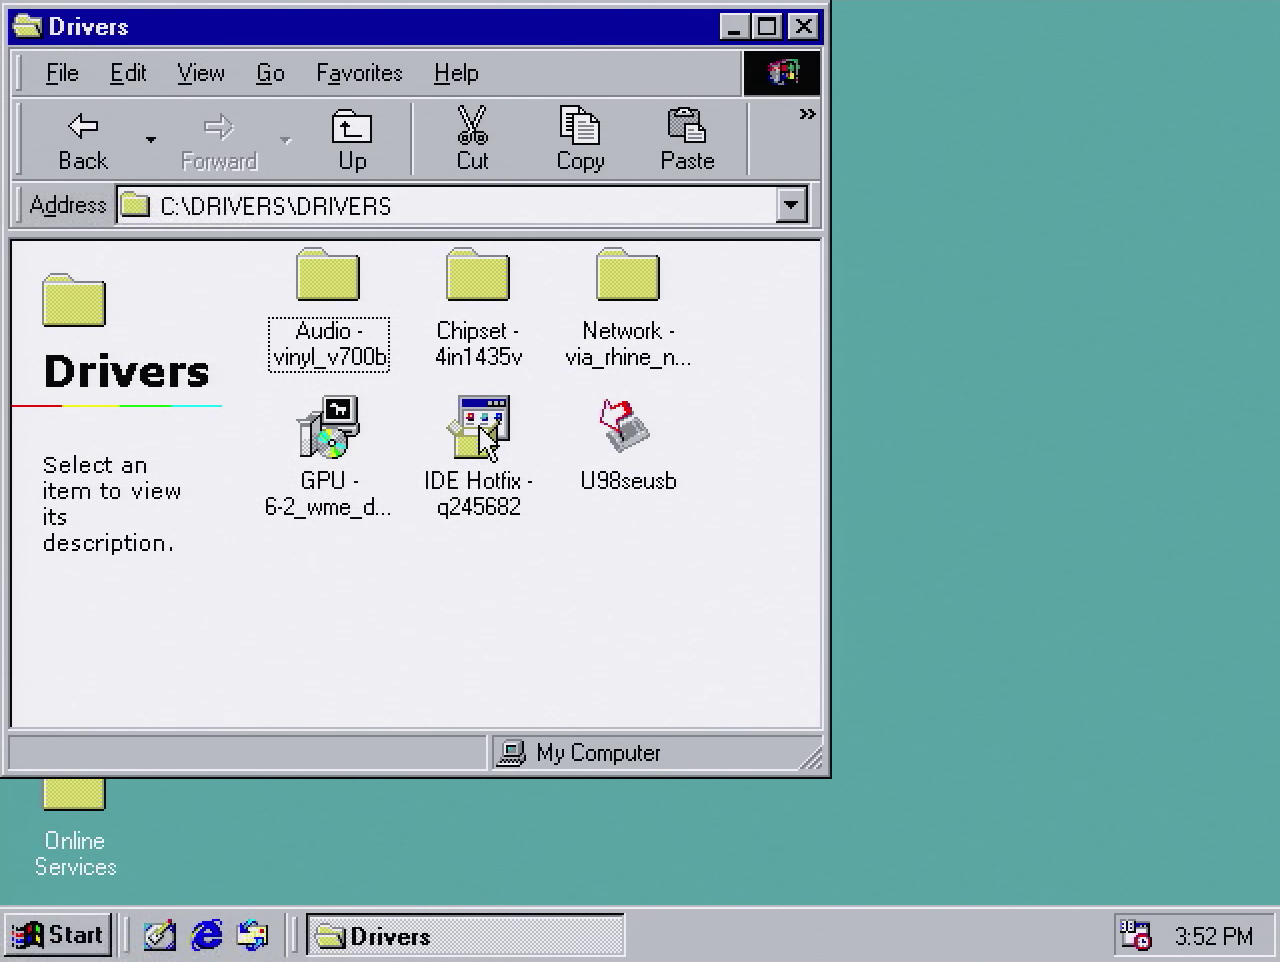
With 7-Zip installed, extract and then install drivers in the following order. The sequencing is important here. If you do this out of order, it won’t work:
- IDE Hotfix (
IDE Hotfix - q245682.exe). This is required to make the thin client IDE controller work correctly in Windows 98 - Chipset drivers (
Chipset - 4in1435v\Setup.exe)
With these two installed, you can install the following in any order:
- GPU drivers (
GPU - 6-2_wme_dd_cp_30314.exe) - Audio drivers (
Audio - vinyl_v700b\SETUP.EXE) - Network drivers (
Network - via_rhine_ndis5_v384a\WinSetup.exe)
You’ll need to reboot after each driver install - it’ll take a while. But once complete you’ll have a fully working Windows 98 install. Enjoy!
More t5710 articles
- I added a 3dfx Voodoo2 to a Thin Client PC - 15 Feb 2022
- Playing Quake 2 on 3dfx Voodoo 2, on Windows 98 SE, on my HP Compaq Thin Client. A minor miracle this works as well as it does. Also v happy with my railgun skills - still got it! - 13 Feb 2022
- HP Compaq t5710 – Using a PS/2 Splitter Cable - 13 Nov 2021
- HP Compaq t5710 – How To Install Windows 98 from USB Flash Drive with Easy2Boot - 11 Jul 2021
- HP Compaq t5710 Review – Great for DOS and Windows 98 Gaming? - 11 Jul 2021
- How To Install Windows 98 from USB Flash Drive with Easy2Boot - HP Compaq t5710 - 11 Jul 2021
- HP Compaq t5710 Review - The Best Mini PC for DOS Gaming? - 02 Jun 2021
- Time to build a DOS gaming PC. Went for the cheap option: HP Compaq t5710 Thin Client, 800MHz Transmeta Crusoe CPU, 256Mb RAM, Sound Blaster Pro hardware compatibility, 1x PCI slot. Will definitely add Voodoo graphics, maybe OPL3LPT - 19 Sep 2020
Comments