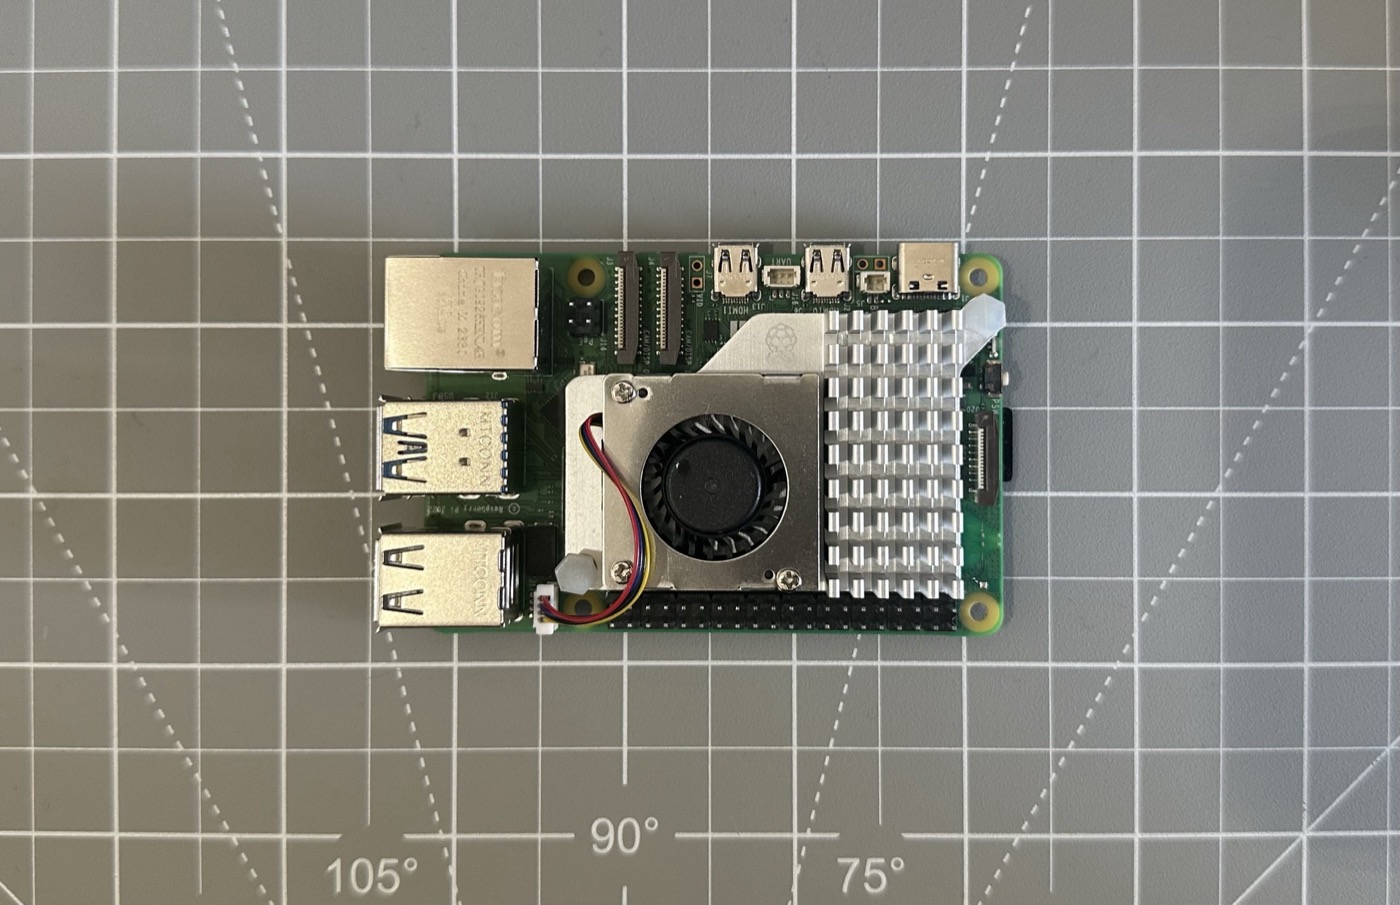
Folks mostly use a Raspberry Pi for home automation, or as a media center. I had something bigger in mind: getting Valve’s Half-Life 2 running on one, in the next five minutes, from a cold start.
The spark: a GitHub find
The idea came from browsing GitHub and stumbling on nillerusr/source-engine — a fork carrying the full source code to Valve’s Source Engine, the engine behind Half-Life 2, Counter-Strike, and Portal. The great thing about having the actual source is that you can, at least in theory, build it for any platform you want. Including a Pi.
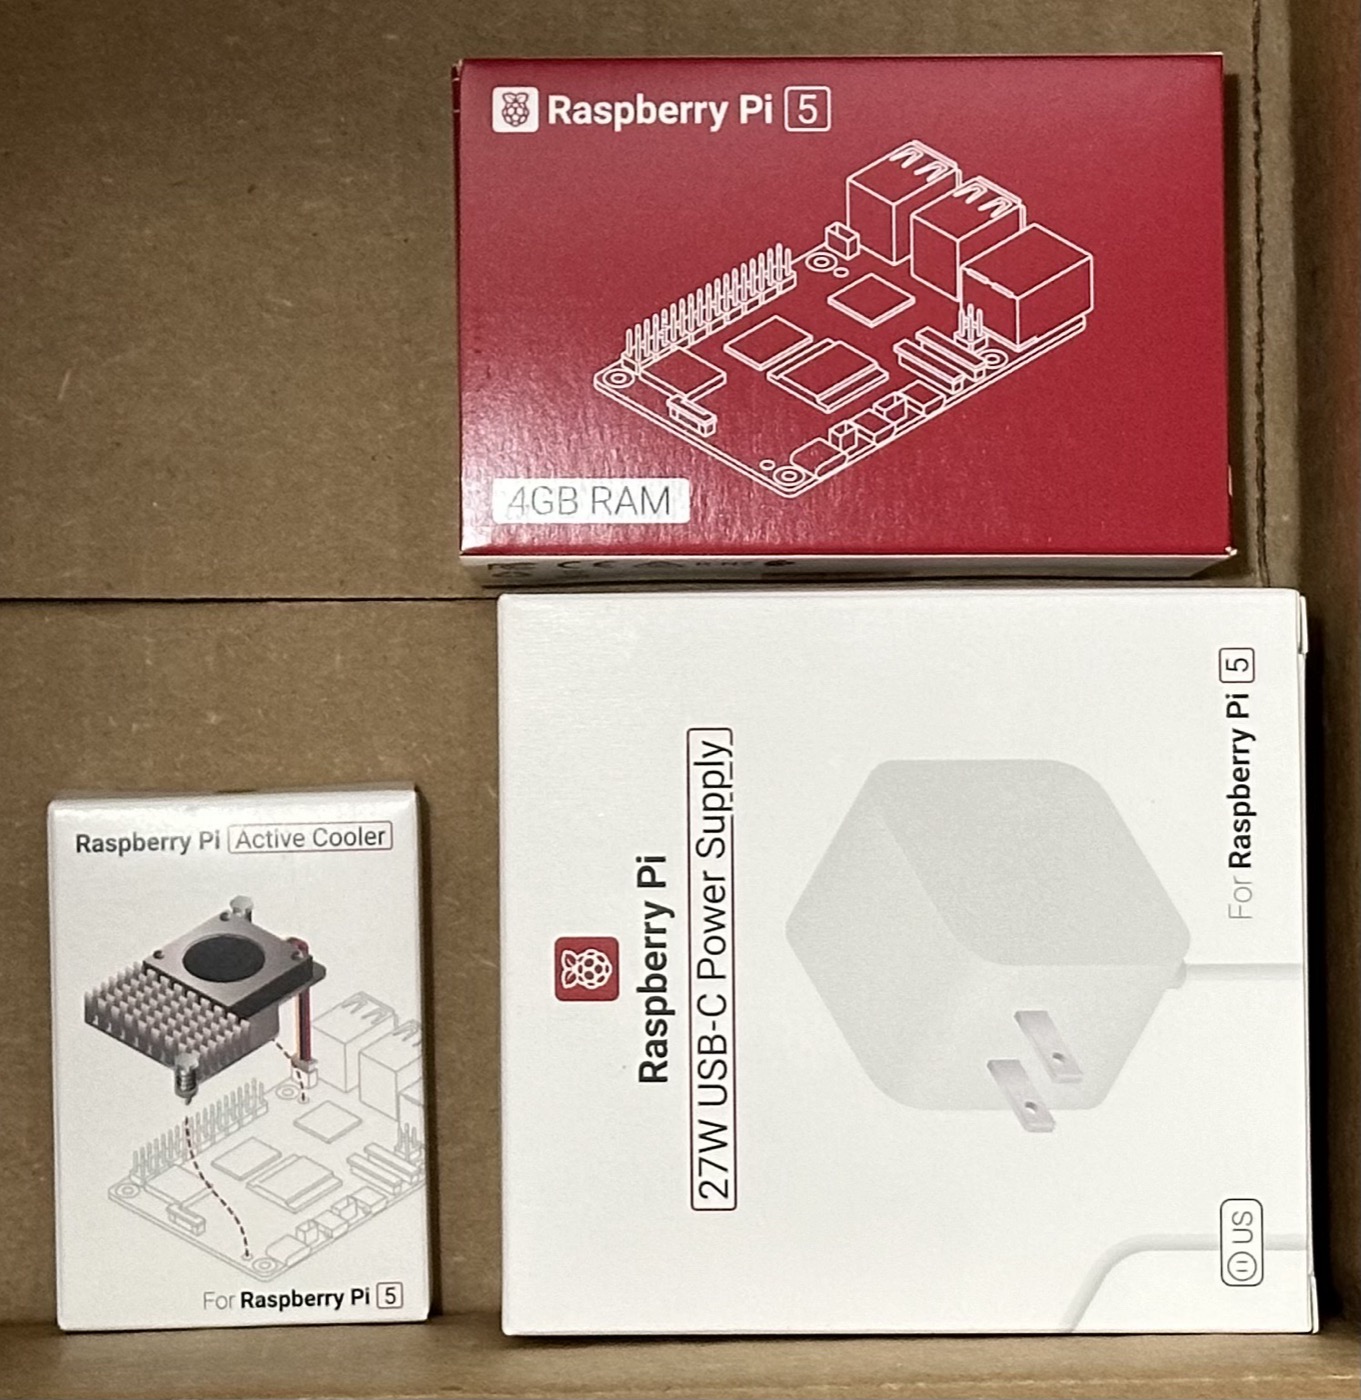
Although the Pi 5 is new, it’s not exactly mighty next to a gaming PC. To give it the best shot at running Half-Life 2 well, I paired it with two things: a beefy 27W USB-C power supply, and the official heatsink-and-fan combo, to keep it cool as the CPU got pushed harder than a typical Pi workload.
Building it
With Ubuntu installed and a terminal open, the build itself is a short list of steps: install the build tools, add the dev libraries, then grab the Source Engine code itself.
sudo apt-get install build-essential gcc-multilib g++-multilib pkg-config ccache
sudo apt-get install libsdl2-dev libfontconfig1-dev libopenal-dev libjpeg-dev libpng-dev libcurl4-gnutls-dev libbz2-dev libedit-dev
git clone https://github.com/nillerusr/source-engine.git --recursive
From there it’s configure, build, then install:
python3 ./waf configure -T release --prefix=hl2 --build-games=hl2 --disable-warns
python3 ./waf build -p -v
python3 ./waf install
The build itself takes a while on the Pi’s CPU — this is the point where you start it and go make a coffee. Once it finishes, there’s a genuine hl2 folder sitting there with an hl2_launcher executable inside. Except it’s not quite ready to run yet: that’s the code, but not the content.
Getting the game assets across
Half-Life 2’s level data, textures, and audio don’t come with the engine source — they have to come from an actual copy of the game. I keep a separate machine running Ubuntu with Steam installed, with Half-Life 2 already downloaded there. Browsing into the game’s install directory turns up two folders that matter: hl2 and platform. Copy both of those across to the Pi, into the freshly built source-engine/hl2 directory (merging when prompted), and the pieces are finally all in place.
The moment of truth
Back on the Pi, into a terminal, cd hl2, then ./hl2_launcher.
And there it was — the Source Engine loading screen, then Half-Life 2’s opening train sequence right on the Raspberry Pi. Rise and shine, Mr. Freeman. Rise and shine.
The opening act played out exactly as it should: the interrogation from the G-Man, arriving into a bleak City 17, the “civil protection” checkpoint chaos, and Barney’s undercover reveal — “hey, sorry for the scare, I had to put on a show for the cameras” — running at a perfectly playable frame rate the whole way through, on a single-board computer that costs less than a game console controller.
Closing thoughts
Is this a mini miracle? Maybe. With a bit more settings tuning there’s probably even more performance on the table. What matters is that it works, cleanly, as native ARM64 code with zero emulation overhead — a full 2004 PC game, running on hardware that fits in your palm.
If you want to build your own copy, the full step-by-step is written up separately — see the how-to guide and the follow-up video below, which also covers building Portal the same way.
Watch on YouTube
Related on this site
- Half-Life 2 and Portal on Raspberry Pi — the project notes
- How To Install Half-Life 2 (and Portal!) on Raspberry Pi — the follow-up how-to video
- How to Install Half-Life 2 on Raspberry Pi — the full written guide
- Raspberry Pi 5