You’ve shot a 360 photo or VR panorama, and now you’d like to share it with your friends using Photosynth’s excellent sharing features. Here’s how.
If you have Photoshop or Photoshop Elements
If you have Photoshop or Photoshop Elements, there’s a really easy way to do this:
- Download and install the official Photosynth Export Plug-in for Photoshop
- Open your panoramic image
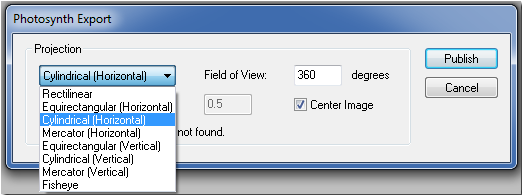
- Select Export -> Photosynth
- Select a projection. VR panoramas typically use Equirectangular (Horizontal)
- Click Publish
If you don’t
If you don’t have Photoshop or Photoshop Elements, get ready for hard mode! You can do this, but the process is a little convoluted.
Step 1. Download and install required tooling
You’ll need some panorama processing software. Hugin and Panotools are your best free options. You can find my setup guide over here
You’ll also need software to do the Photosynth upload. Grab and install copy of Microsoft ICE.
Step 2. Convert your image to cube faces
Before you can upload your VR panorama to Photosynth, you’ll need to convert it to cubic projection. Follow my guide and you’ll end up with 6 cube faces. Name them as follows:
- left.tif
- front.tif
- right.tif
- back.tif
- top.tif
- bottom.tif
If you’re unsure which cube face is which, check my visual guide below:

Step 3. Create ICE project file
In the same directory as your cube faces, create a new file called pano.spj. Copy and paste the following XML into it, then save and exit.
<?xml version="1.0" encoding="utf-8"?>
<stitchProject version="1.1">
  <stitchParams mapping="horizontalSpherical" motionModel="rotation3D" view3D="0 deg 0 deg 0 deg" />
  <sourceImages>
    <image src="front.tif">
      <camOrient3D eulerAngles="0 deg 0 deg 0 deg" focalLength="1" />
    </image>
    <image src="right.tif">
      <camOrient3D eulerAngles="0 deg 0 deg 90 deg" focalLength="1" />
    </image>
    <image src="back.tif">
      <camOrient3D eulerAngles="0 deg 0 deg 180 deg" focalLength="1" />
    </image>
    <image src="left.tif">
      <camOrient3D eulerAngles="0 deg 0 deg -90 deg" focalLength="1" />
    </image>
    <image src="top.tif">
      <camOrient3D eulerAngles="0 deg -90 deg 0 deg" focalLength="1" />
    </image>
    <image src="bottom.tif">
      <camOrient3D eulerAngles="0 deg 90 deg 0 deg" focalLength="1" />
    </image>
  </sourceImages>
</stitchProject>
Step 4. Publish to Photosynth
Double click the .spj file to launch ICE. The panorama should load automatically, showing thumbnails of your cube faces:
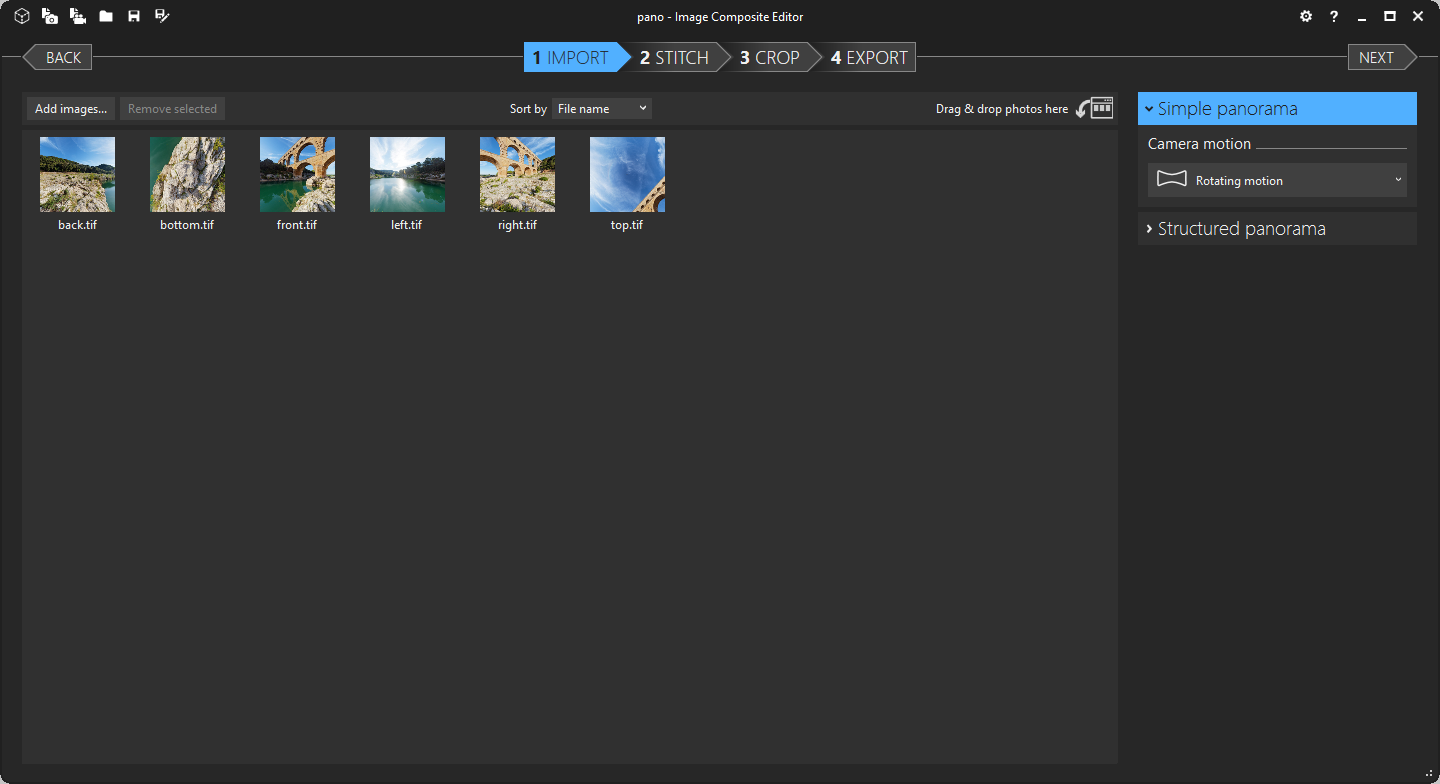
Ensure Camera motion is toggled to Rotating motion and hit Next three times to proceed to the EXPORT tab. Once there, expand the Photosynth panel:

The very first time, you’ll need to (possibly register and) login to Photosynth. After that, fill out some descriptive details and hit Publish. All going well, ICE will spawn a browser window and display your brand new, published VR panorama!

That’s all there is to it! Pan around the image to your heart’s content, then share the link with your friends!
Other Posts in this Series
- Publishing VR Panoramas to Facebook - 12 Oct 2016
- Installing Hugin and Panotools on Windows - 17 Oct 2016
- Convert Equirectangular Projection to Cube Faces - 18 Oct 2016
- Publishing VR Panoramas to Photosynth - 28 Oct 2016
- What are .pano files? - 29 Oct 2016
- Convert Equirectangular Projection to .Pano File - 30 Oct 2016
- All You Need to Know about 360 VR Photos - 02 Nov 2016
- Publishing VR Panoramas to YouTube - 08 Sep 2019