Following on from the hardware overview, here’s how to install and configure your MiSTer to play the latest arcade, computer and game console cores.
What you’ll need
Hardware:
- DE10-Nano Board and power supply
- microSD card (at least 2GB) and reader
- USB keyboard – to navigate the MiSTer menus and configure the device
- USB “On-The-Go” (OTG) connector or hub – to connect your keyboard and other peripherals
- Ethernet connection – to update the MiSTer and download cores
- HDMI Monitor/TV and HDMI cable
Software:
- MiSTer SD card image – you’ll write this to the microSD card
- Software to write the SD card image – I recommend BalenaEtcher
Setup guide
Step 1. Flash the downloaded image onto microSD
Flash the downloaded image onto your microSD card. Follow the BalenaEtcher instructions here. Make sure you pick the right drive!
Step 2. Put the microSD card into the DE10-Nano and power on
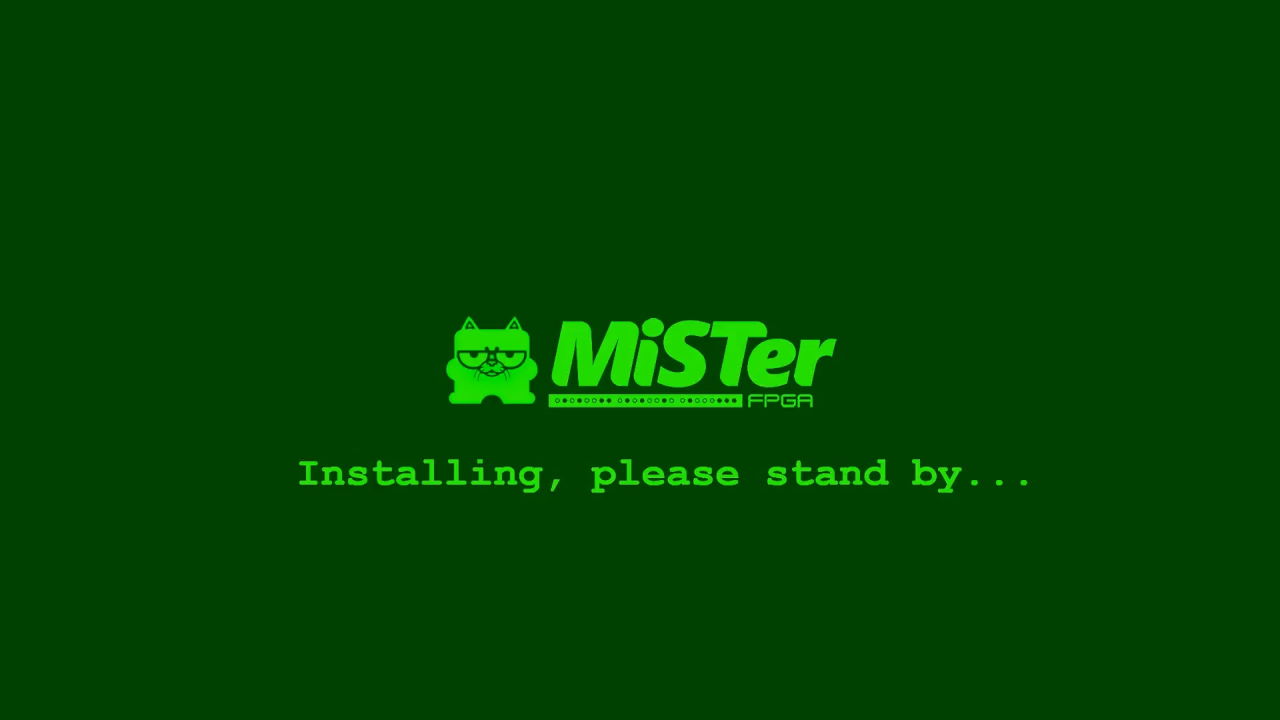
Put the microSD card into the DE10-Nano and power on. After a few seconds the orange LED on the board should light up. If you have a TV or monitor connected, you should see the installation splash screen:
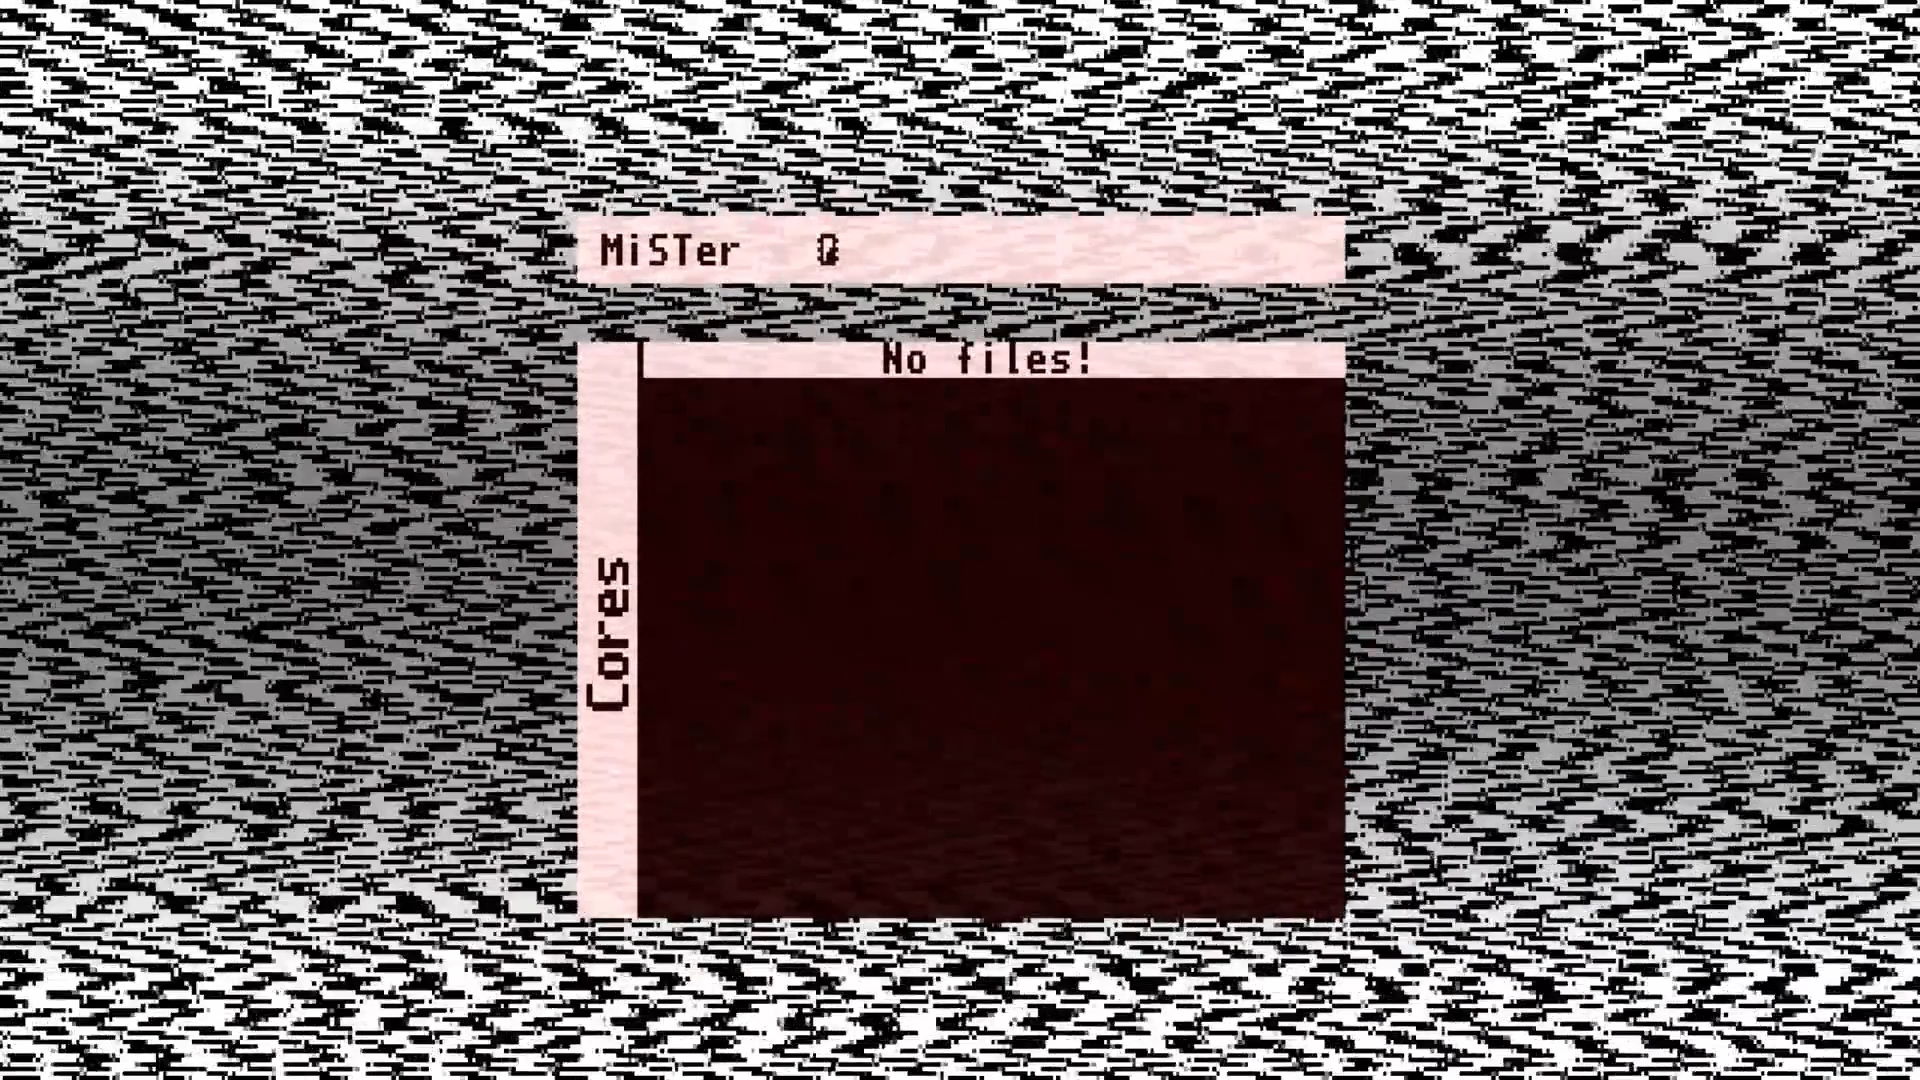
The installer will automatically re-partition and resize your SD card and copy all the necessary MiSTer files onto it. Once complete the DE10-Nano will reboot and you’ll be greeted with an (empty) MiSTer menu:
Step 3. Run MiSTer update script
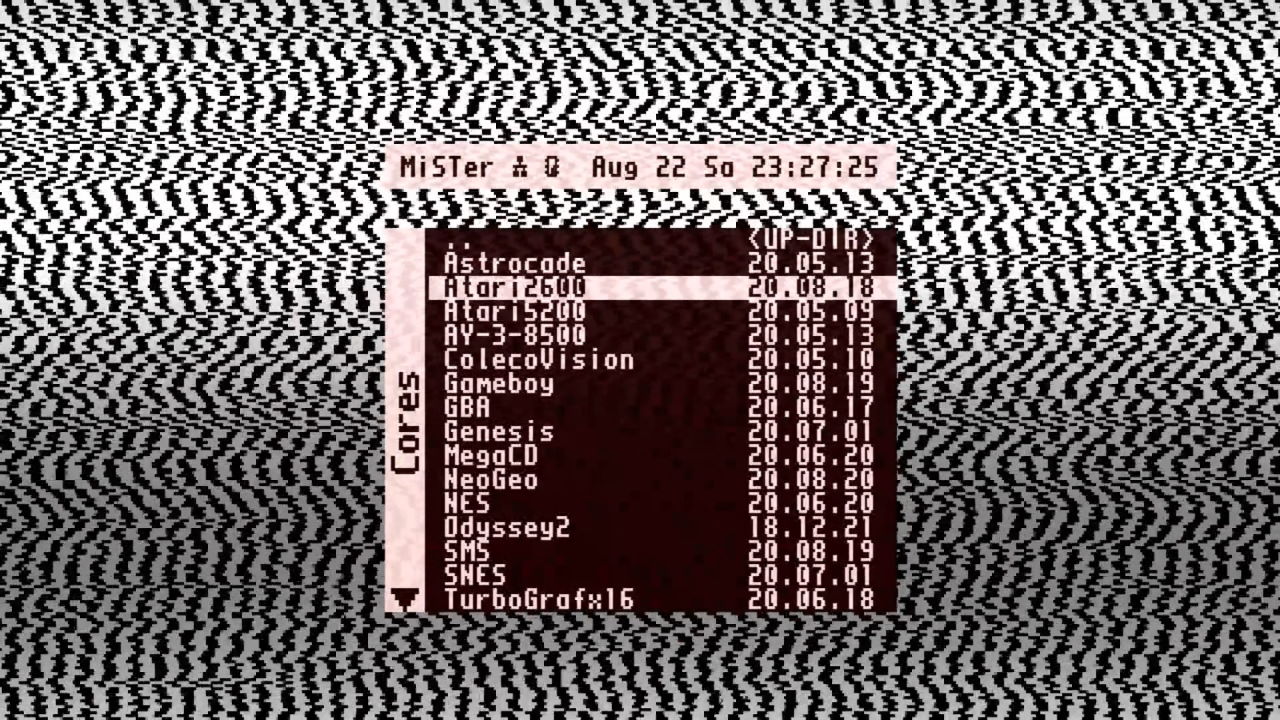
Connect a keyboard to your DE10-Nano and hit F12 to open the menu. Make sure you have an (Internet-enabled) Ethernet cable connected and navigate to Scripts → Yes → update. This will trigger the update script which will download:
- All MiSTer cores
- Video scaler filters
- GameBoy palettes
- Cheat codes
- Scripts
Once complete the DE10-Nano will reboot. When it loads again, you’ll see a fully-populated menu with all cores. Good to go!
That completes the MiSTer setup. Next up: Network Access and Copying Files.
Other Posts in this Series
- MiSTer FPGA Part 1 – Intro and Hardware Overview - 22 Aug 2020
- MiSTer FPGA Part 2 – Install and Setup - 20 Sep 2020
- MiSTer FPGA Part 3 – Network Access and Copying Files - 31 Jan 2021
- MiSTer AO486 Core Part 1 – Getting Started - 06 Feb 2021
- MiSTer AO486 Core Part 2 – Sharing Files With MiSTerFS - 14 Feb 2021
- MiSTer AO486 Core Part 3 – Managing Memory - 13 Mar 2021
- MiSTer AO486 Core Part 4 – Sound and Music Setup - 13 Mar 2021
- MiSTer AO486 Core Part 5 – Adding CD-ROM Support - 13 Mar 2021
- MiSTer AO486 Core Part 6 – Mouse Support - 13 Mar 2021
- MiSTer AO486 Core Part 7 – Quick Start DOS Image - 18 Mar 2021
- MiSTer AO486 Core Part 8 – Roland MT-32, Sound Canvas Audio via MidiLink - 28 Mar 2021
- MiSTer AO486 Core Part 9 – Installing Windows 95 - 28 Mar 2021
Comments