MiSTer AO486 Core Part 9 – Installing Windows 95
You’ve installed DOS on ao486, but what about Windows 95? Here’s how to do it.
Step 1 – Download and Copy Install Media
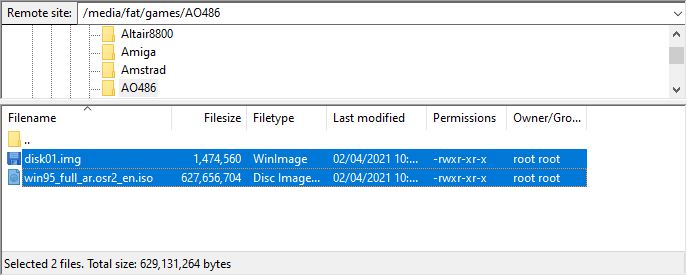
Download, extract and copy the following floppy disk images to /media/fat/games/AO486 on your MiSTer:
Once you’re done, you should have:
disk01.img– Windows 95 Boot diskwin95_full_ar.osr2_en.iso– Windows 95 Install CD
Step 2 – Copy Boot ROMs
Next you need to install the ao486 BIOS:
-
Visit this Releases page on GitHub
-
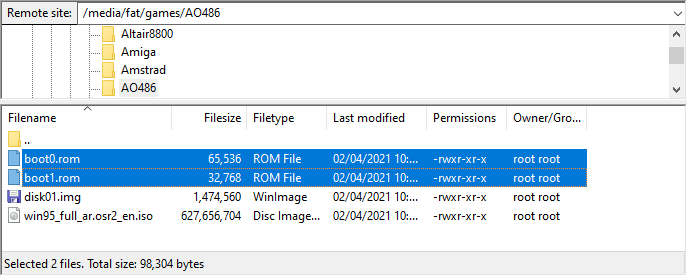
Download and copy boot0.rom and boot1.rom to
/media/fat/games/AO486on your MiSTer:
Step 3 – Create Hard Disk
-
SSH into your MiSTer and navigate to
/media/fat/games/AO486(see “Shell Access” on this page to learn how) -
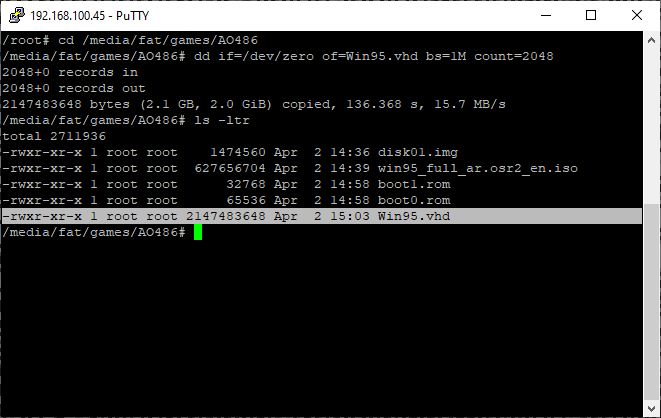
Invoke the following command to create a 2GB file (Win95.vhd) filled with zeros. We’ll use this for our primary hard disk:
dd if=/dev/zero of=Win95.vhd bs=1M count=2048
Step 4 – Partition Hard Disk
Next we need to partition the hard disk. On the MiSTer:
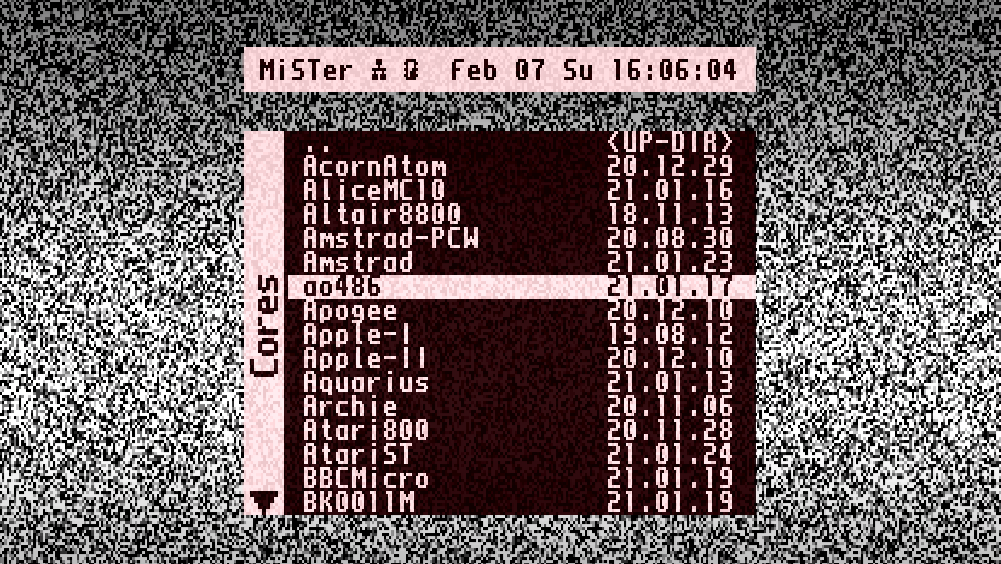
- Press F12 to bring up the MiSTer main menu. Browse to Computer -> ao486 to start the ao486 core:
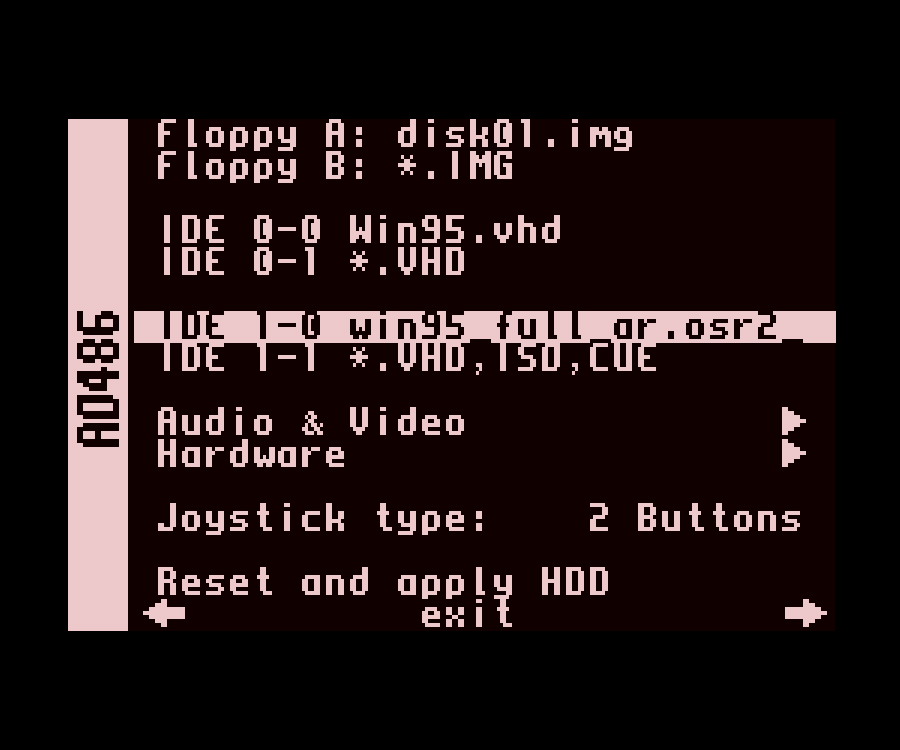
- Hit Windows Key + F12 for ao486 core options. Set Floppy A: to the Windows 95
disk01.img, IDE 0-0 toWin95.vhdand IDE 1-0 towin95_full_ar.osr2_en.iso:
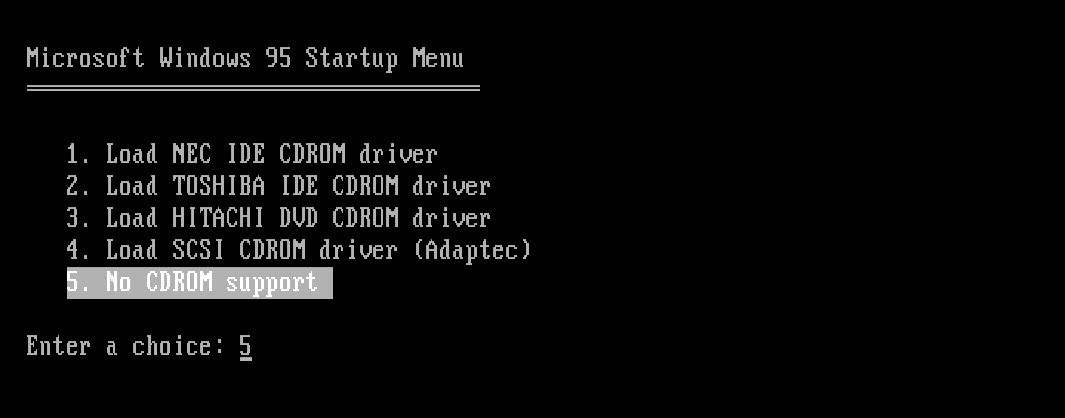
- Hit Reset and apply HDD. ao486 will reboot into the Windows 95 Startup Menu. Select option 5 (“No CDROM support”) and hit Enter:
- Run
A:\FDISK.EXEto launch the disk partitioner. Choose the following (default) options to partition the disk:
Yto enable large disk support1to Create DOS Partition or Logical Drive1to Create Primary DOS PartitionYto use the maximum available size and make the partition activeEscto go back to the FDISK options menuEsctwice again to exit FDISK
Now reboot AO486 (Windows Key + F12, Reset and apply HDD).

Step 5 – Format Hard Disk
Next we need to format the hard disk:
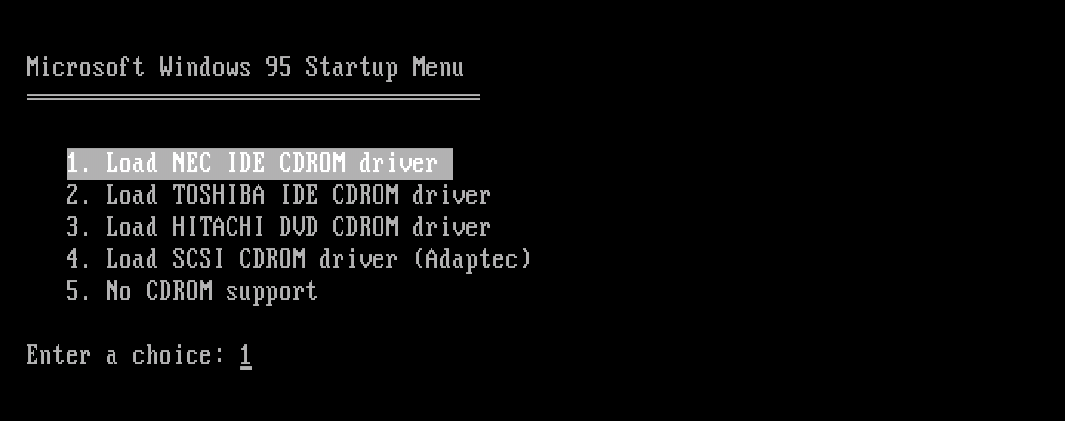
- ao486 will boot into the Windows 95 Startup Menu again. This time select option 1 (“Load NEC IDE CDROM driver”):
- Type
format c: /sto format the hard disk,Yto Proceed with Format:
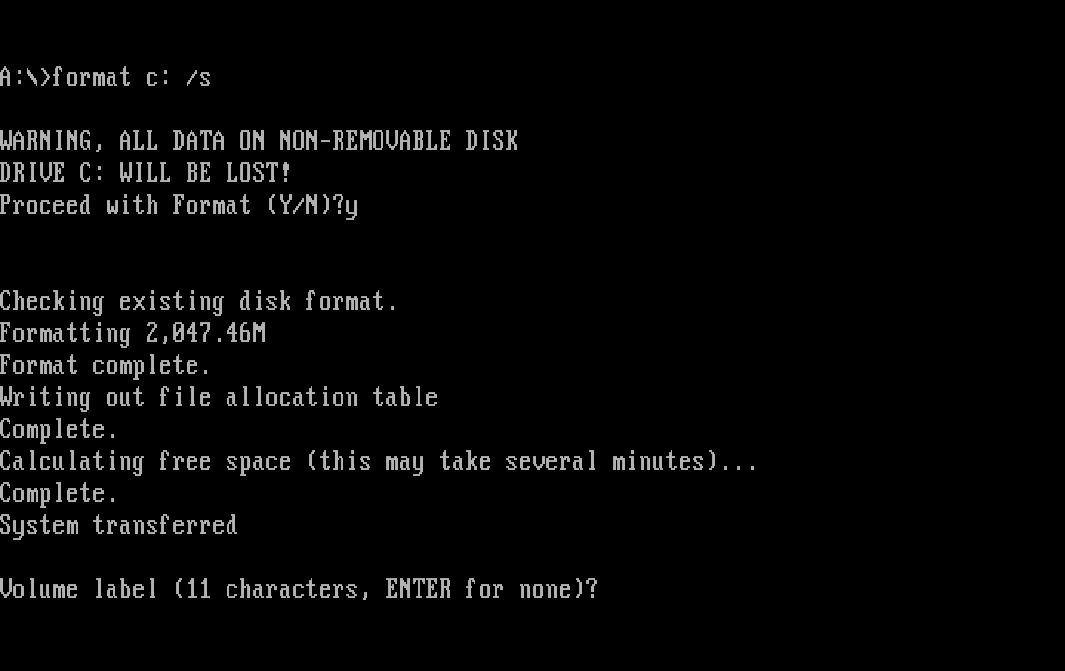
Enter a Volume label (your choice) to finalize the format process.
Step 5 – Install Windows 95
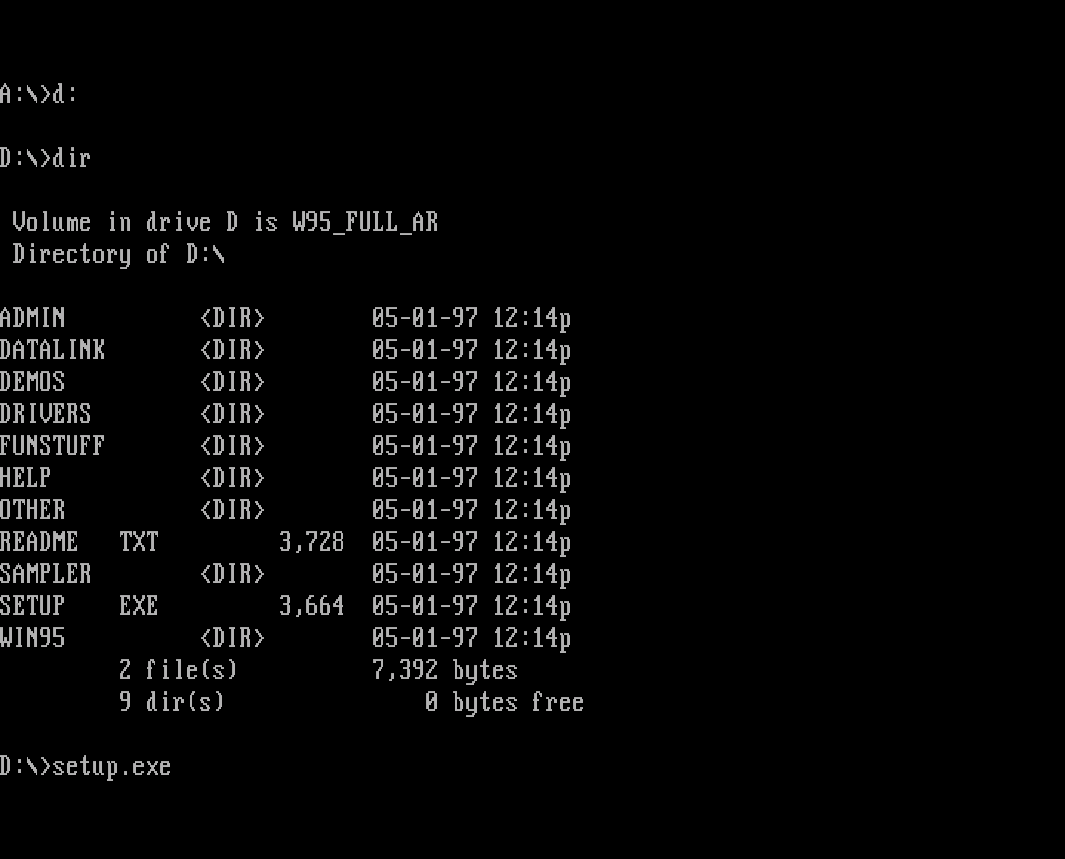
Run D:\SETUP.EXE to launch Windows 95 setup. Follow all the defaults to install Windows 95:
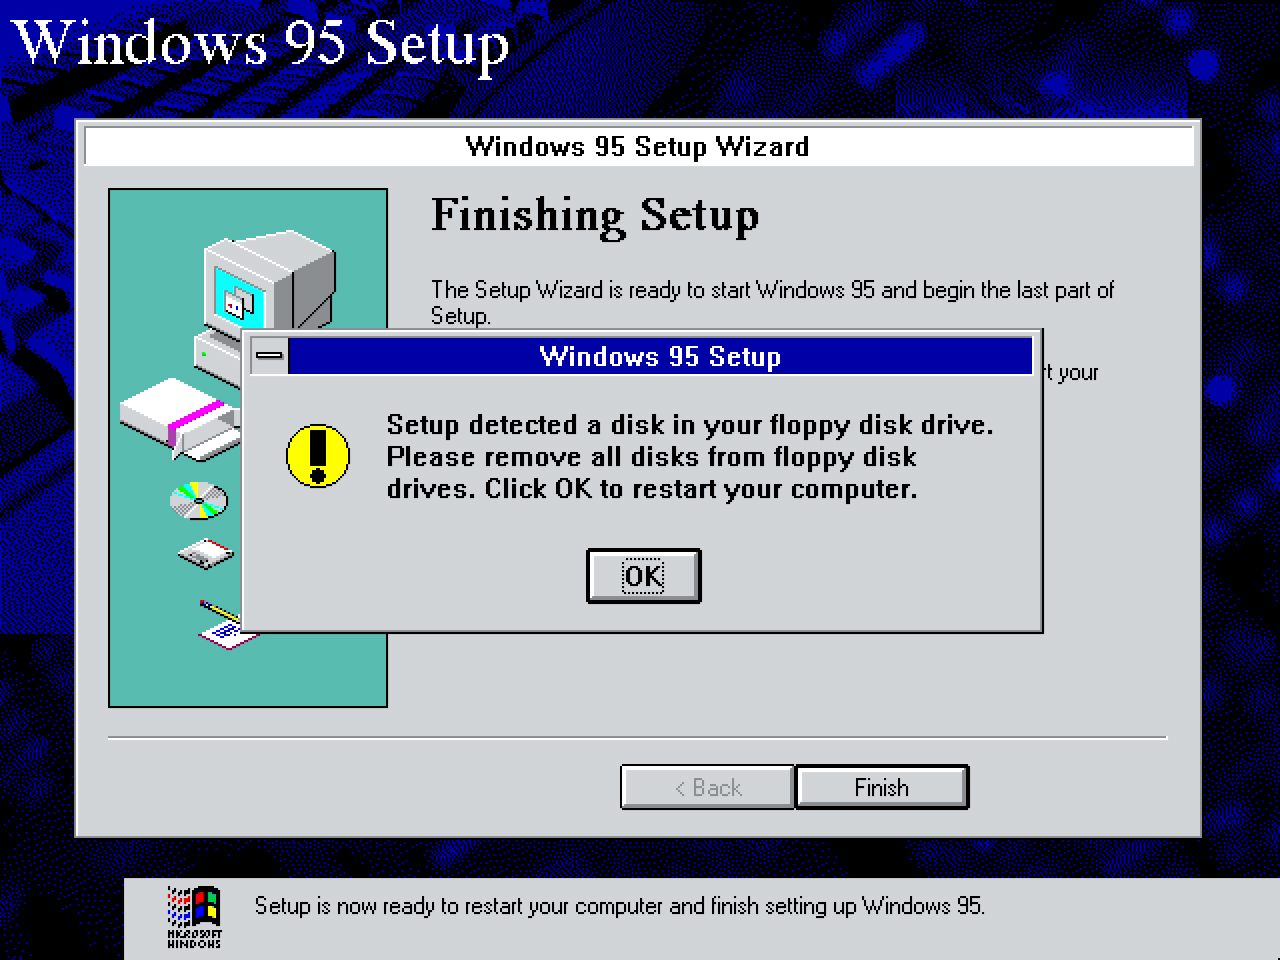
As the Windows 95 install finalizes, you’ll be prompted to remove the floppy disk. Don’t do this!
Instead, keep the disk in and reboot ao486 (Windows Key + F12, Reset and apply HDD).
Step 5 – Disable Hard Disk Driver
Due to a compatibility issue between AO486 and the Windows 95 disk driver, we need to (temporarily) disable it. Here’s how:
-
When ao486 reboots to the Windows 95 Startup Menu, select option 5 (“No CDROM support”)
-
Type the following at the command prompt:
c:
cd WINDOWS\SYSTEM\IOSUBSYS
ren ESDI_506.PDR ESDI_506.BAK

-
Unmount the floppy disk (Windows Key + F12,
Floppy A:, Enter, Backspace) -
Reboot ao486 (Windows Key + F12,
Reset and apply HDD)
Step 6 – Start Windows 95
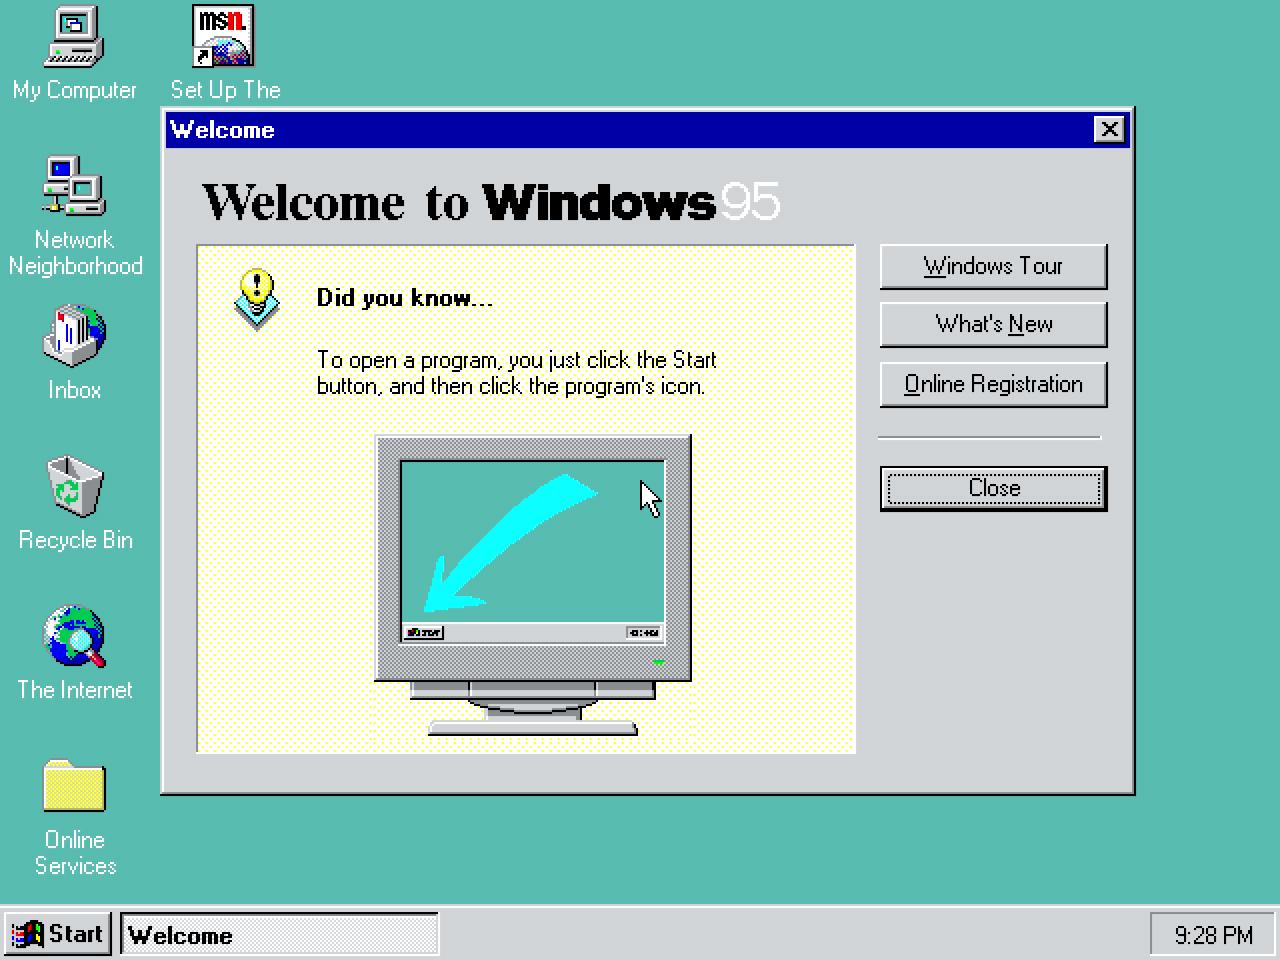
Windows 95 will start for the first time. Follow the last few setup steps to set your username, password, timezone etc.
Once those are done, the Windows 95 desktop will load!
Step 7 – Re-enable Hard Disk Driver
To re-enable the Hard Disk Driver:
- Navigate to
Start → Control Panel → System → Device Manager. Remove the following 2 entries:
Standard IDE/ESDI Hard Disk ControllerStandard IDE/ESDI Hard Disk Controller
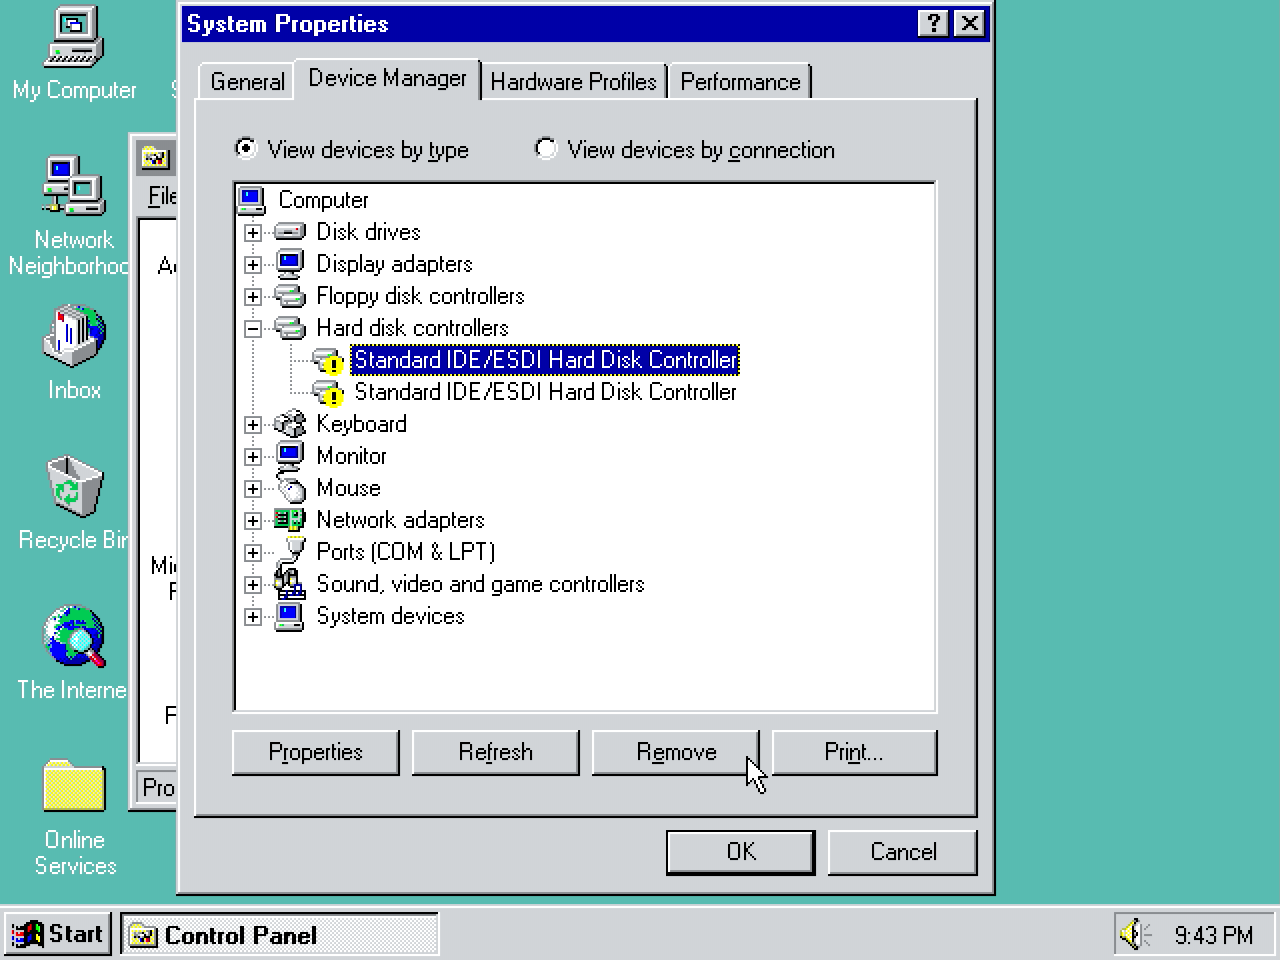
- Click OK, then navigate to
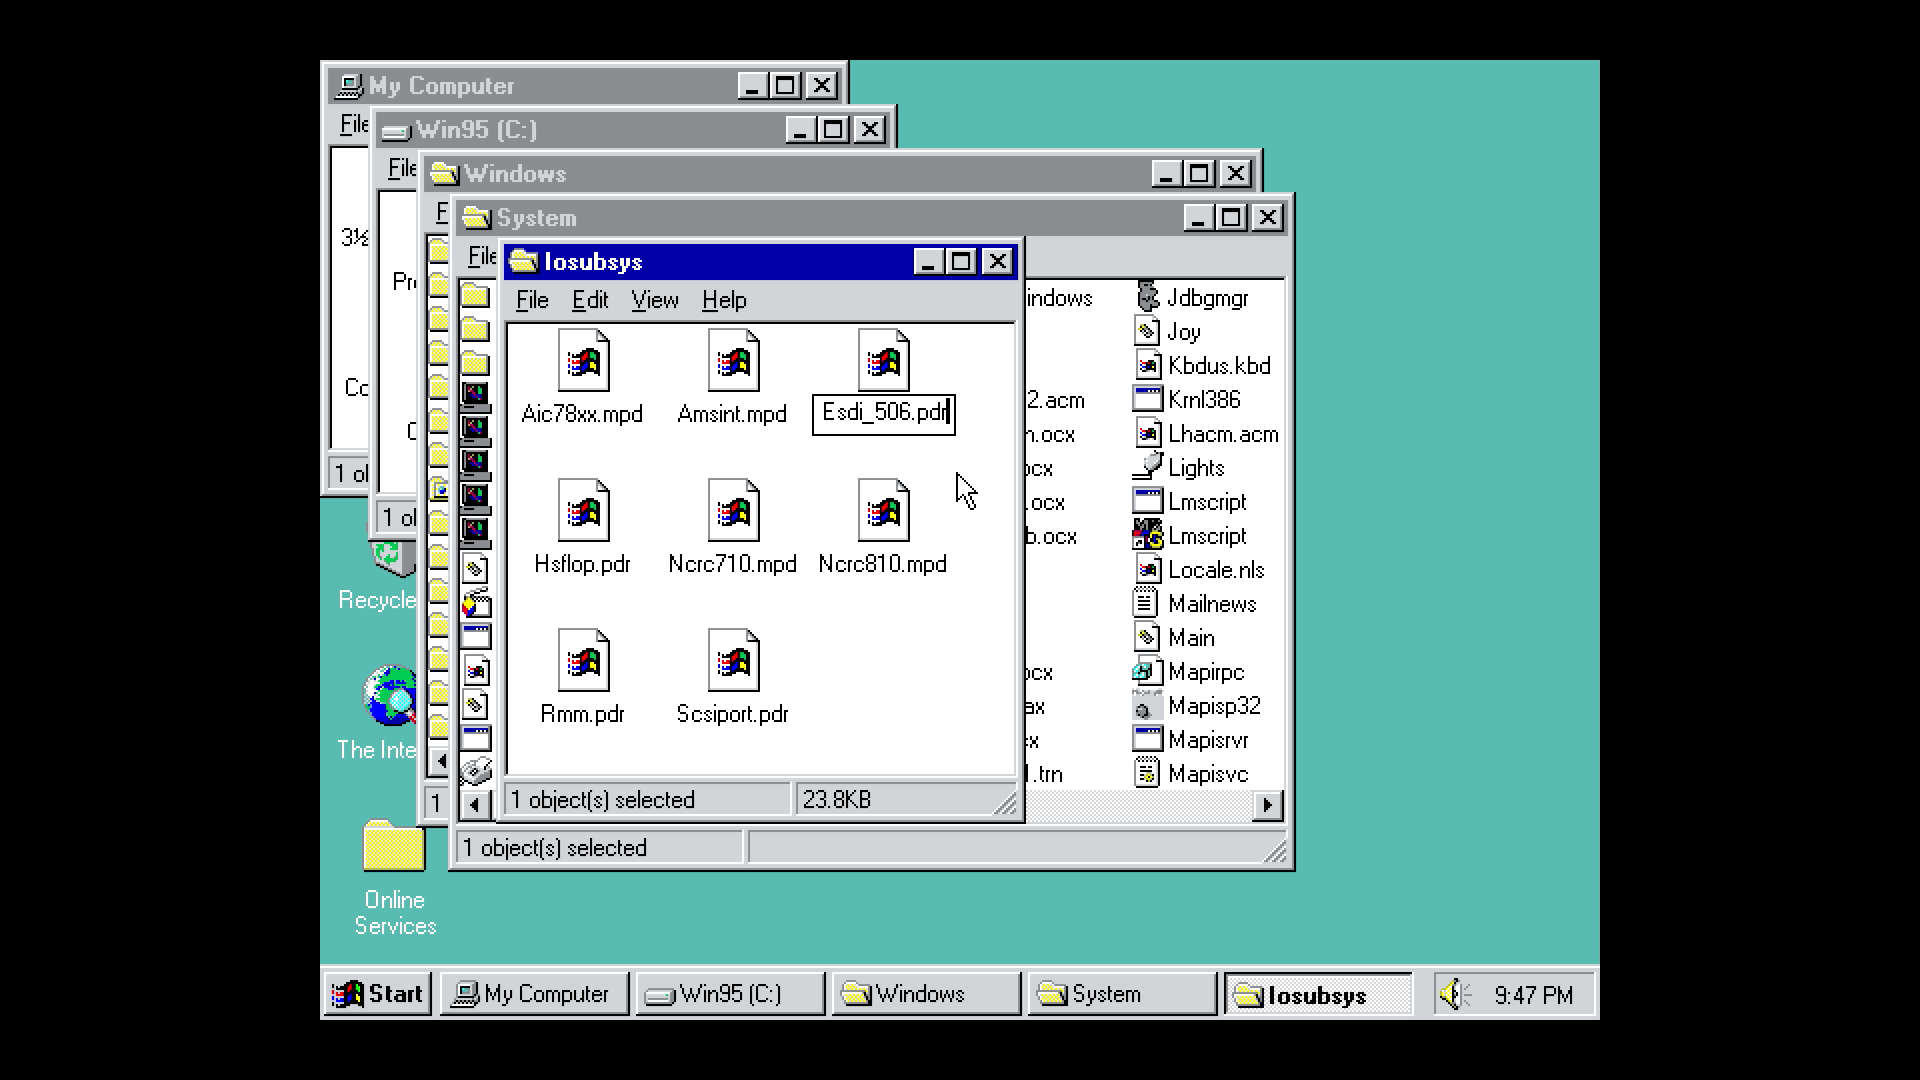
My Computer → C: → Windows → System → Iosubsys. RenameEsdi_506.baktoEsdi_506.pdr:
- Reboot Windows 95 (
Start → Shut Down → Restart the computer)
Wrap Up
That’s it! You now have a fully functional Windows 95 installation.
Next, you might consider adding adding CD-ROM support.
Other Posts in this Series
- MiSTer FPGA Part 1 – Intro and Hardware Overview - 22 Aug 2020
- MiSTer FPGA Part 2 – Install and Setup - 20 Sep 2020
- MiSTer FPGA Part 3 – Network Access and Copying Files - 31 Jan 2021
- MiSTer AO486 Core Part 1 – Getting Started - 06 Feb 2021
- MiSTer AO486 Core Part 2 – Sharing Files With MiSTerFS - 14 Feb 2021
- MiSTer AO486 Core Part 3 – Managing Memory - 13 Mar 2021
- MiSTer AO486 Core Part 4 – Sound and Music Setup - 13 Mar 2021
- MiSTer AO486 Core Part 5 – Adding CD-ROM Support - 13 Mar 2021
- MiSTer AO486 Core Part 6 – Mouse Support - 13 Mar 2021
- MiSTer AO486 Core Part 7 – Quick Start DOS Image - 18 Mar 2021
- MiSTer AO486 Core Part 8 – Roland MT-32, Sound Canvas Audio via MidiLink - 28 Mar 2021
- MiSTer AO486 Core Part 9 – Installing Windows 95 - 28 Mar 2021


Comments